

Why Run Your Own Technical Blog
Writing is a core skill for software developers, and maintaining a technical blog is one of the most effective ways to sharpen it. Blogging forces you to research deeply, experiment with new technologies, and solve edge cases you might never encounter in your day job. It also builds soft skills: responding to reader comments practices communication and handling criticism, while writing sample projects reinforces your coding confidence.
A self-hosted blog also strengthens your professional brand. It gives you a platform to demonstrate expertise, which can lead to speaking invitations, book deals, freelance work, or even a full-time business. Chris Sevilleja turned his tutorial site scotch.io into a company that joined Digital Ocean. Blogs by senior engineers like Russ Cox at research.swtch.com and Ali Spittel at welearncode.com show how technical writing can make you a better teacher and mentor.
Third-party platforms like Medium are easy to start with, but they have long-term downsides. Readers can be bombarded with distracting notifications and prompts that hurt engagement. Custom tools like RSS feeds and code syntax highlighting may be unsupported, and your entire archive is at risk if the platform shuts down. Hosting your own blog means you control the experience — no competing writers, full customization options, and a direct channel to your audience without intermediaries.
Installing Hugo and Firebase Tools
Hugo is an open-source static site generator, and Firebase is Google’s platform for hosting and app services. To deploy a blog with both, start by installing Hugo. On macOS or Linux, use Homebrew:
brew install hugo
On Windows, use either scoop:
scoop install hugo
or chocolatey:
choco install hugo -confirm
If you need other installation options, see Hugo’s installation docs.
Firebase tools require Node.js for npm. Install them globally:
npm install -g firebase-tools
Create a free Firebase account at the Firebase Console using a Google account, then log in from the terminal. This will open a browser tab for authentication:
firebase login
Creating a Hugo Site
In your chosen directory, create a new Hugo site. For this tutorial, we’ll call it sm-blog:
hugo new site sm-blog
Initialize a Git repository to track and back up your source code:
cd sm-blog
git init
A theme is required before the site will render anything. Browse the blog section of themes.gohugo.io and pick one. We’ll use Cactus Plus for its minimal design. Add it as a Git submodule in the /themes folder:
git submodule add -b master https://github.com/nodejh/hugo-theme-cactus-plus.git themes/hugo-theme-cactus-plus
The generated config.toml file at the blog’s root controls site settings. Set the active theme and update the site title:
baseURL = "https://example.org/"
languageCode = "en-us"
title = "SM Blog"
theme="hugo-theme-cactus-plus"
Run the local server and open https://localhost:1313 in your browser:
hugo server -D
Personalizing Theme Options
Themes typically expose customization options through config.toml. Theme documentation lists available settings; if not, copy the config.toml from the theme’s /exampleSite folder into your project:
cp themes/hugo-theme-cactus-plus/exampleSite/config.toml .
Common customizations include:
- Changing avatar and favicon images — place static assets like images in the
/staticfolder (for example,/static/images). - Adding Google Analytics for traffic tracking.
- Enabling Disqus for reader comments.
- Turning on RSS feeds.
- Adding social links (Twitter, GitHub).
- Enabling Twitter cards and post summaries on the home page.
Here’s an example of an updated config.toml with these options applied:
### Site settings
baseurl = "your_firebase_address"
languageCode = "en"
title = "SM Blog"
theme = "hugo-theme-cactus-plus"
googleAnalytics = "your_google_analytics_id"

[params]
    # My information
    author = "Cat Lense"
    description = "blog about cats"
    bio = "cat photographer"
    twitter = "cats"
    copyright = "Cat Photographer"

    # Tools
    enableRSS = true
    enableDisqus = true
    disqusShortname = "your_disqus_short_name"
    enableSummary = true
    enableGoogleAnalytics = true
    enableTwitterCard = true

[social]
    twitter = "https://twitter.com/cats"
    github = "https://github.com/cats"
Writing Your First Post
Hugo posts are Markdown files that get rendered to HTML. Run this command to create one:
hugo new posts/my-first-post.md
This generates a file in the /content folder with front matter metadata:
---
title: "My First Post"
date: 2020-03-18T15:59:53+03:00
draft: true
---
Keep draft: true while writing, then change it to false when ready to publish. You can also add a custom summary line to the front matter for display on the home page. The file name becomes the post title: Hugo replaces hyphens with spaces and capitalizes the words.
Post-Specific Resources
For images or videos tied to a single post, create a folder inside /content/posts named after the post file (without the .md extension):
mkdir content/posts/my-first-post
Then link to those resources by file name without a long path:

Version Control and Deployment
Before pushing your code, add a .gitignore file that excludes the /public folder — that generated directory can be recreated with a build command at any time. Create a GitHub repository, then set it as your remote:
git remote add origin [remote repository URL]
Stage, commit, and push your changes:
git add *
git commit -m "Add my first post"
git push origin master
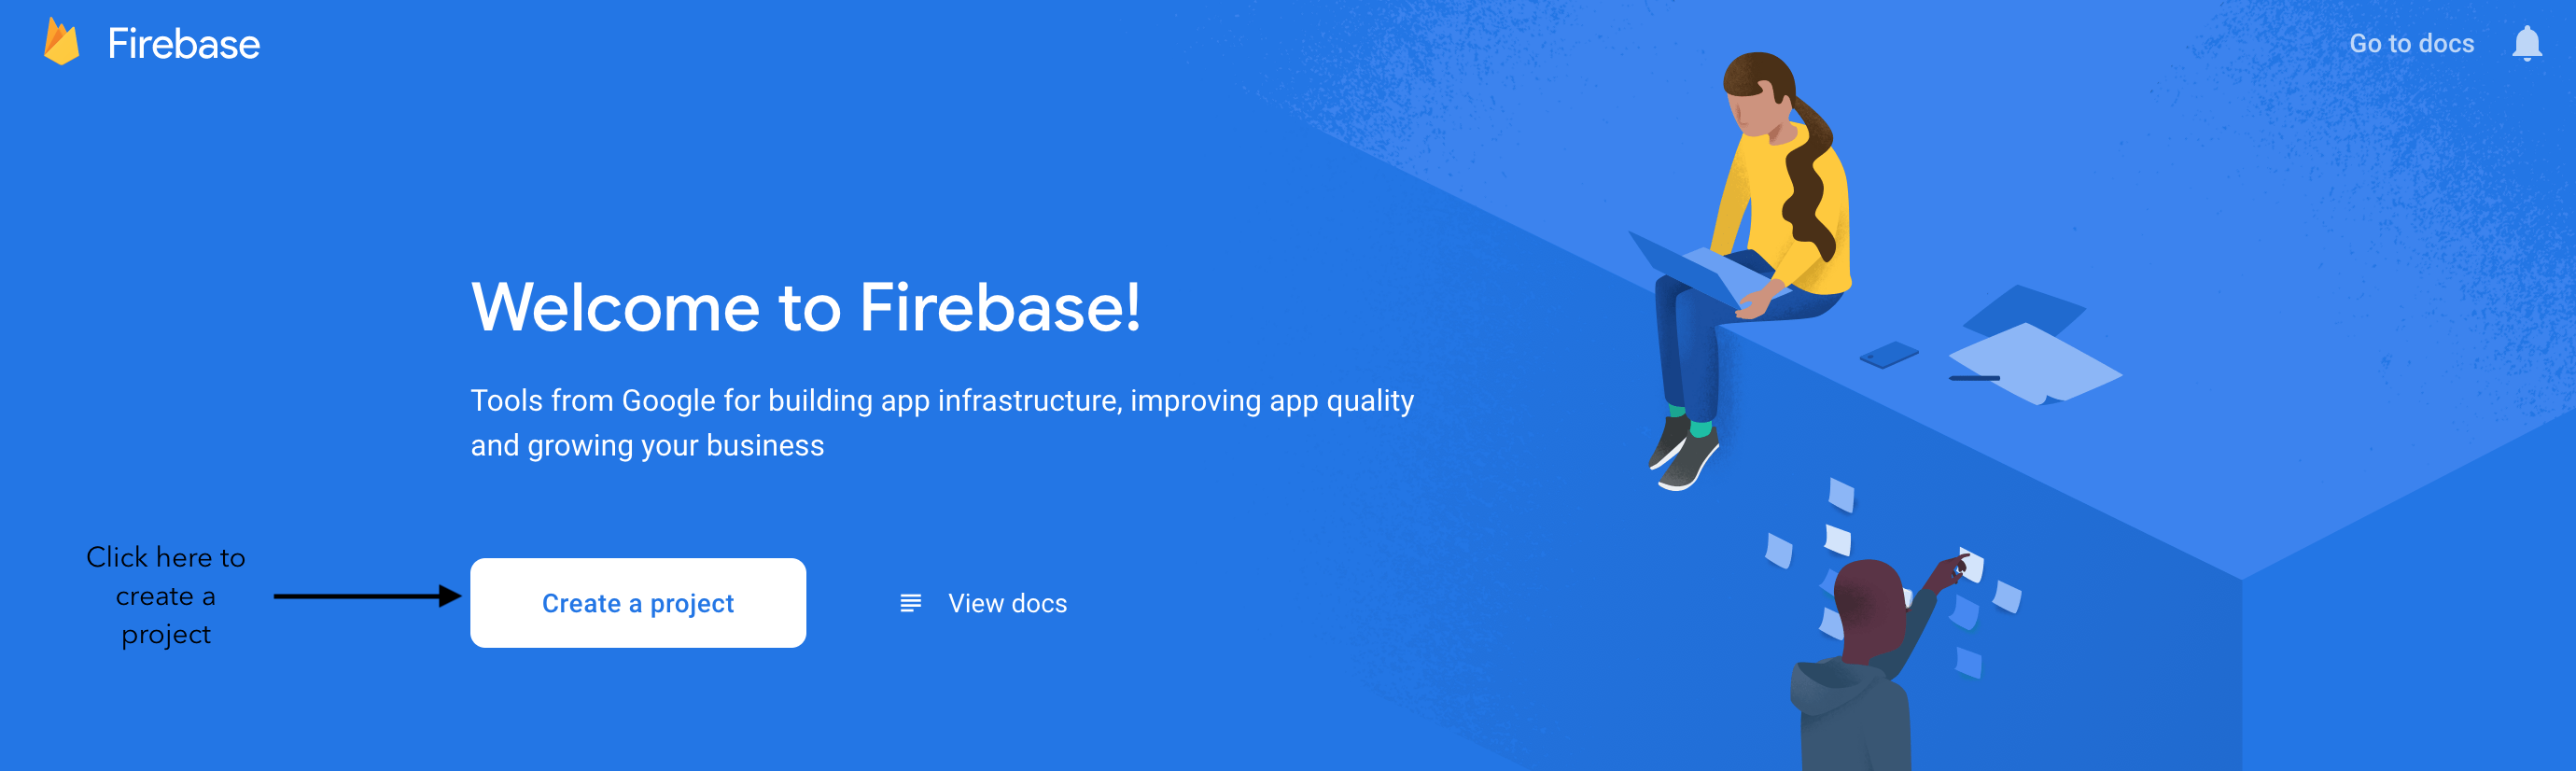
At the Firebase Console, create a new project:
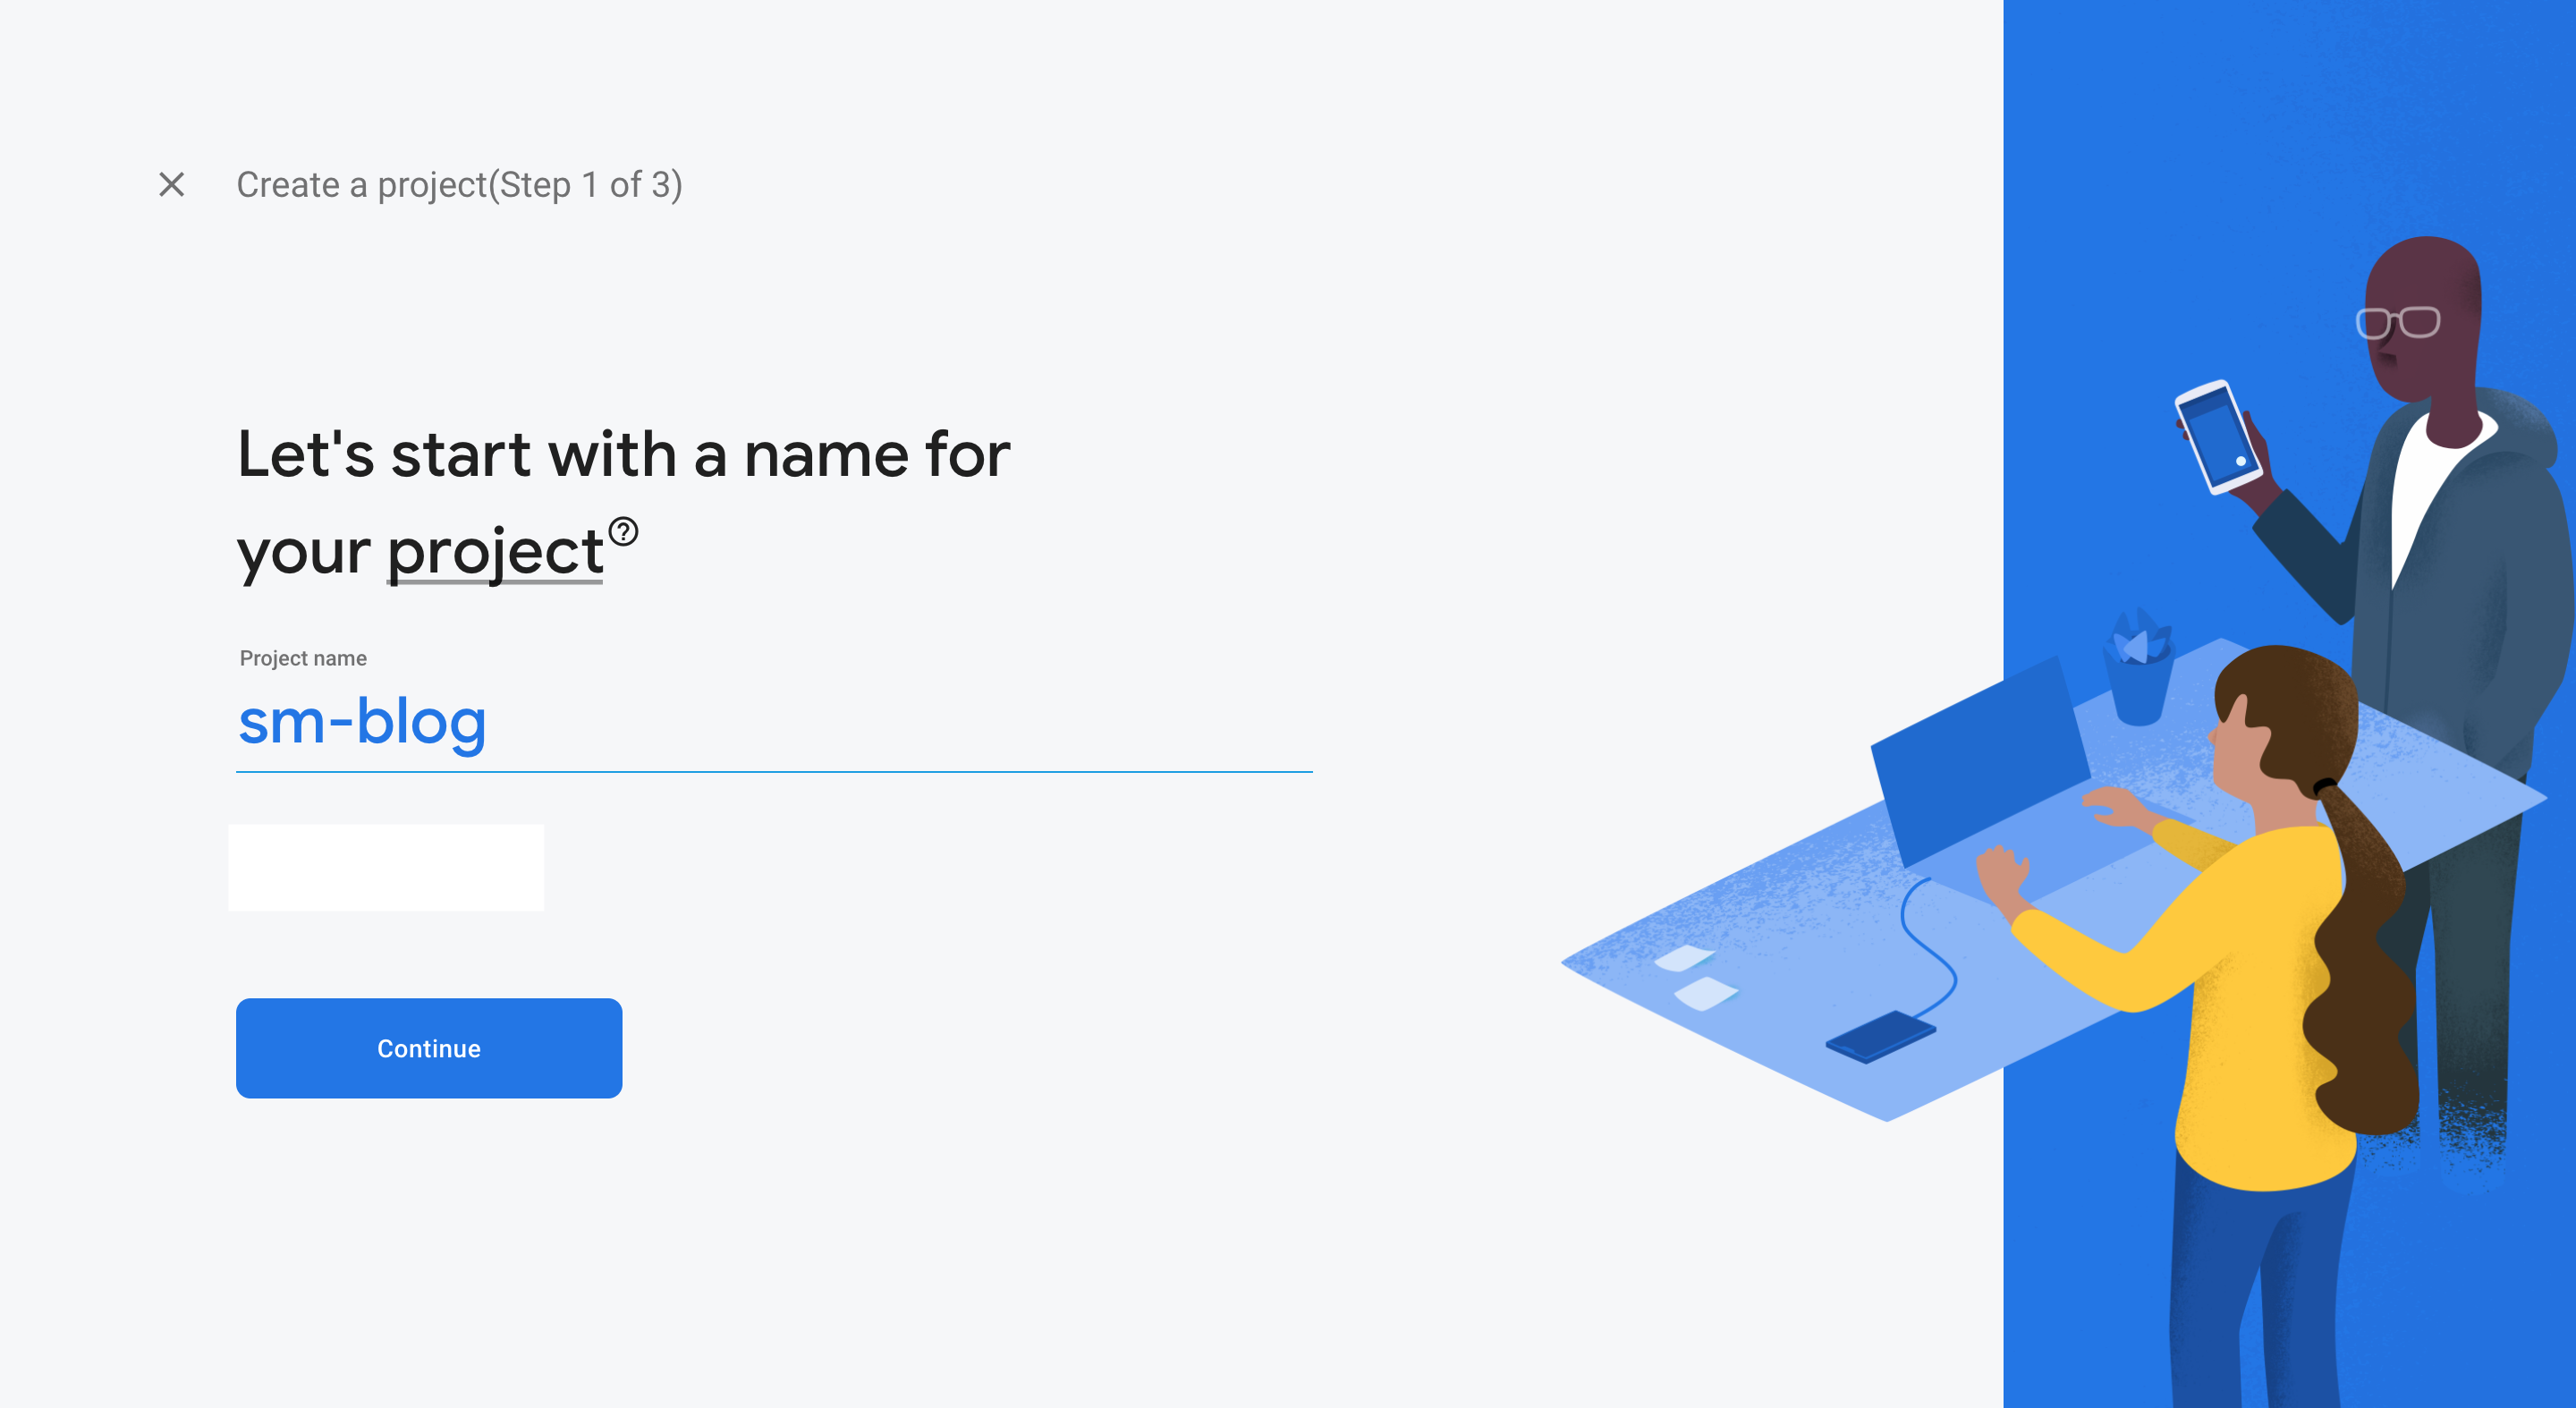
Name your project:
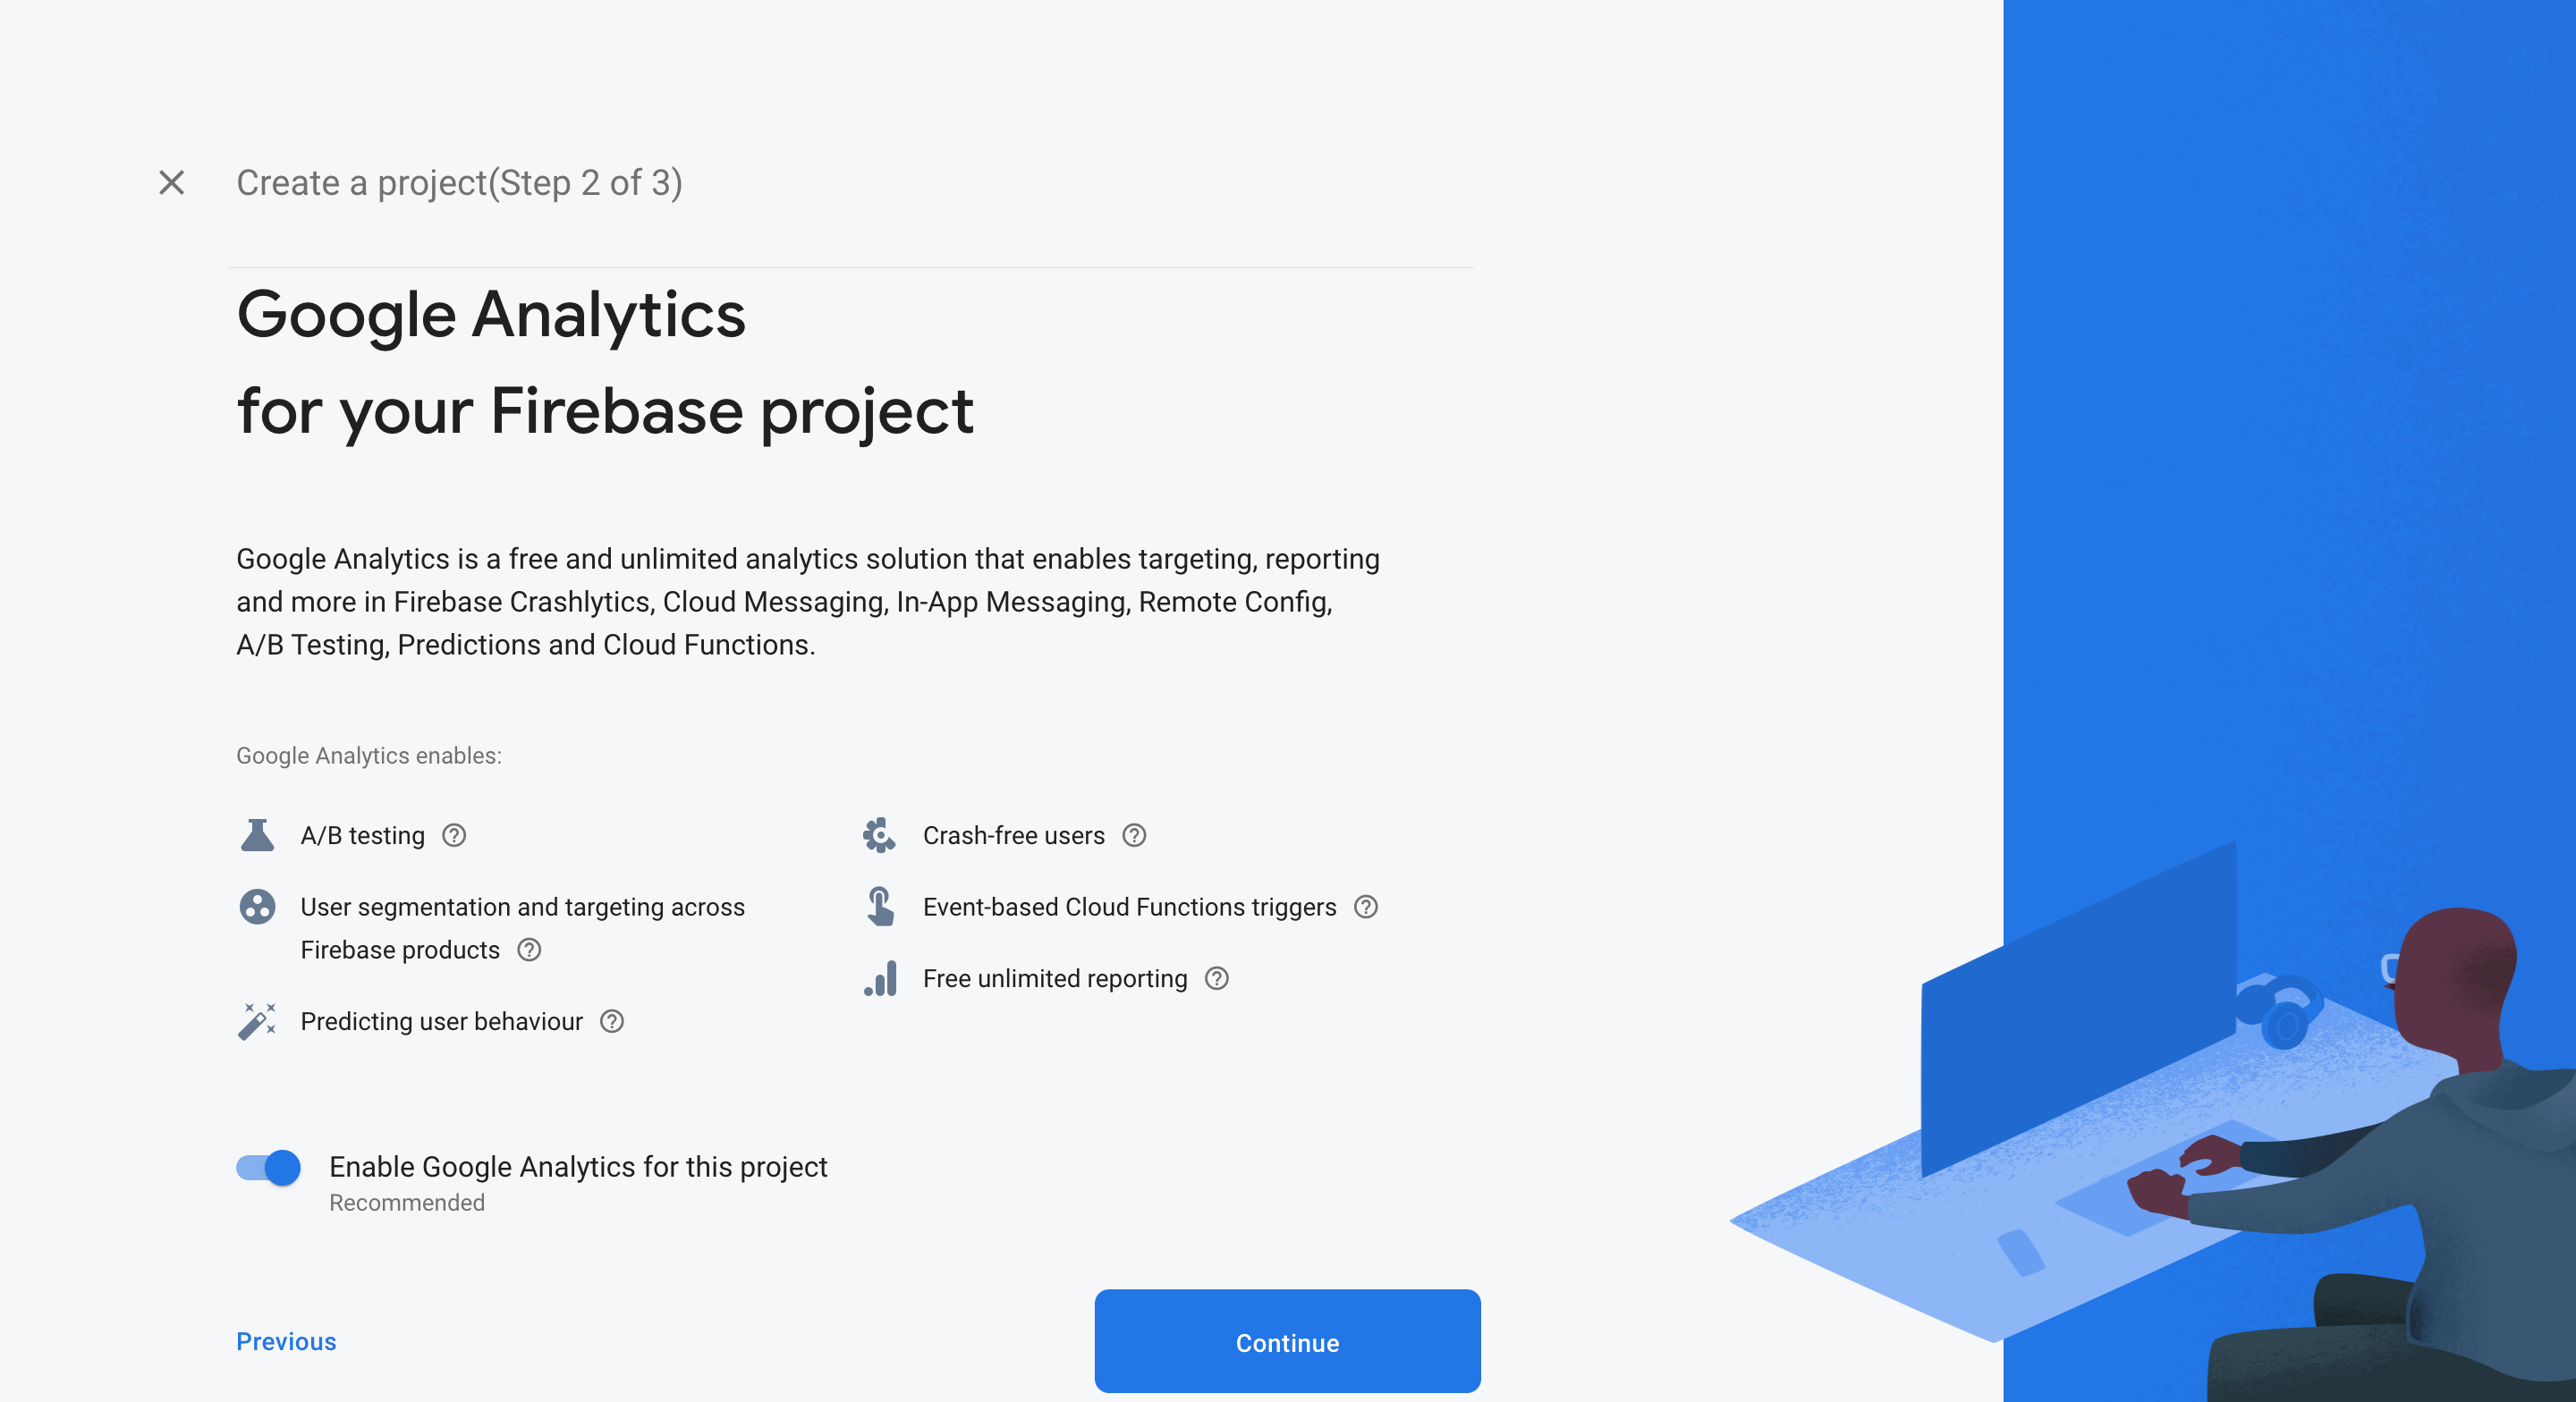
Enable Google Analytics if you want that data integrated:
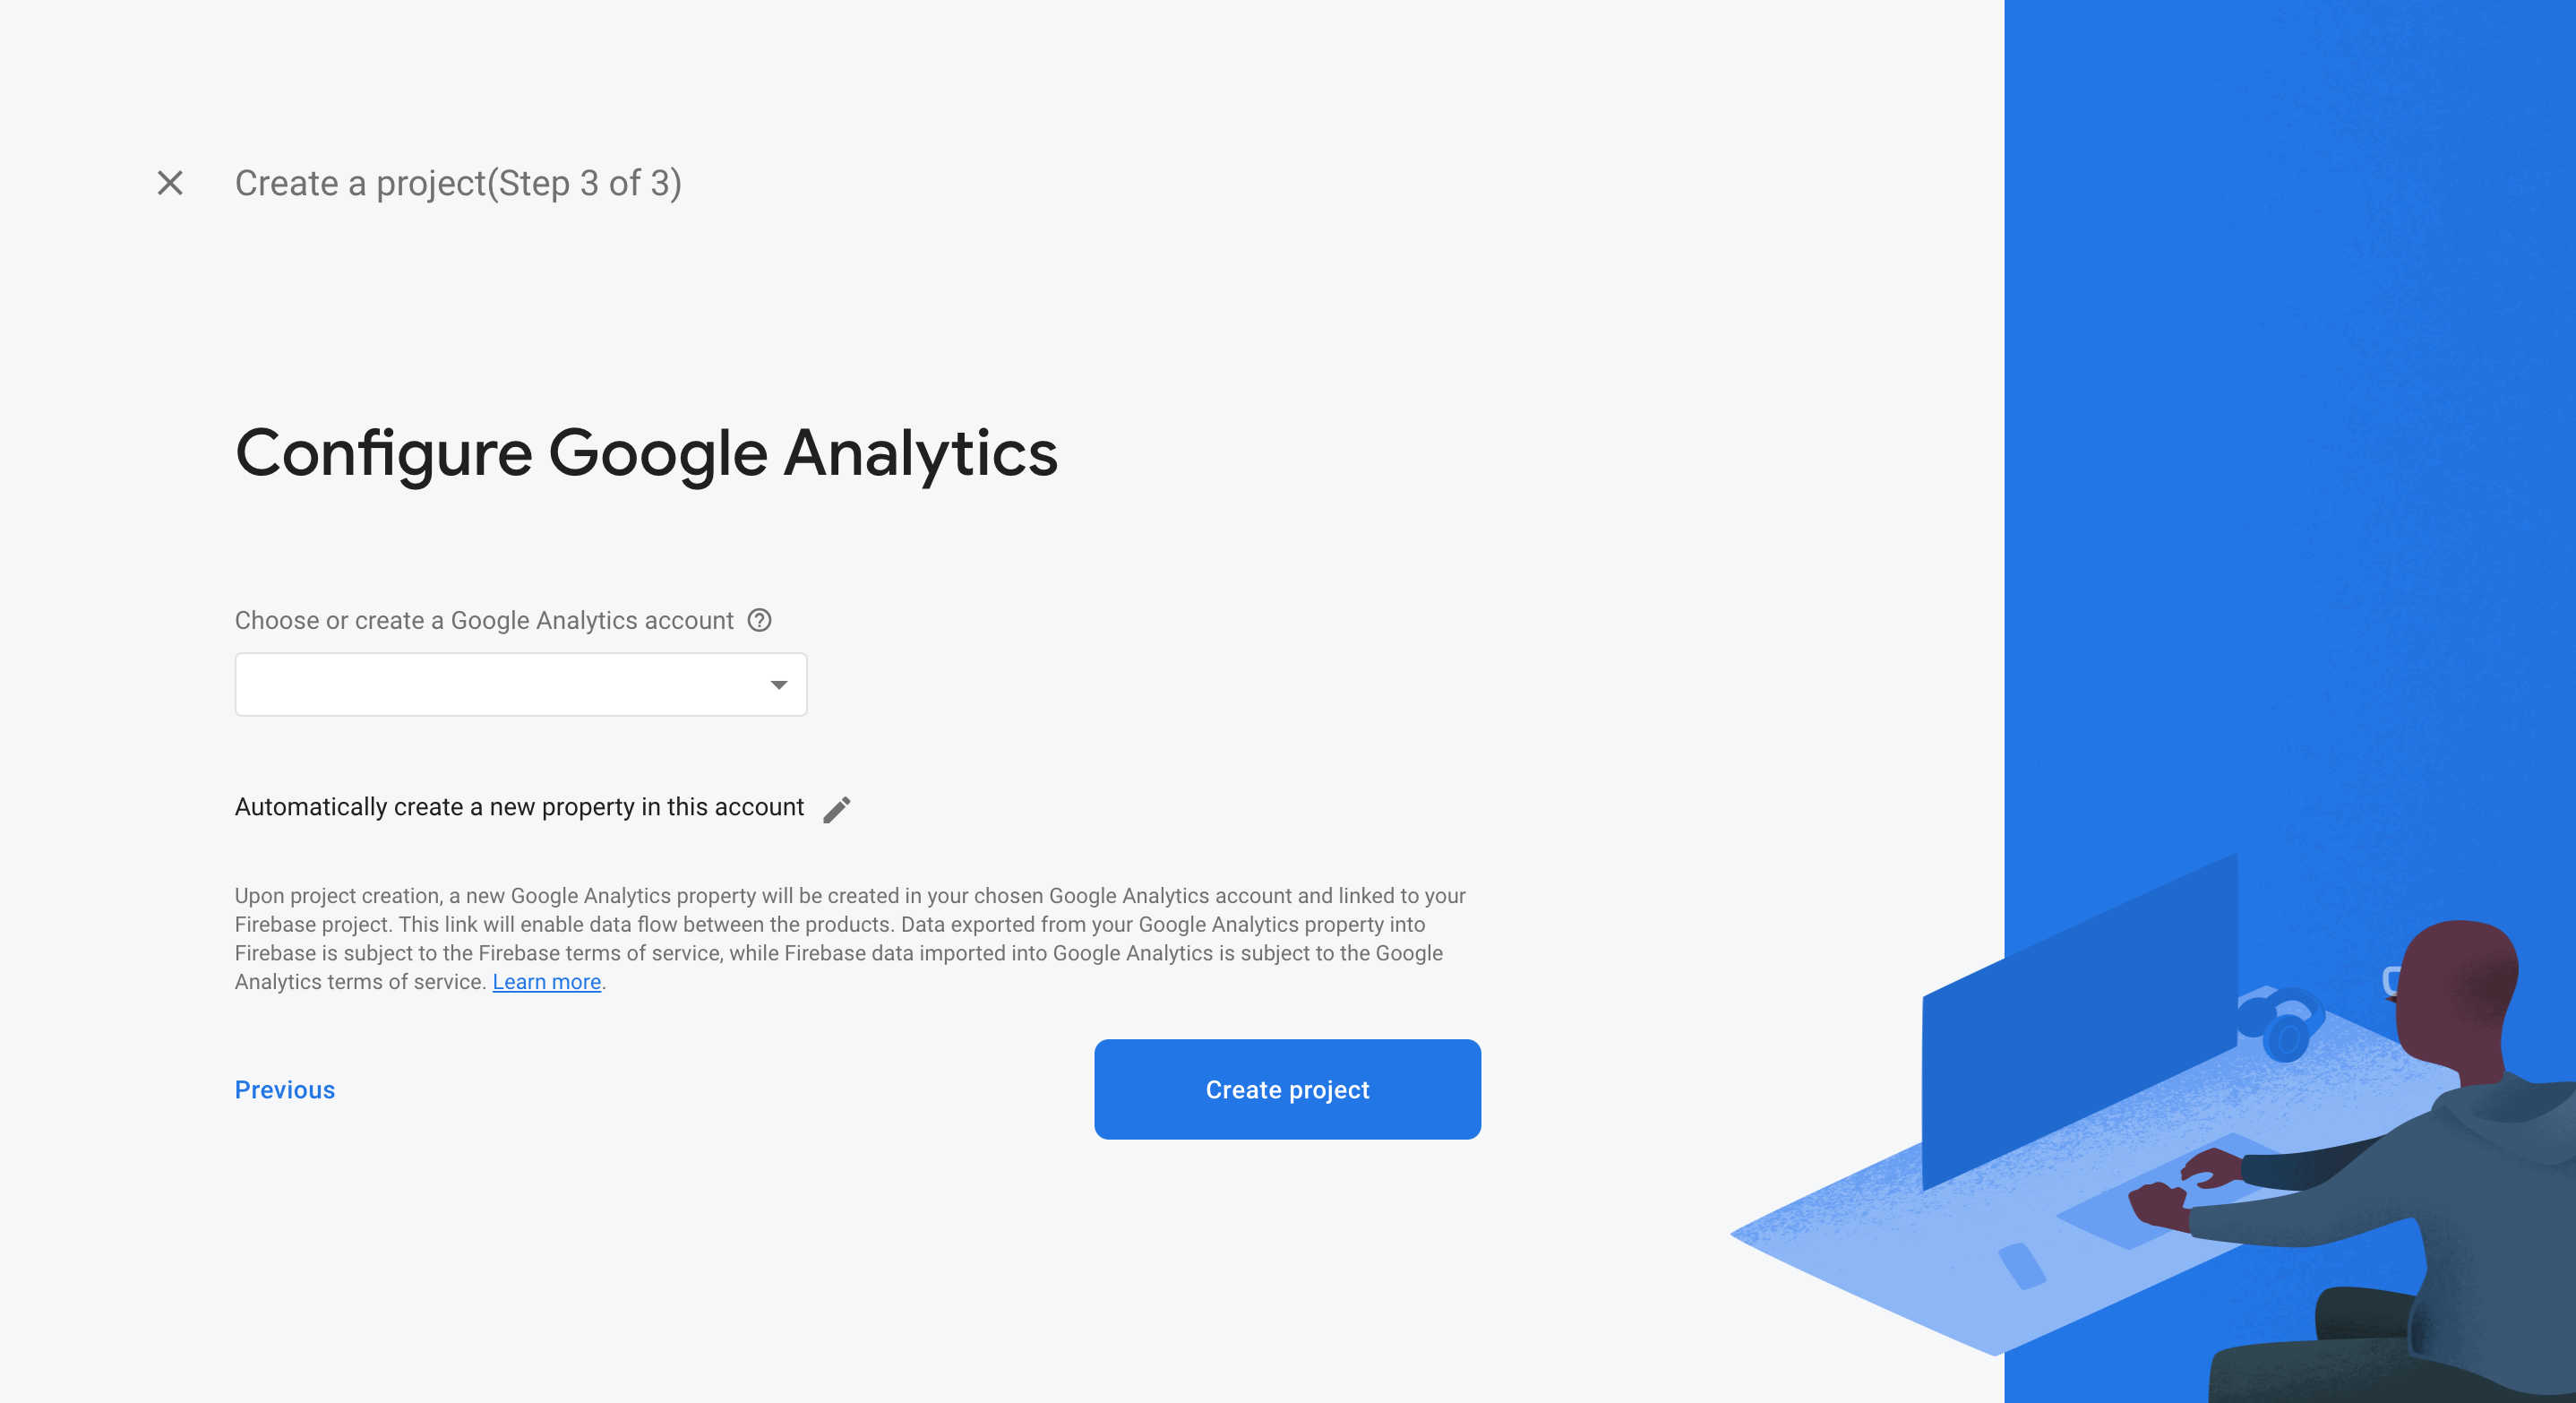
Back in your blog directory, initialize Firebase:
firebase init
You will be prompted for configuration details:
| Prompts | Answer |
|---|---|
| Which Firebase CLI features do you want to set up for this folder? | Hosting: Configure and deploy Firebase Hosting sites |
| Project Setup Options | Use an existing project |
| What do you want to use as your public directory? | public |
| Configure as a single-page app (rewrite all urls to /index.html)? | N |
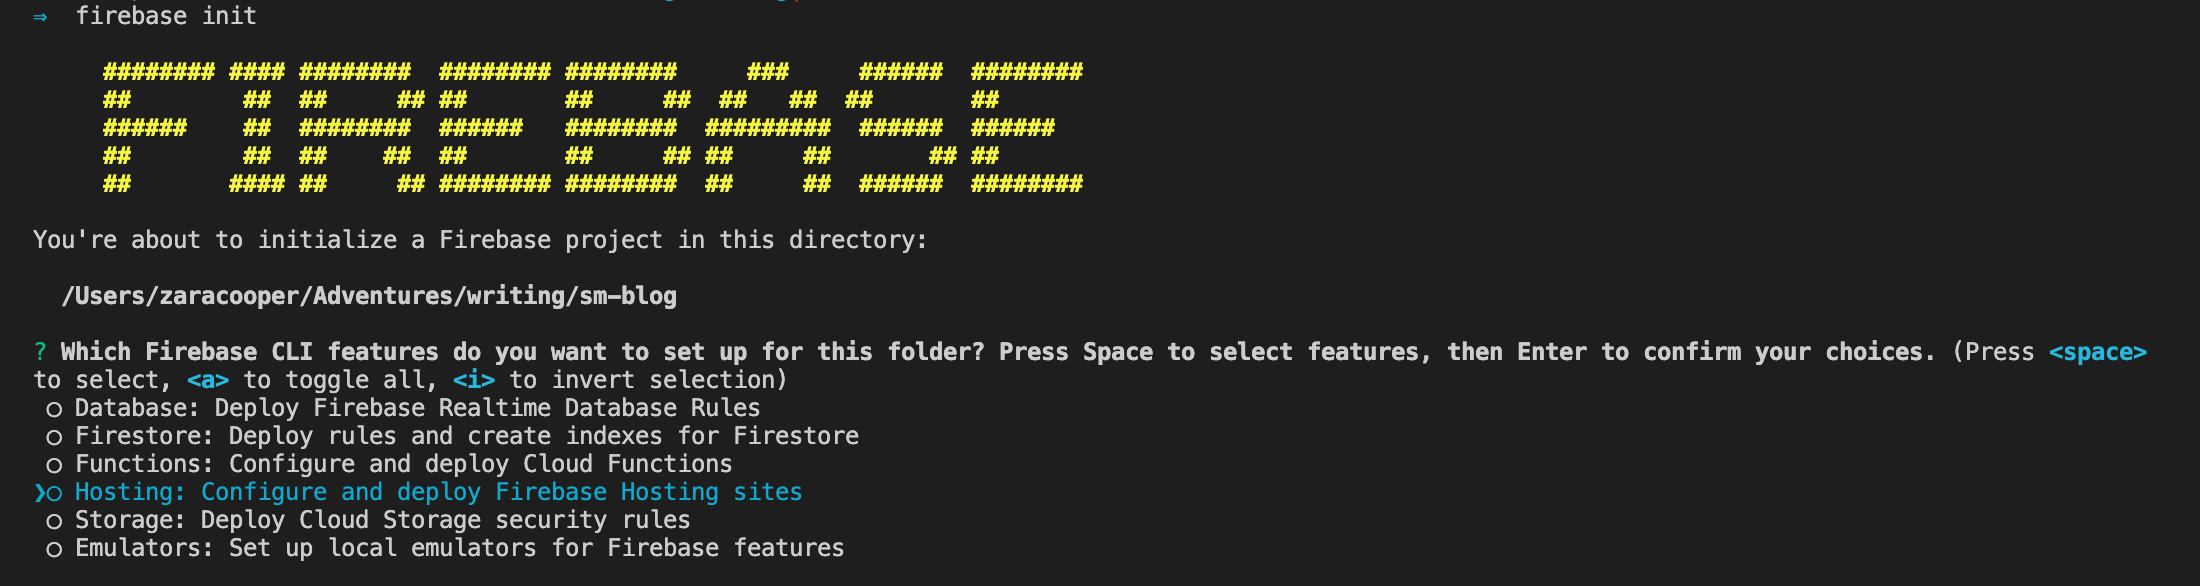
firebase init command requesting a feature selection. (Large preview)
firebase init command requesting a project selection. (Large preview)
firebase init command requesting a deployment folder and inquiring whether to configure the project as a single-page app. (Large preview)Build the static site. This creates the /public folder with all generated files:
hugo
Then deploy:
firebase deploy
The hosting URL returned in the command output is your live blog:
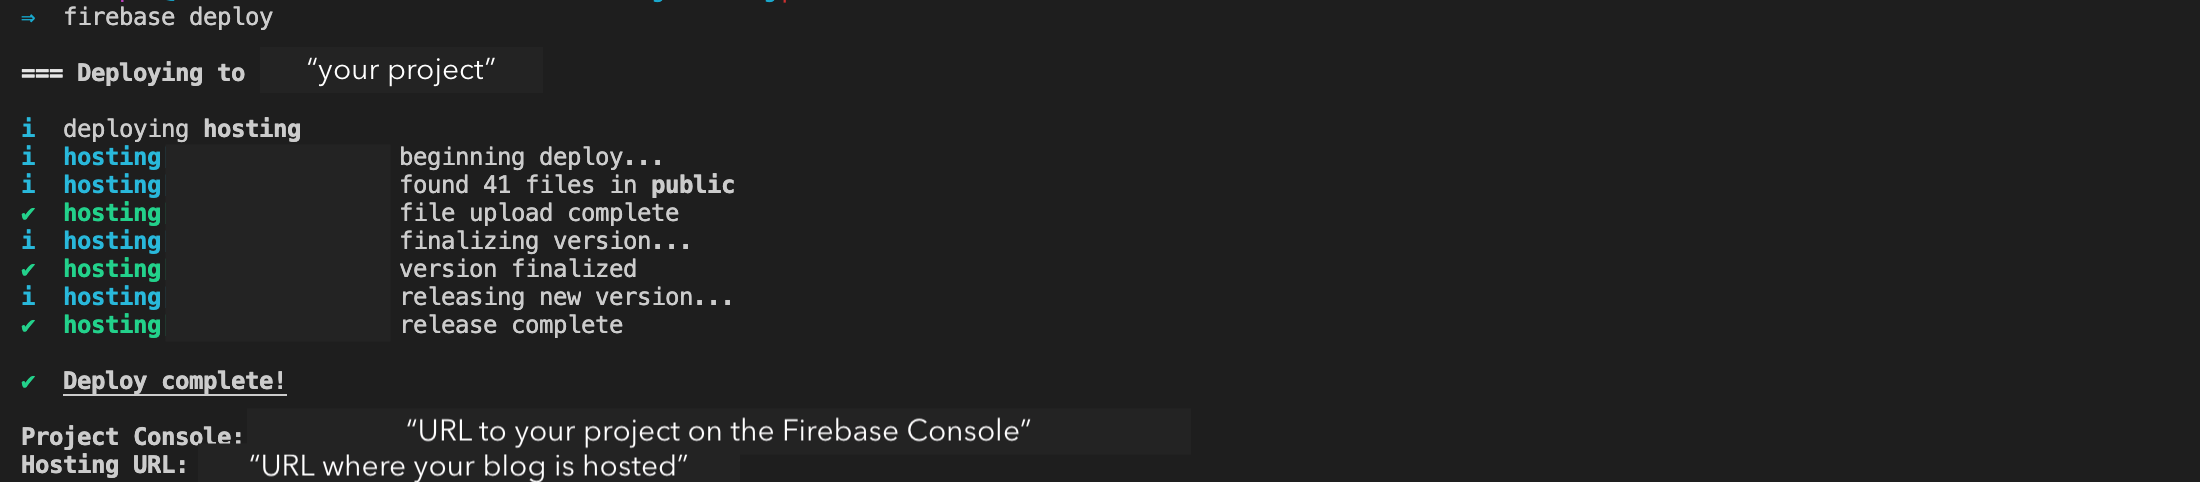
firebase deploy command. (Large preview)Next Steps After Launch
Firebase hosting URLs are long and not memorable, so consider buying a custom domain and attaching it to your Firebase project. Third-party platforms still have value for reach — cross-posting on sites like Medium, dev.to, or Hashnode puts your writing in front of new audiences. Always add the canonical URL pointing back to your blog to avoid duplicate-content penalties in search rankings — these platforms support that tag.
Why Bother Writing?
A personal technical blog is one of the more reliable investments you can make in your own career. It forces you to clarify half-formed ideas, document solutions you will almost certainly need again, and build a public record of what you know. Even if no one reads it for months, the act of publishing regularly sharpens your communication and deepens your understanding of the tools you use daily.
That public record has a compounding effect. Recruiters, hiring managers, and potential collaborators will find your writing when they search for specific problems. A well-indexed post that helps one person last year might help a hundred next year. Over time, your blog becomes a portfolio that demonstrates not just what you have built, but how you think about trade-offs and architecture.
Maintaining a blog is also a practical exercise in operations. You will own the domain, the hosting, the deployment pipeline, and the content pipeline. If you are interested in site reliability or platform engineering, that small, self-managed system becomes a safe place to experiment with CI/CD, caching, and monitoring — skills that translate directly to your day job.
If You Want To Go Further
The tutorial covers a single, proven path from source files to a live site. Once the basics are comfortable, the same stack opens several directions for customisation. You might, for example, explore migrating an existing WordPress archive into Hugo's content model, or connecting a headless CMS to the same static output. Both are natural extensions of the workflow you have just set up.
For a different kind of technical exercise, you could look at how modern JavaScript frameworks handle progressive enhancement without a build step, or study how remote teams structure communication. These topics are adjacent to the core setup and are useful reading when you are ready to broaden the scope of what you publish.
- Switching From WordPress To Hugo
- How To Create A Headless WordPress Site On The JAMstack
- Replacing jQuery With Vue.js: No Build Step Necessary
- Creating Authentic Human Connections Within A Remote Team