Scaffolding Polymer Apps with Yeoman
Productivity matters when you're building for the web. Boilerplate setup, development servers, and build pipelines all eat into the time you could spend on the actual application. Modern front-end tooling can automate much of that overhead.
Yeoman combines three command-line tools to streamline the process. yo runs framework-specific scaffolding generators, grunt handles the build, preview, and test cycle, and bower manages front-end dependencies. With a generator installed, standing up a project takes a couple of commands instead of an afternoon.
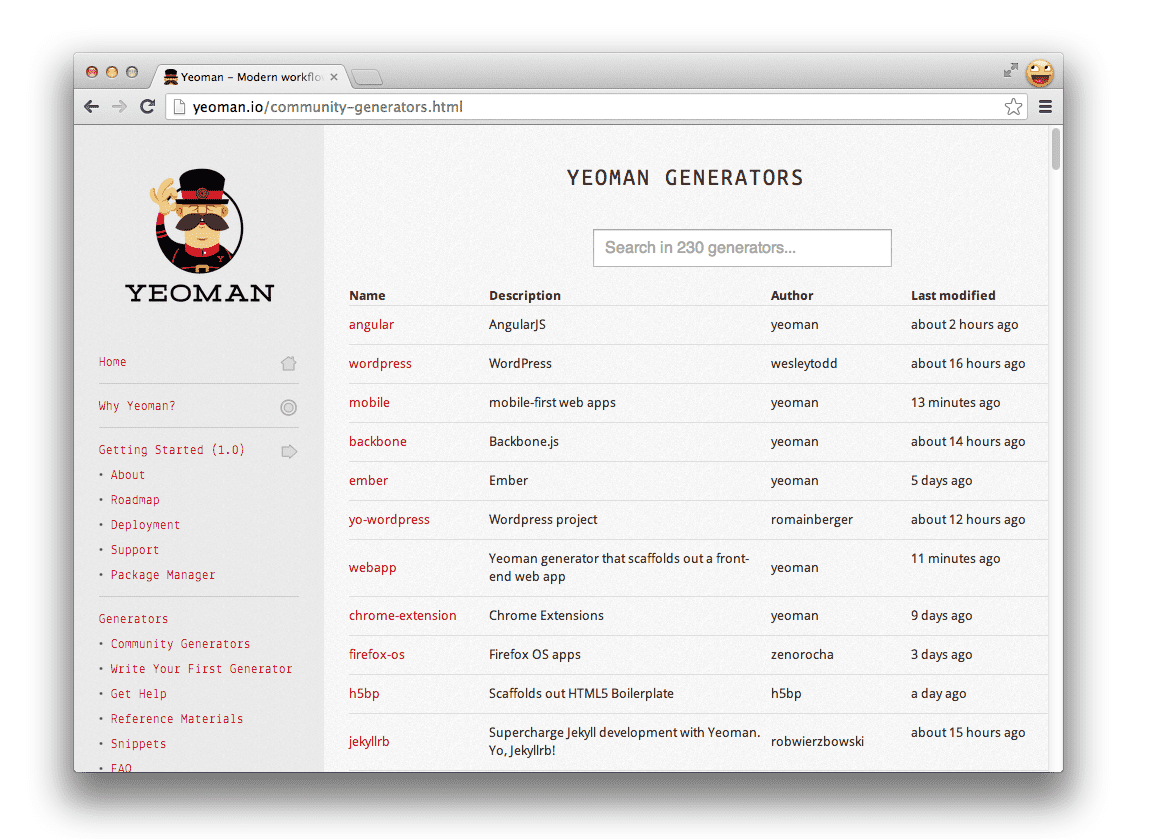
The generator ecosystem lives on npm, with more than 220 community-built options for frameworks like Angular, Backbone, and Ember. For teams working with Web Components, the generator-polymer offers the same rapid-start approach for projects built on Polymer.
Initial Setup
Start with a recent version of Node.js, then install the Yeoman toolchain globally:
$ npm install -g yo
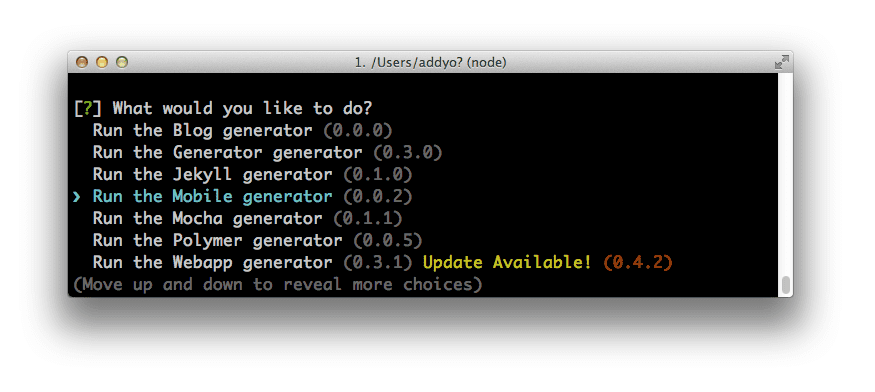
That installs yo, grunt, and bower and makes them available from the terminal. Running yo by itself opens the generator selection interface:
Installing the Polymer Generator
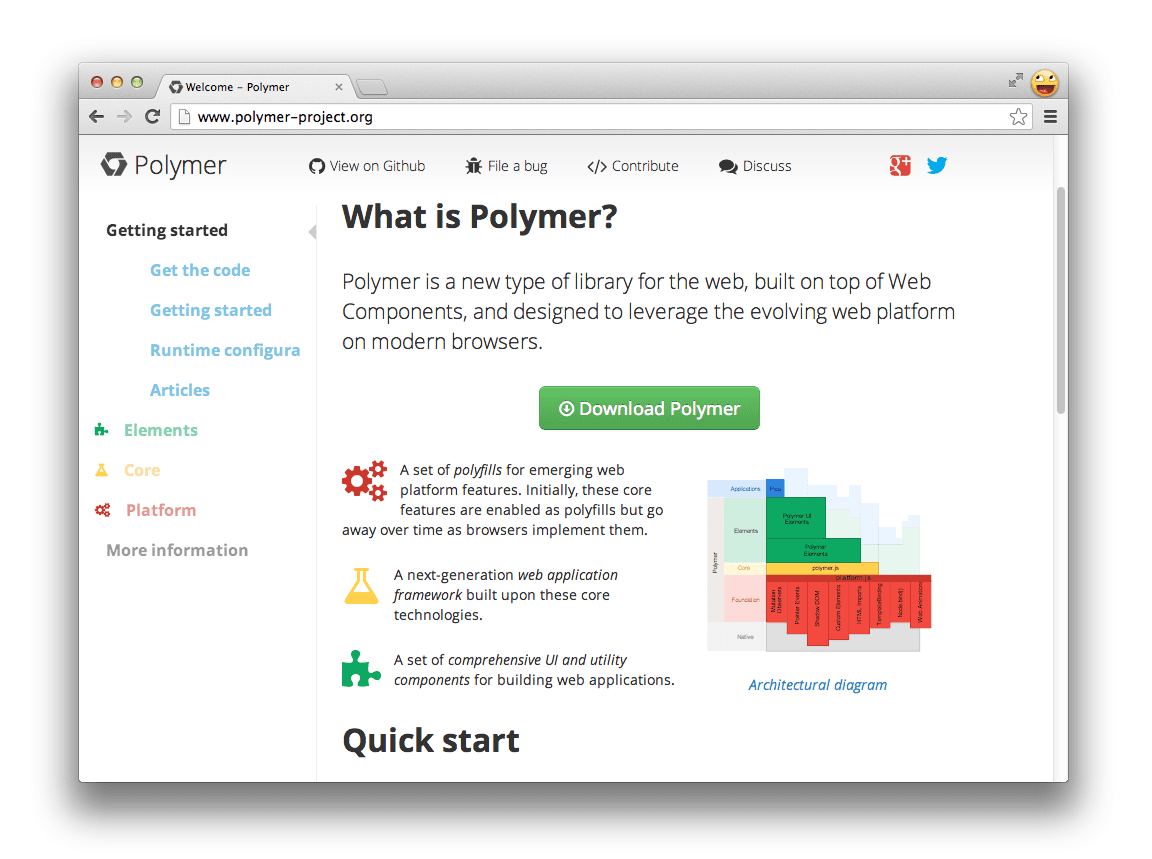
Polymer provides polyfills and convenience APIs for implementing Web Components in today's browsers. It lets developers build against the emerging platform standards and feed real-world feedback into the W3C spec process.
generator-polymer scaffolds Polymer applications with sensible defaults: an initial index.html, a Gruntfile.js with preconfigured build tasks, and a recommended folder layout. It also asks whether you want Sass Bootstrap for styling. Install the generator with:
$ npm install generator-polymer -g
Once installed, the generator exposes two main scaffolds:
polymer:app— bootstraps the entire project structure, including the HTML entry point, build configuration, and Grunt tasks.polymer:element— creates a single new Polymer custom element. For instance,yo polymer:element carouselgenerates boilerplate for acarouselelement that can then be imported via HTML Imports.
With the scaffold in place, you can create custom elements from the command line and wire them together using the platform's native import mechanism, skipping the repetitive boilerplate that usually slows down Web Component development.
Yeoman's workflow also compiles Sass, concatenates and minifies CSS, JS, HTML, and images, serves the project locally, and runs unit tests — all through Grunt tasks that ship with the generator.
Scaffolding a simple Polymer blog
With a generator in place, we can start building. We’ll create a basic blog with custom Polymer elements and a live data source. Kick things off with a new directory and project scaffold:
$ yo polymer
The generator pulls the latest Polymer from Bower, templates out index.html, a directory structure, and a set of Grunt tasks. After the scaffold finishes, start the preview server with:
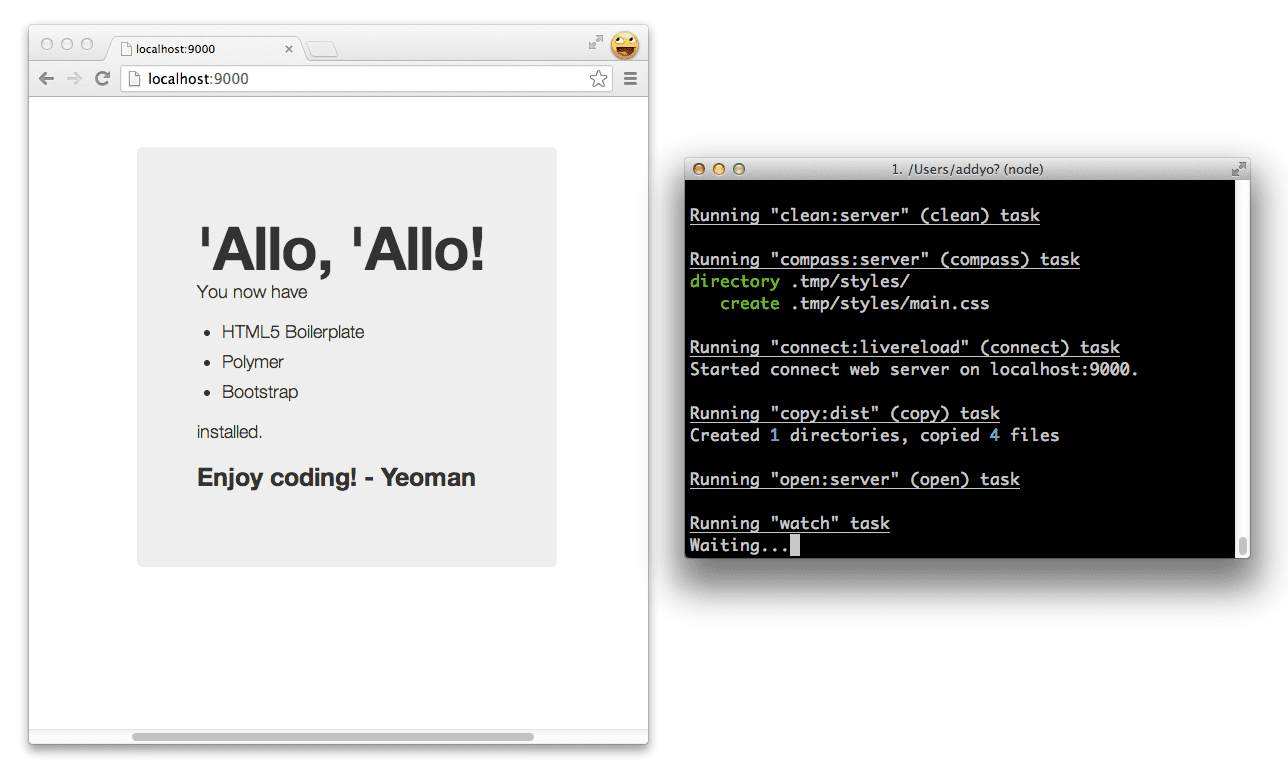
The server includes LiveReload, so saving a custom element in your editor triggers a browser refresh automatically.
Next, generate a custom element for a blog post:
$ yo polymer:element post
When prompted, decline the constructor, HTML Import, and custom path options. The generator then creates /elements/post.html containing:
- Custom element boilerplate that lets you use a
<post-element>tag in markup. - A
templatetag for client-side templating paired with scoped styles for encapsulating your element's look. - Element registration lifecycle code.
Feeding posts from a spreadsheet
To keep things useful, we'll wire the blog up to the Google Apps Spreadsheets API.
- Open the sample spreadsheet and choose File → Make a copy.
- In your copy, select File → Publish to the web and click start publishing.
- Copy the URL key from the published link (the value that follows
key=). - Plug it into this URL pattern:
https://spreadsheets.google.com/feeds/list/your-key-goes-here/od6/public/values?alt=json-in-script&callback=. Open that URL to examine the JSON output you'll parse later.
Each spreadsheet column maps to the API using a post.gsx$ prefix, for example post.gsx$title.$t and post.gsx$content.$t. Your scaffolded post element binds to these fields through a post attribute and a selected attribute that will later hold the active route:
<polymer-element name="post-element" attributes="post selected">

    <template>

    <style>
        @host { :scope {display: block;} }
    </style>

        <div class="col-lg-4">

            <template if="[[post.gsx$slug.$t === selected]]">

            <h2>
                <a href="#[[post.gsx$slug.$t]]">
                [[post.gsx$title.$t  ]]
                </a>
            </h2>

            <p>By [[post.gsx$author.$t]]</p>

            <p>[[post.gsx$content.$t]]</p>

            <p>Published on: [[post.gsx$date.$t]]</p>

            <small>Keywords: [[post.gsx$keywords.$t]]</small>

            </template>

        </div>

    </template>

    <script>

    Polymer('post-element', {

        created: function() { },

        enteredView: function() { },

        leftView: function() { },

        attributeChanged: function(attrName, oldVal, newVal) { }

    });

    </script>

</polymer-element>
Generate a wrapping blog element to hold your posts and layout:
$ yo polymer:element blog

[?] Would you like to include constructor=''? No

[?] Import to your index.html using HTML imports? Yes

[?] Import other elements into this one? (e.g 'another_element.html' or leave blank) post.html

    create app/elements/blog.html
This time accept the HTML Import option and specify post.html as the dependency:
<link rel="import" href="post.html">

<polymer-element name="blog-element"  attributes="">

    <template>

    <style>
        @host { :scope {display: block;} }
    </style>

    <span>I'm <b>blog-element</b>. This is my Shadow DOM.</span>

        <post-element></post-element>

    </template>

    <script>

    Polymer('blog-element', {

        //applyAuthorStyles: true,

        //resetStyleInheritance: true,

        created: function() { },

        enteredView: function() { },

        leftView: function() { },

        attributeChanged: function(attrName, oldVal, newVal) { }

    });

    </script>

</polymer-element>
The blog element is now imported from index.html via an HTML Import in the document <head>:
<!doctype html>
    <head>

        <meta charset="utf-8">

        <meta http-equiv="X-UA-Compatible" content="IE=edge">

        <title></title>

        <meta name="description" content="">

        <meta name="viewport" content="width=device-width">

        <link rel="stylesheet" href="styles/main.css">

        <!-- build:js scripts/vendor/modernizr.js -->

        <script src="bower_components/modernizr/modernizr.js"></script>

        <!-- endbuild -->

        <!-- Place your HTML imports here -->

        <link rel="import" href="elements/blog.html">

    </head>

    <body>

        <div class="container">

            <div class="hero-unit" style="width:90%">

                <blog-element></blog-element>

            </div>

        </div>

        <script>
        document.addEventListener('WebComponentsReady', function() {
            // Perform some behaviour
        });
        </script>

        <!-- build:js scripts/vendor.js -->

        <script src="bower_components/polymer/polymer.min.js"></script>

        <!-- endbuild -->

</body>

</html>
Adding the JSONP fetch
We'll use the Polymer JSONP utility to read the spreadsheet data. Install the full polymer-elements package with Bower:
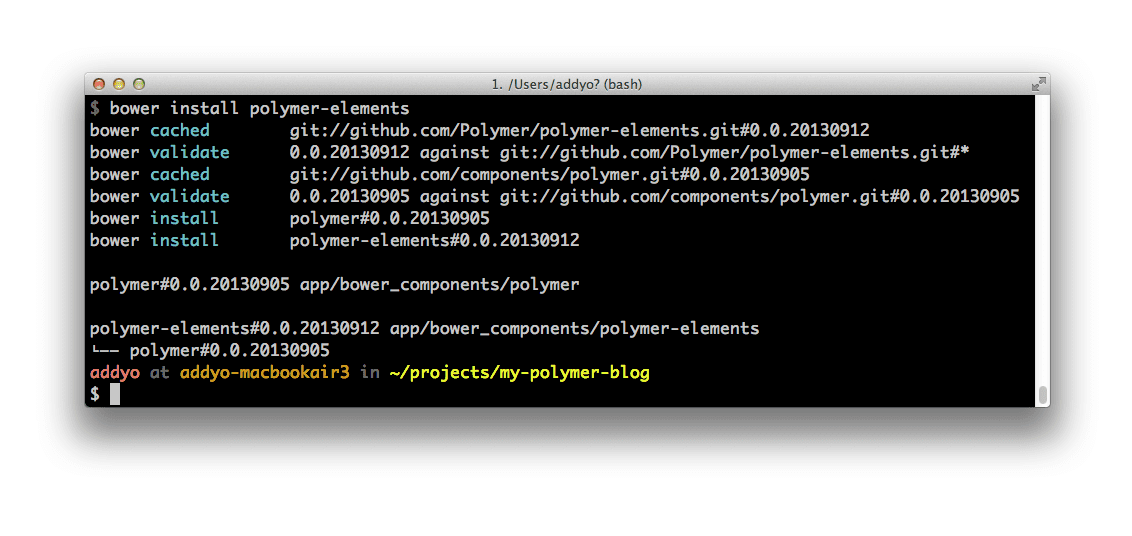
In the blog element, import the JSONP component and reference it, providing the published spreadsheet URL with a trailing &callback=:
<link rel="import" href="../bower_components/polymer-jsonp/polymer-jsonp.html">
<polymer-jsonp auto url="https://spreadsheets.google.com/feeds/list/your-key-value/od6/public/values?alt=json-in-script&callback=" response="[[posts]]"></polymer-jsonp>
With data flowing in, add templates to iterate over the JSON response. The first renders a table of contents with titles linked to their slugs; the second outputs fully rendered <post-element> instances with the post data and route passed through:
<!-- Table of contents -->

<ul>

    <template repeat="[[post in posts.feed.entry]]">

    <li><a href="#[[post.gsx$slug.$t]]">[[post.gsx$title.$t]]</a></li>

    </template>

</ul>
<!-- Post content -->

<template repeat="[[post in posts.feed.entry]]">

    <post-element post="[[post]]" selected="[[route]]"></post-element>

</template>
The repeat attribute on the inner template creates one instance for each item in the collection. Now we need a way to populate the binding that determines which post is displayed. Instead of hand-rolling a router, drop in the Flatiron director element from the more-elements package. After copying it to /elements, reference it with:
    <link rel="import" href="post.html">

    <link rel="import" href="polymer-jsonp/polymer-jsonp.html">

    <link rel="import" href="flatiron-director/flatiron-director.html">

    <polymer-element name="blog-element"  attributes="">

      <template>

        <style>
          @host { :scope {display: block;} }
        </style>

        <div class="row">

          <h1><a href="https://web.dev/#">My Polymer Blog</a></h1>

          <flatiron-director route="[[route]]" autoHash></flatiron-director>

          <h2>Posts</h2>

          <!-- Table of contents -->

          <ul>

            <template repeat="[[post in posts.feed.entry]]">

              <li><a href="#[[post.gsx$slug.$t]]">[[post.gsx$title.$t]]</a></li>

            </template>

          </ul>

          <!-- Post content -->

          <template repeat="[[post in posts.feed.entry]]">

            <post-element post="[[post]]" selected="[[route]]"></post-element>

          </template>

        </div>

        <polymer-jsonp auto url="https://spreadsheets.google.com/feeds/list/0AhcraNy3sgspdHVQUGd2M2Q0MEZnRms3c3dDQWQ3V1E/od6/public/values?alt=json-in-script&callback=" response="[[posts]]"></polymer-jsonp>

      </template>

      <script>

        Polymer('blog-element', {

          created: function() {},

          enteredView: function() { },

          leftView: function() { },

          attributeChanged: function(attrName, oldVal, newVal) { }

        });

      </script>

    </polymer-element>
The blog reads from the JSON spreadsheet and composes the scaffolded elements.
Bringing in a third-party element
Community component registries like customelements.io have grown, and using them is straightforward. To add a Gravatar avatar to each post, copy the community gravatar element into your /elements directory. Import it from post.html and update your template, passing the author's email field from spreadsheet row data:
<link rel="import" href="gravatar-element/src/gravatar.html">

<polymer-element name="post-element" attributes="post selected">

    <template>

    <style>
        @host { :scope {display: block;} }
    </style>

        <div class="col-lg-4">

            <template if="[[post.gsx$slug.$t === selected]]">

            <h2><a href="#[[post.gsx$slug.$t]]">[[post.gsx$title.$t]]</a></h2>

            <p>By [[post.gsx$author.$t]]</p>

            <gravatar-element username="[[post.gsx$email.$t]]" size="100"></gravatar-element>

            <p>[[post.gsx$content.$t]]</p>

            <p>[[post.gsx$date.$t]]</p>

            <small>Keywords: [[post.gsx$keywords.$t]]</small>

            </template>

        </div>

    </template>

    <script>

    Polymer('post-element', {

        created: function() { },

        enteredView: function() { },

        leftView: function() { },

        attributeChanged: function(attrName, oldVal, newVal) { }

    });

    </script>

</polymer-element>
With these edits, your posts now show their authors' Gravatar images.
Optimizing for production
The generator's Grunt workflow handles more than just scaffolding. Running grunt executes the default task set: linting, testing, and a build. The lint portion checks your JavaScript against your .jshintrc preferences. The test task also starts a static server and uses the Mocha test runner when you add tests.
The build process (grunt build) creates a production-ready copy of your app in a dist directory. If anything goes wrong, a reference build of this example is on GitHub at https://github.com/addyosmani/polymer-blog.
Lighter alternative: standalone install
If you'd rather not use the full generator scaffold, install Polymer directly:
bower install polymer
That puts Polymer under bower_components so you can wire it into an existing app manually.
The tools around Web Components are still maturing. The ecosystem for packaging components with Bower, and tooling capable of concatenating HTML Imports for performance (through utilities like Vulcanize) is still settling, but the core workflow of scaffolding components with Yeoman and combining custom and third-party elements is already workable for a small production app.


