

Turning a repo into a live custom-domain site without touching DNS
For side projects, a custom domain is often the finishing touch that makes everything feel official. But DNS configuration — A records, CNAME entries, TTLs and the inevitable waiting — tends to be the part that trips people up. You can sidestep that friction entirely by letting GitHub Copilot CLI drive the process, with a community-built Namecheap skill handling DNS changes through the registrar’s API.
Here’s how to take an empty repository to a live site on a custom domain with HTTPS, in around 14 minutes, without manually editing a single DNS record.
What you need to start
- A GitHub account (free tier is fine)
- GitHub Copilot CLI, installed and authenticated with Copilot
- A Namecheap account for domain registration and API access
No prior DNS knowledge is required — that’s the point of this workflow.
Publishing the site on GitHub Pages
Before anything else, you need a repository to deploy. Create a new public repo to serve as the site’s home.
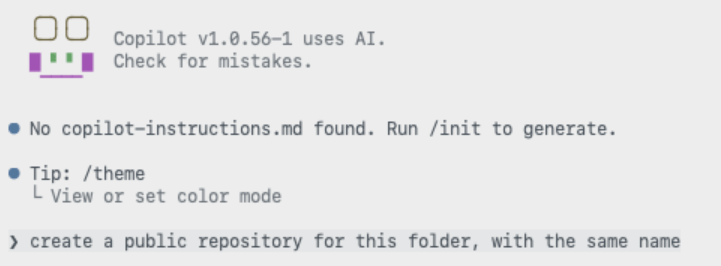

You don’t have to write an index.html by hand, commit it, and manually flip on Pages in the settings. Instead, tell Copilot CLI what you want and let it create the landing page and enable GitHub Pages.
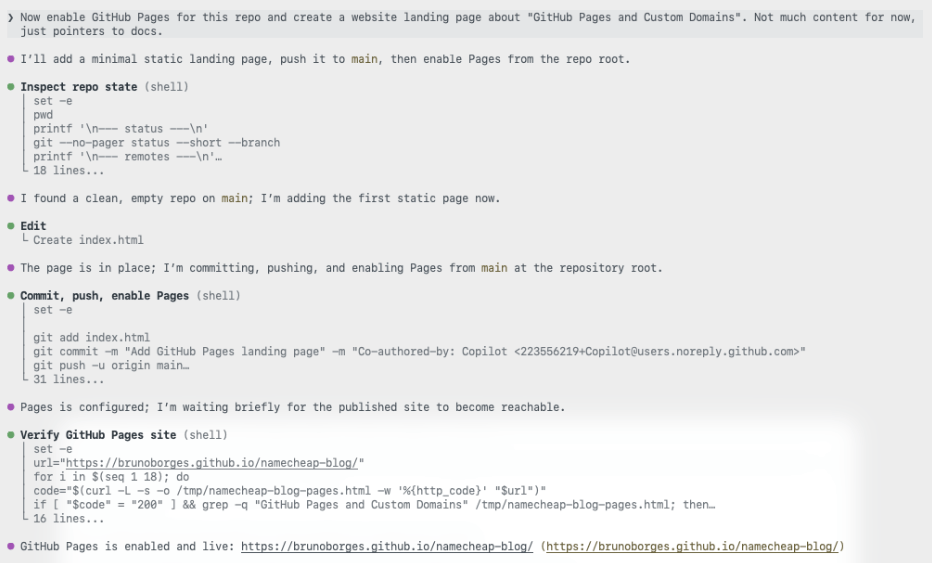
The site is now accessible at its default github.io URL. With that baseline in place, you can move on to giving it a real address.
Registering a cheap domain
A premium .com isn’t necessary for a side project. A .click TLD keeps the cost low and the experimentation easy. For this walkthrough, ghpagesblog.click was available and cost USD $2.00 at checkout — a minimal investment for testing a custom domain setup.
Connecting the domain to GitHub Pages
This is where the process usually gets tedious. With the right setup, the repetitive work is delegated to the AI assistant while you retain control over each decision.
Enabling Namecheap API access
Copilot CLI can’t update DNS records unless Namecheap’s API is active. In your account, navigate to Profile → Tools, scroll to Business & Dev Tools, and select Manage under Namecheap API Access. You can also reach it directly at the API access settings page (the URL may change over time).
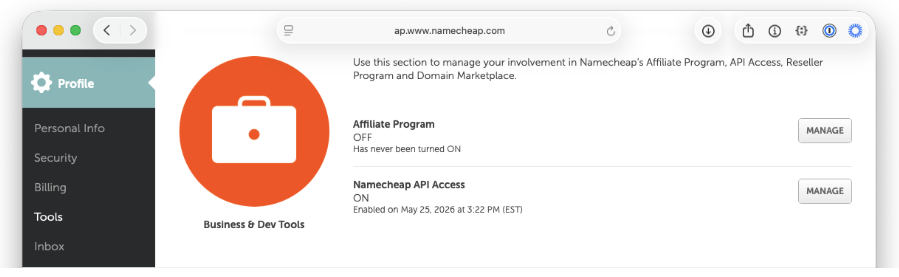
On that page, complete three steps:
- Toggle the API to ON.
- Add the public IP of the machine making API calls to the IP allowlist (labelled Whitelisted IPs).
- Copy the API Key and store it safely — you’ll need it shortly.
Installing the Namecheap skill
The next step gives Copilot CLI the ability to interact with Namecheap by installing the Namecheap skill. It’s a single command:
gh skill install github/awesome-copilot namecheap --scope userOn first use, when you ask Copilot to do something like “list my Namecheap domains,” it confirms the skill is loaded and prompts for your username.
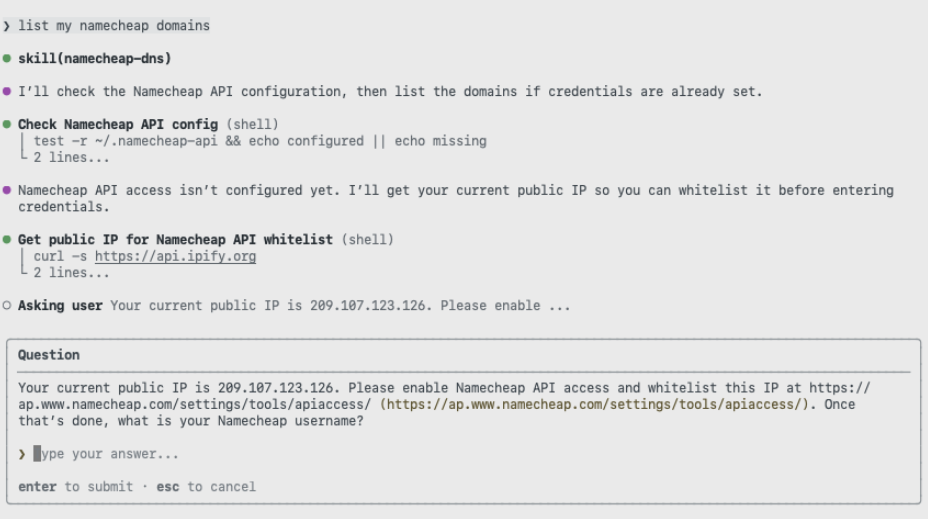
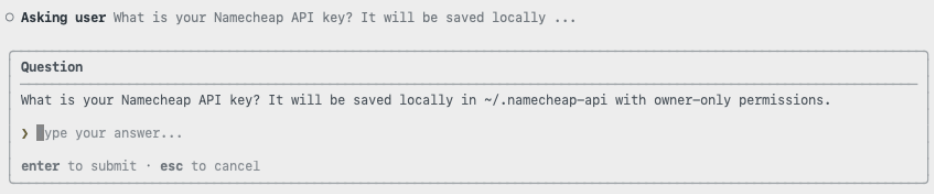
It then asks for the API key copied earlier.
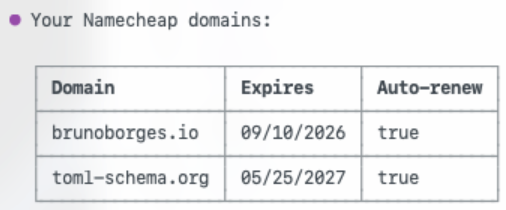
With credentials in place, Copilot returns the list of domains on your account — a quick sanity check that everything is wired correctly before you make any actual changes.
Pointing the domain at GitHub Pages
Now the domain can be linked to your Pages site. Just describe the desired outcome to Copilot:

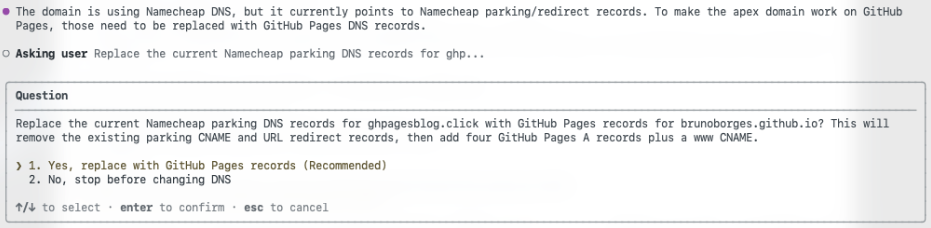
Good automation confirms before it acts. The skill pauses for approval before altering any records.
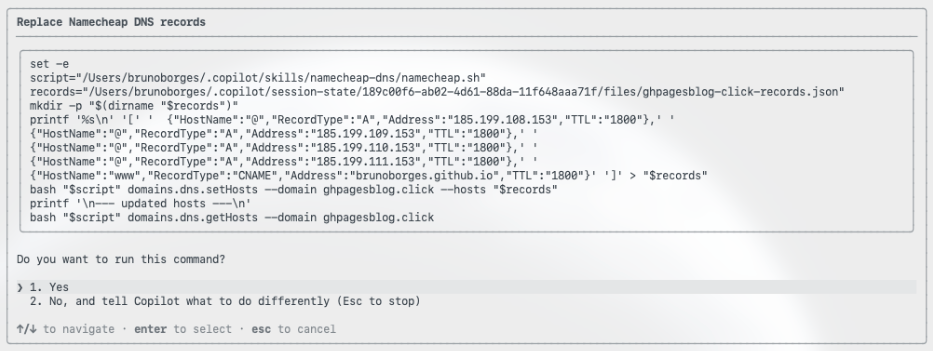
Once approved, it swaps the existing parking records for the GitHub Pages A records and a CNAME for the WWW subdomain — the exact configuration GitHub Pages expects, matching the documented steps in GitHub’s custom domain guide.
The repository side is handled too: a CNAME file is committed so GitHub Pages knows which custom domain the site should answer to.
Verifying the deployment
Copilot CLI checks its own work rather than assuming success. It first confirms the domain resolves correctly.

It then verifies the site responds with a healthy HTTP 200 status.
The full Copilot CLI session, with every prompt and response, is available as a public gist.
In this example, the domain was purchased at 11:21:27 a.m. ET. The site was live on its custom domain with HTTPS at around 11:35 a.m. ET — roughly 14 minutes from start to fully deployed, including API setup, skill installation, DNS configuration, propagation checks and verification.
The takeaway
DNS isn’t difficult conceptually, but it’s fiddly, error-prone, and slow to give feedback. Pairing GitHub Pages with Copilot CLI and the Namecheap skill condenses the entire custom-domain process into a short conversation where you approve each change and the tooling handles the plumbing. If DNS setup has been the reason you’ve delayed putting a custom domain on a project, this workflow removes most of the friction.