

What GitHub Copilot does
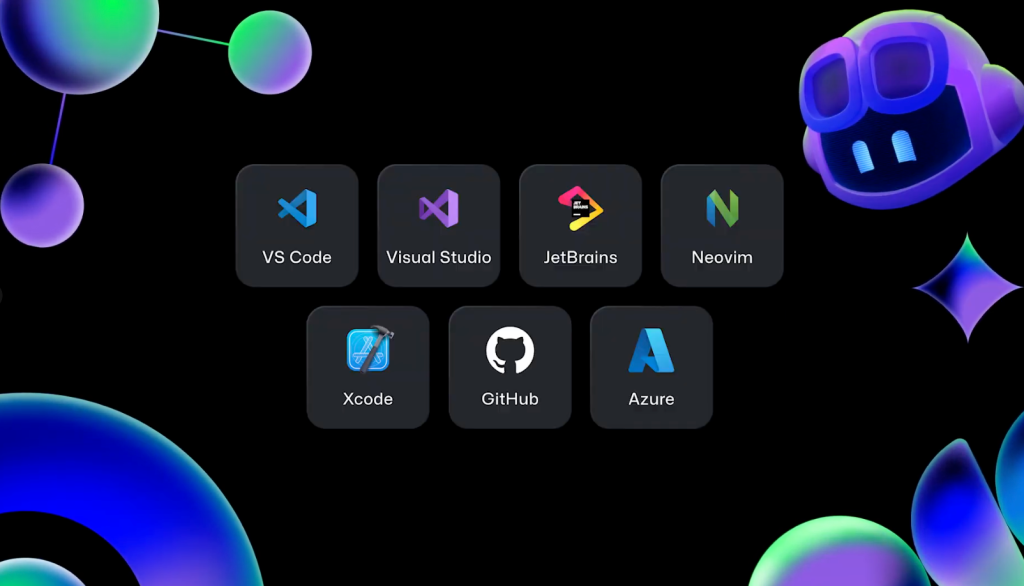
GitHub Copilot is an AI pair programmer built on large language models (LLMs) that runs inside your editor and on github.com. It handles code completion, natural-language-to-code prompts, shell command explanations, pull request descriptions, and debugging or refactoring work. It supports a range of programming languages and works across VS Code, Visual Studio, JetBrains IDEs, Neovim, XCode, GitHub Mobile, terminals, and github.com.
Because you can choose among multiple underlying LLMs, Copilot adapts to how you prefer to work. The key distinction from other AI coding assistants is that Copilot lives where you already write code—there is no need to switch between your editor and a separate browser tab or application.
Choosing the right plan
To use Copilot you need a GitHub account. If you want more than the free tier, you also need a paid license. The available plans break down as follows:
- Individuals: GitHub Copilot Free and Copilot Pro
- Organizations and professionals: Copilot Business and Copilot Enterprise
- Students and educators: Free Copilot Pro access through GitHub Education
- Maintainers of popular open source projects: Free Copilot Pro through the open source program

If you have never used Copilot before, start with the free tier. After you sign up, you can install Copilot in your IDE and use it on github.com.
Installing Copilot in VS Code
Installation steps differ by IDE. For VS Code:
- Open the Extensions Marketplace, search for "GitHub Copilot," and install the extension authored by GitHub. This installs both GitHub Copilot and GitHub Copilot Chat.
- Sign in to VS Code with the GitHub account that has Copilot access. If you have not authorized VS Code previously, you will need to sign in to GitHub from within VS Code.
- Your setup is complete.
Two details can help if something goes wrong:
- Use the "Accounts" menu in the Activity Bar, then select "Sign in to Sync Settings" to activate Copilot.
- In the browser, click "Continue" to grant GitHub the permissions Copilot needs and authorize VS Code.
After you return to the editor, you will see a Copilot icon next to the Command Center and another in the bottom bar. When the bottom icon shows a ready status, Copilot is installed and functional.
Installing Copilot in JetBrains IDEs
For JetBrains products, the process is similar. Using PyCharm as an example:
- Open the plugins marketplace, search for "GitHub Copilot," install it, and restart the IDE.
- Open a project. A Copilot icon appears on the right side of the editor and another at the bottom with a "ready" status. Two additional icons appear on the left: one marked with a question mark and one with a chat icon.
- The question mark icon shows a welcome overview of Copilot; the chat icon handles programming-related questions.
If JetBrains is not already authorized in your GitHub account, you will need to sign in from the editor. You can click the Copilot icon at the bottom and choose "Login to GitHub," then approve permissions in the browser. Copilot presents a code to paste—press CMD+V or CTRL+V—then click continue and select "Authorize GitHub Copilot plugin."
You then need to authorize Copilot Chat separately:
- Click the chat icon and press "Authorize."
- Select "Copy and Open," paste the code in your browser, and click "Authorize GitHub Copilot for JetBrains IDEs."
- Return to the editor. A greeting from Copilot Chat confirms the setup is done.
Working with code completions
Once installed, Copilot's inline completions appear as ghost text as you type. A short Python example in VS Code shows the flow:
- Create a new file named
validate_email.py. - Type
import reand press Enter. Copilot suggests code based on the file name and context—here, email validation logic. - Press the tab key to accept the suggestion.
- Press the Return key to prompt Copilot for the
mainfunction. - Hover over a suggestion and click the arrows to cycle through alternatives.
- Use the three dots at the end of a suggestion and select "Open Completions Panel" for more options.
Note that responses are nondeterministic. Because Copilot runs on LLMs, running the same prompt at different times can produce different suggestions than shown in examples.
Using Copilot Chat for context and edits
Copilot Chat offers more context than inline completion, which is useful when you encounter code for the first time. Open the chat window and type /explain followed by Enter to get a detailed explanation of the current file. The eye icon at the bottom of the chat window shows which file Copilot has in view.
Copilot Chat also handles modification requests. For example, you can request: "allows users to enter email multiple addresses for validation and also improve the regex to be more robust." Copilot responds with a plan, an updated code block, and suggested changes. Hover over the code block and click "Apply in Editor" to accept the changes directly.