Headless WordPress with Frontity: Performance Model and Setup
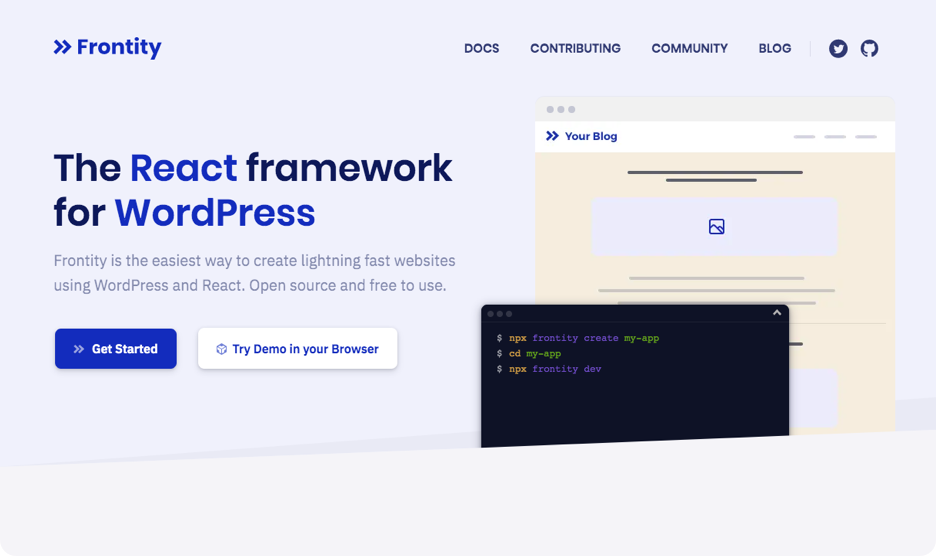
Frontity is a React-based, server-side dynamic-rendering framework focused on WordPress. Its architecture matters for performance: a project either runs in decoupled mode or embedded mode.
How Frontity Serves a WordPress Site
In decoupled mode, Frontity fetches REST API data from a WordPress PHP server and returns final HTML to visitors as an isomorphic React app (used in the custom theme). The main domain points to Frontity, while a subdomain points to the WordPress site.

Embedded mode takes the opposite arrangement. The Frontity theme package replaces the WordPress PHP theme, with the required Frontity Embedded Mode plugin making an internal HTTP request to the Frontity/Node.js server to retrieve HTML pages. Here the main domain points to WordPress — shared by visitors and content editors — and Frontity uses a secondary subdomain.
Frontity also ships a built-in AMP feature that generates a stripped-down version of HTML pages for faster server-side rendering, avoiding multiple WordPress requests. This yields a more dynamic static-site experience, and the built-in server extensibility can be pushed further with a Serverless Pre-rendering (SPR) technique — also called a stale-while-revalidate cache — via KeyCDN and StackPath.
Prerequisites
Since Frontity is React-based, working knowledge of React and JavaScript with ES6 features is recommended. Frontity's tutorial docs add:
- Proficiency in HTML and CSS
- Experience using the command line
- A node.js server
- A code editor
Installing the Frontity Project
You need a Frontity project plus a WordPress installation to act as the data source. Confirm Node.js and npm are installed, then create a project with the Frontity CLI:
### creating a frontity project
npx frontity create my-frontity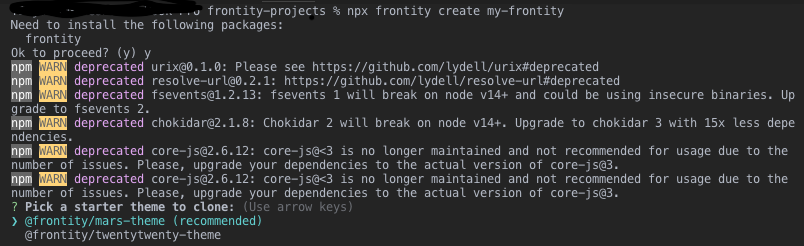
Frontity offers two themes, twentytwenty-theme and mars-theme; mars-theme is the recommended starting point. A valid e-mail address is required at the prompt — useful the first time to stay in contact with Frontity's developers, with little use afterward.
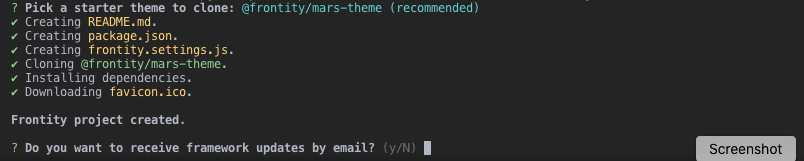

Then enter the folder and start the development server:
### change dir to project folder
cd my-frontity
### start development server with npx
npx frontity dev
### starting dev server with yarn
yarn frontity devThe project should be viewable at http://localhost:3000.
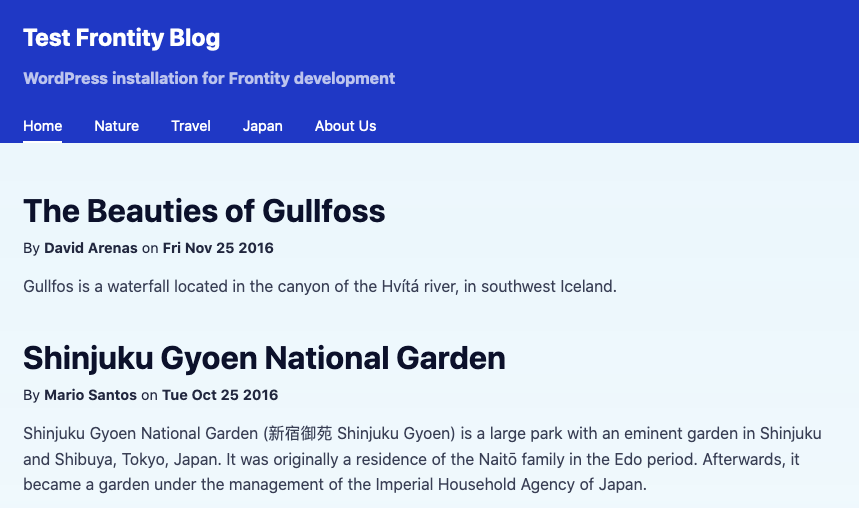
At this stage the mars-theme front end is complete but not yet connected to your own site.
Preparing the WordPress Data Source
Use an existing WordPress install or a fresh local test site. For this project the latest WordPress version was installed with Local, with theme test data imported, including test data for block editor styling.

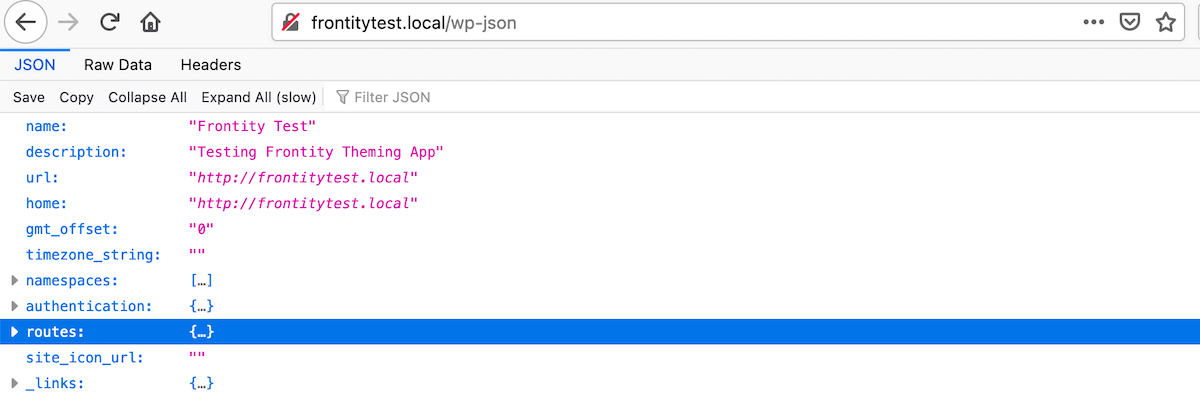
Recent WordPress versions ship the WordPress REST API in core. Appending /wp-json to the site URL (e.g. http//mytestsite.local/wp-json) should return the wp-content data in JSON format. Frontity also requires pretty permalinks (post name) to be activated under Settings > Permalinks.

Connecting Frontity to WordPress
Update frontity.settings.js to point at the WordPress install. The state.source object name must change from url to api; save and restart the development server to see the connection.
// change source URL in frontity.settings.js
const settings = {
  ...,
  packages: [
    ...,
    {
      name: "@frontity/wp-source",
      state: {
        source: {
          // Change this url to point to your WordPress site.
          api: "http://frontitytest.local/wp-json"
        }
      }
    }
  ]
}
Menu items (Nature, Travel, Japan, About Us) will still come from the Frontity demo site. WordPress treats menu items as private custom post types visible only to logged-in users, and they are not exposed as visible endpoints until WordPress REST API Version 2; registered menus can be extended with the WP-REST-API V2 Menu plugin. Because menus change infrequently, the Mars theme hard-codes them in frontity.settings.js as state, exported to index.js.

// add menu items in frontity-settings.js
{
  name: "@frontity/mars-theme",
  state: {
    theme: {
      menu: [
        ["Home", "/"],
        ["Block", "/category/block/"],
        ["Classic", "/category/classic/"],
        ["Alignments", "/tag/alignment-2/"],
        ["About", "/about/"]
      ],
      featured: {
        showOnList: true,
        showOnPost: true
      }
    }
  }
},
After saving and restarting, the menu items from your own site (Block, Classic, Alignment, About) appear in the header.

Project Structure and Styling
The project folder holds package.json, frontity.settings.js, and the node_modules/ and packages/mars-theme folders.
### File structure
frontity-demo/
|__ node_modules/
|__ package.json
|__ frontity.settings.js
|__ favicon.ico
|__ packages/
|__ mars-theme/node_modules: installed Frontity project dependencies; not meant to be modified.packages/: contains the installedmars-theme, whosesrcfolder holds custom packages and possibly core Frontity packages that can be edited and customized. Everything in Frontity is a package.frontity.settings.js: the most important file, where basic setup is pre-populated. Desired settings and extensions — such as the data source URL and required packages and libraries — are configured here under the Frontity state package.package.json: declares the dependencies the app needs to work.
Frontity styles components with the CSS-in-JS library Emotion. The default mars-theme uses styled components from @emotion/styled, whose syntax is very close to CSS. As a quick test, the header title and description styles are defined as Title and Description styled components at the bottom of header.js; changing the title color to yellow and the description to an aqua tone updates the site header.

Deploying to Vercel
Frontity lists Vercel, Moovweb XDN and Heroku as popular hosts, but most Frontity projects are hosted at Vercel. Frontity highly recommends Vercel and provides a step-by-step deployment guide.
Development runs through npx frontity dev. For deployment, create a production build from the project root:
#! create production version of project
npx frontity build
This creates a build folder containing both the isomorphic React app and the Frontity Node.js server, used by the command npm frontity serve. Create a Vercel account (GitHub credentials work) and log in from the project root:
#! login to vercel
npx vercel login
Add a vercel.json file at the project root:
{
  "version": 2,
  "builds": [
    {
      "src": "package.json",
      "use": "@frontity/now"
    }
  ]
}
Deploy with the vercel command from the project root, answering the short deployment prompts:
#! deployment vercel
npx vercel
What the Setup Demonstrates
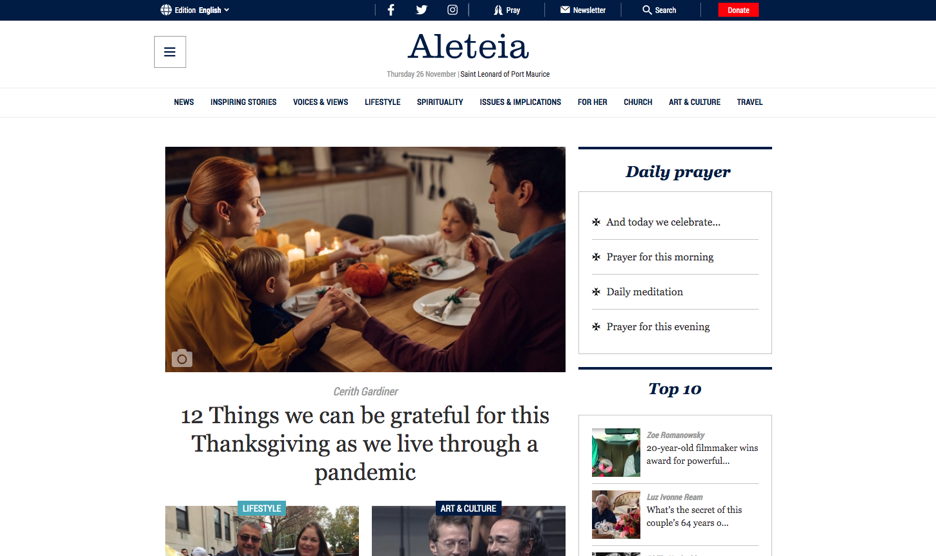
Frontity's documentation, tutorials and guides focus on headless blog sites, and its showcase lists more than 60 sites, among them CNBC Africa, Forbes Africa, Hoffmann Academy, Aleteia and Diariomotor; five headless WordPress sites appear as production-level case studies. Frontity's own website is itself a production example of connecting the WordPress Block Editor to the framework.

Creating a headless WordPress site with Frontity proves simple, and you get all the WordPress content without writing a single query. Deeper work on the default Mars theme and its customization is a separate exercise, as are Frontity theme packages and other dependencies.