
Gatsby Source WordPress, v4: wiring WPGraphQL into a Gatsby front end
WPGraphQL has been stable since the v1.0 release last November and is instalable straight from the WordPress plugin directory, which makes Gatsby's gatsby-source-wordpress plugin a reasonable foundation for a headless build. That plugin was rewritten entirely in version 4: where version 3 read from the REST API, v4 sources all of its data through WPGraphQL. Because the stable v4 release is recent, the ecosystem of starters and demo sites that support it is still thin. WPGraphQL's own documentation covers the setup, and the release announcement lists nine production sites running on it.
In a decoupled (or "headless") arrangement, WordPress keeps the content modelling while the visible site is a separate front end consuming that content over an API. WPGraphQL can feed other frameworks too — Next.js and Vue.js among them — but for Gatsby the recommended integration is the WordPress source plugin, which leans on WPGraphQL for its queries.

Assumptions and setup
The prerequisites are unchanged from an earlier walkthrough on moving WordPress data into Gatsby: a WordPress install, a Gatsby project, and deployment. Only the data-fetching layer differs. This is not a step-by-step tutorial — Gatsby's plugin docs already serve that role — and anyone fluent in React, JavaScript, Node.js or GraphQL will recognize most of what follows.
Two caveats are worth stating up front. GraphQL, including WPGraphQL, is the query language Gatsby's framework is built around, and its specification moves often enough that keeping up with breaking changes takes effort. Gatsby publishes troubleshooting guidance for common errors, and the WPGraphQL Slack has both the WPGraphQL and Gatsby plugin authors answering questions. GraphQL work also benefits from prior Node, React and JavaScript experience; without it, the learning curve is steep.
For the local build I used Local by Flywheel to spin up a fresh WordPress site on the default Twenty Twenty theme, then imported the theme unit test data for posts and pages as the Codex describes. An existing remote or local WordPress install would work equally well as the starting point.

With that baseline in place, install and activate two plugins from the WordPress admin: WPGraphQL and WPGatsby. Between them they expose both the GraphQL endpoint and the WPGraphiQL explorer inside wp-admin, so individual Queries can be tested there before being routed through GraphQL to connect and fetch the corresponding WordPress data.


Choosing how to start the front end
Gatsby's docs leave the choice between scaffolding from a starter and building from scratch to the reader; in practice there is a third route, a maintained starter that reproduces the Twenty Twenty theme. Two sources of sample code need watching, however: Gatsby's example library includes a using-wordpress example and a using-wordpress-with-acf example, but both still run on gatsby-source-wordpress version 3, as do all but one of the ten WordPress starters currently listed.
Route one: scaffold from the starter
The step-by-step version lives in the docs; the short form is three commands and a config edit. Clone the gatsby-starter-wordpress-blog repository into a my-wpstarter folder, install the npm packages, then open gatsby-config.js in an editor.
#! clone starter repo
gatsby new my-wpstarter https://github.com/gatsbyjs/gatsby-starter-wordpress-blog
#! npm
npm install
#! or yarn
yarn install // gatsby-config.js
{
resolve: gatsby-source-wordpress,
options: {
// WordPress is the GraphQL url.
url: process.env.WPGRAPHQL_URL || https://wpgatsbydemo.wpengine.com/graphql,
},
},The only substantive change is swapping the starter's endpoint URL for the project's own WordPress site URL.
// gatsby-config.js file
{
  resolve: `gatsby-source-wordpress`,
  options: {
    url: `http://gatsbywpv4.local/graphql`,
  },
},
From inside my-wpstarter, run gatsby develop. The terminal output shows the plugin fetching data, reporting errors and successes as it goes. A closing success Building development bundle message means the build finished and the site is live at http://localhost:8000.
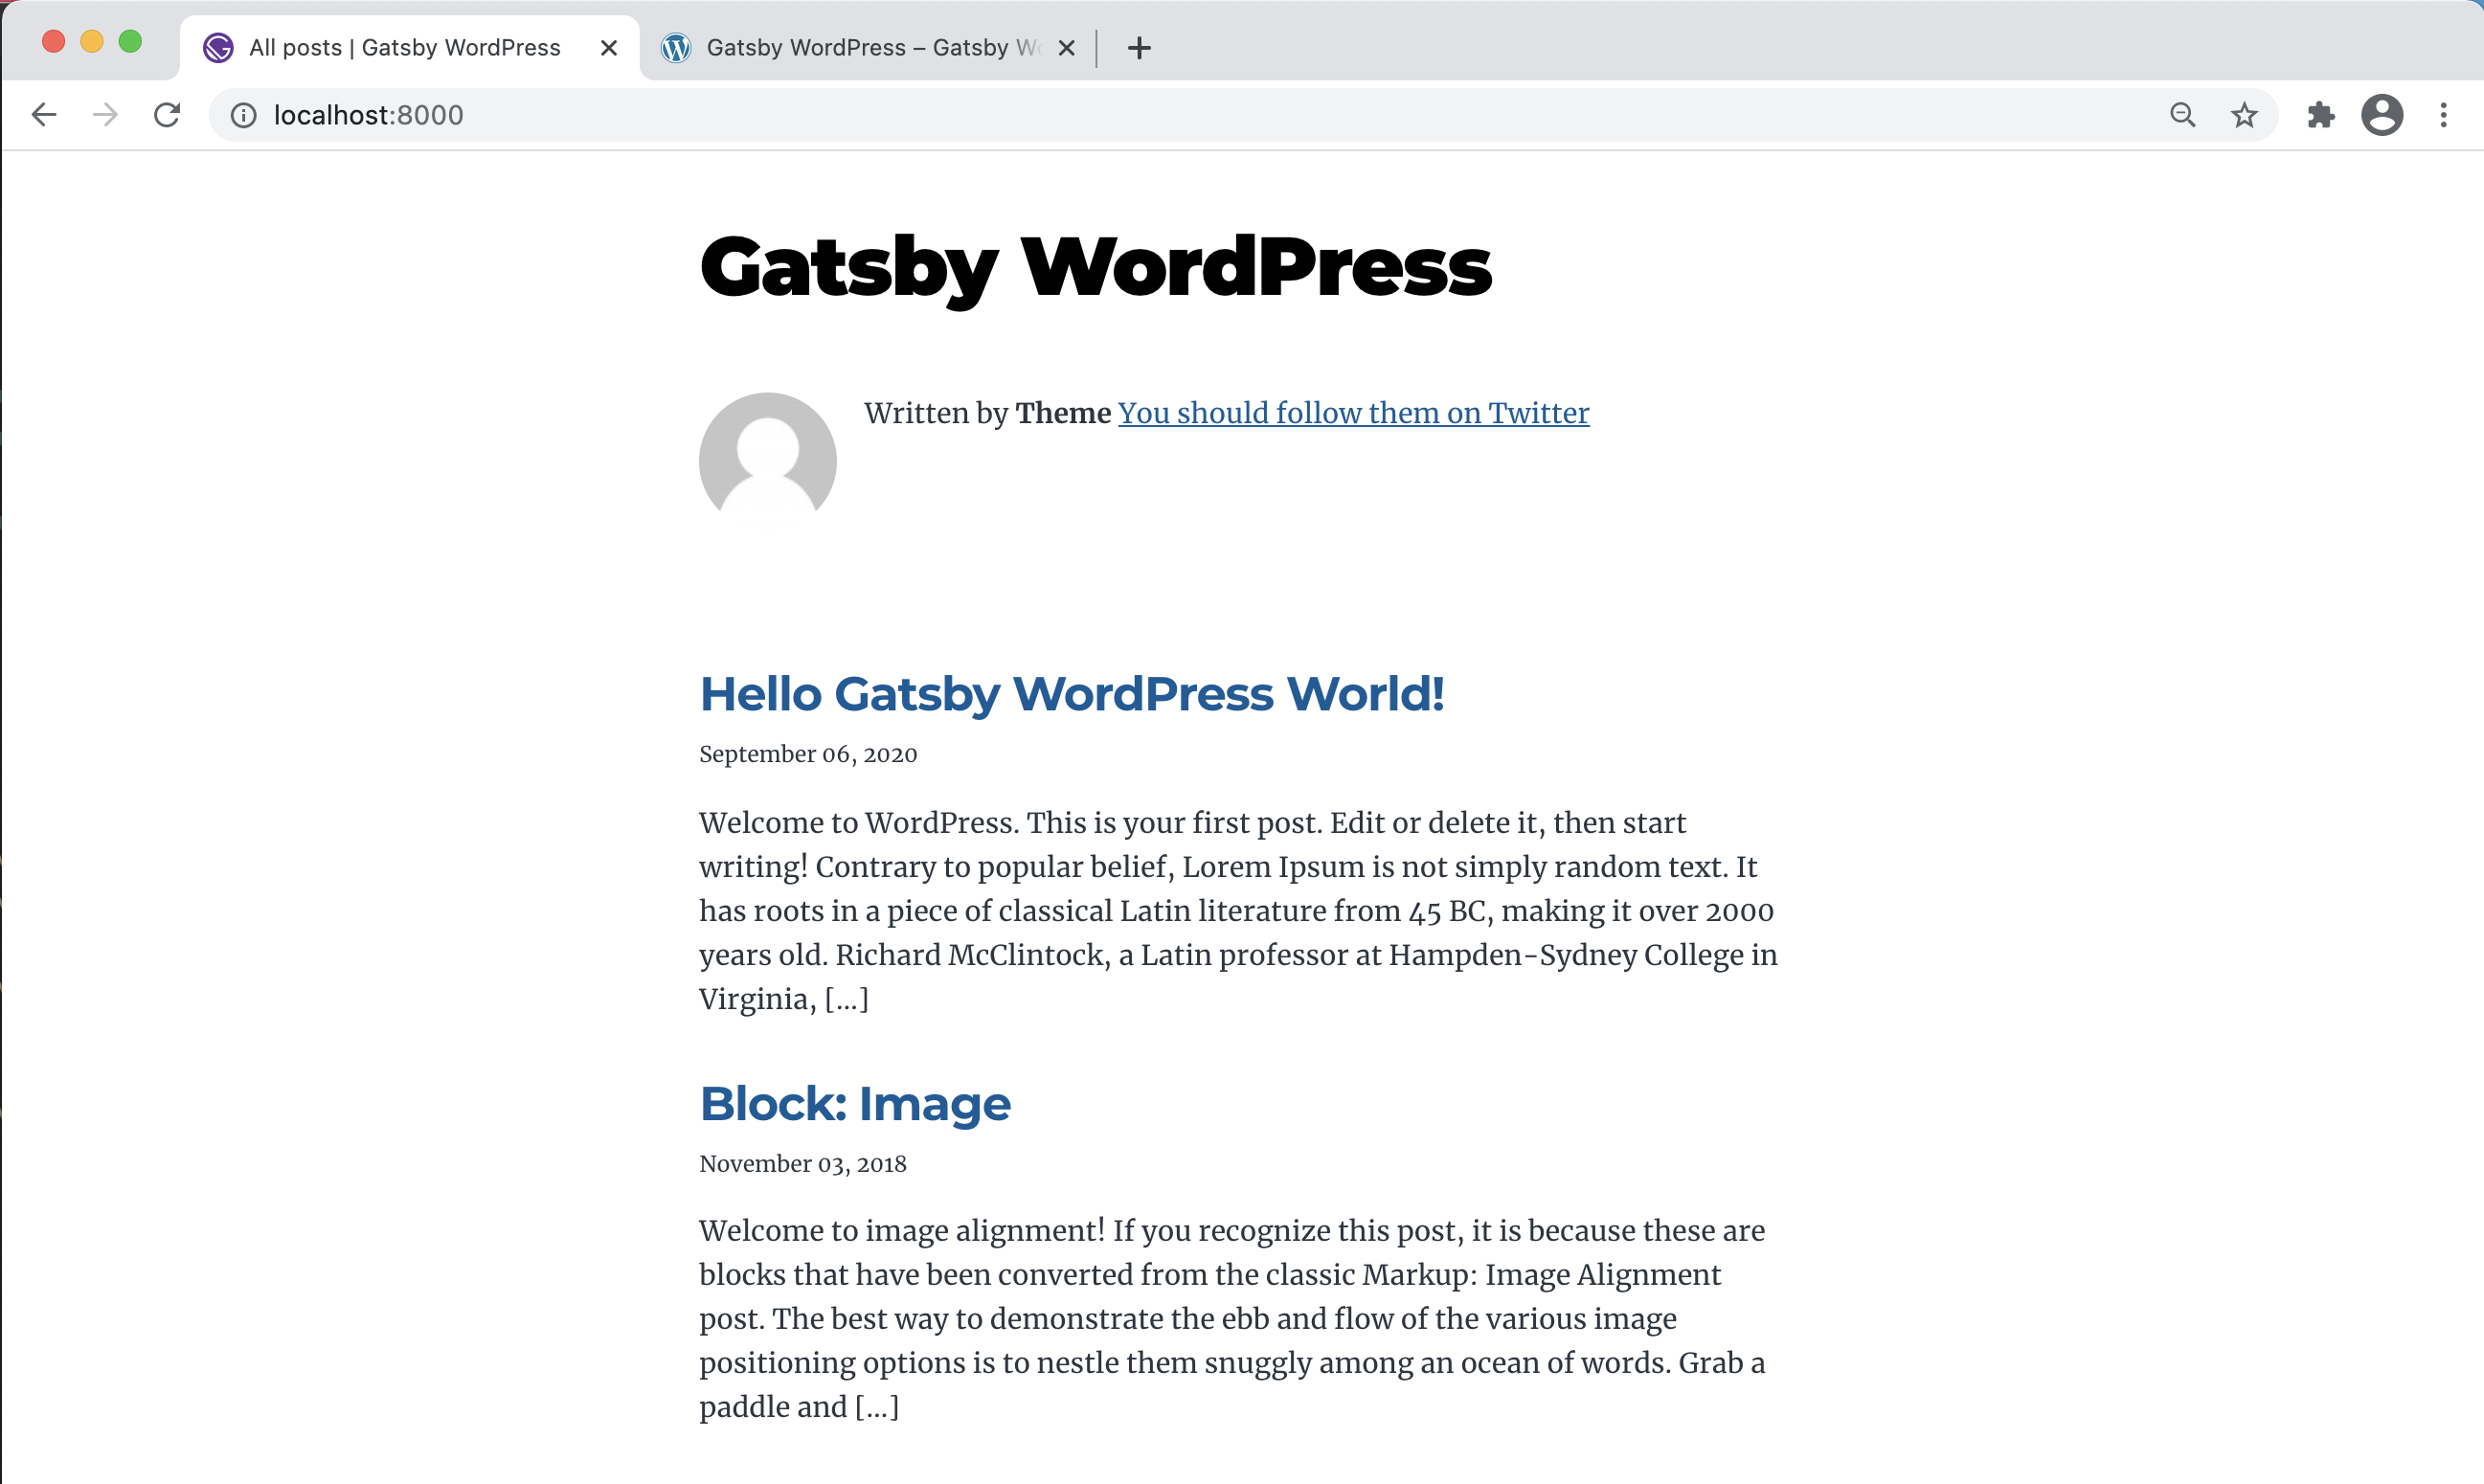
What you get is a bare-bones blog whose file structure closely matches gatsby-starter-blog, except for an added templates folder holding the blog-post.js and blog-post-achive.js template files. Querying the GraphiQL explorer at http://localhost:8000/___graphql shows every piece of WordPress data exposed by WPGraphQL, each queryable and retrievable from the UI. Beyond that endpoint, building the presentation is the developer's job using Gatsby components.

Route two: begin from scratch
The from-scratch path starts from Gatsby's default starter theme, following the docs' own tutorial. Run the scaffold command, cd into the resulting wpgatsby-from-scratch-demo folder, and start the dev server; a welcome page confirms the setup.
#! create a new Gatsby site
gatsby new wpgatsby-from-scratch-demo
cd wpgatsby-from-scratch-demo
gatsby develop
Next, add the source plugin itself.
#! install with rpm
npm install gatsby-source-wordpress

#! install with yarn
yarn add Gatsby-source-wordpress
Browsing to the site still shows the same welcome screen, because the plugin only collects data — it has to be registered in gatsby-config.js first. Add it there, point the endpoint at the WordPress site URL, and run gatsby develop again.
// gatsby-config.js
module.exports = {
  siteMetadata: {
    // ...
  },
  plugins: [
  // Add Gatsby-source-wordpress plugin
  {
      resolve: `gatsby-source-wordpress`,
      options: {
        /*
         * The full URL of the WordPress site's GraphQL API.
         * Example : 'https://www.example-site.com/graphql'
         */
        url: `http://gatsbywpv4.local/graphql`,
       },
     },
    // The following plugins are not required for gatsby-source-wordpress ....
  ],
}
createPages function is running successfully to build a development bundle (left), and that WordPress data for posts, pages, taxonomies, users, menus, and everything else are fetched (right).The front page still hasn't changed, but GraphiQL at http://localhost:8000/___graphql now exposes all the WordPress data to the Gatsby site. Querying that explorer with the tutorial's sample query returns the allWpPost.nodes property with its id, title, excerpt and other sub-properties.

query {
  allWpPost {
    nodes {
      id
      title
      excerpt
      slug
      date(formatString: "MMMM DD, YYYY")
    }
  }
}
Saving that replacement and restarting gatsby develop should leave the homepage showing a sorted list of blog posts sourced from WordPress.
// src/components/pages/index.js
import  React from "react"
import { graphql } from "gatsby"
import Layout from "../components/layout"
import SEO from "../components/seo"

export default function Home({ data }) {
  return (
    <Layout>
      <SEO title="home" />
      <h1>My WordPress Blog</h1>
      <h4>Posts</h4>
      {data.allWpPost.nodes.map(node => (
        <div>
          <p>{node.title}</p>
          <div dangerouslySetInnerHTML={{ __html: node.excerpt }} />
        </div>
      ))}
    </Layout>
  )
}

export const pageQuery = graphql`
  query {
    allWpPost(sort: { fields: [date] }) {
      nodes {
        title
        excerpt
        slug
      }
    }
  }
`
Individual pages via the createPages API
Turning each post into a page follows part 7 of Gatsby's foundational tutorial, which details the process for Markdown and applies unchanged here except in one respect: WordPress posts already carry unique slugs, so nothing has to be generated. Gatsby's createPages API — the framework's "workhorse" — handles the programmatic creation from the root-level gatsby-node.js file.
// gatsby-node.js
const path = require(`path`)

exports.createPages = ({ graphql, actions }) => {
  const { createPage } = actions
  return graphql(`
    {
      allWpPost(sort: { fields: [date] }) {
        nodes {
          title
          excerpt
          content
          slug
        }
      }
    }
  `).then(result => {
    console.log(JSON.stringify(result, null, 4))
    process.exit()
  })
}
This snippet is only the first half of the work: restarting the server and running gatsby develop prints console.log output as pages are constructed, but the homepage still shows posts. Rendering a single post requires a template.
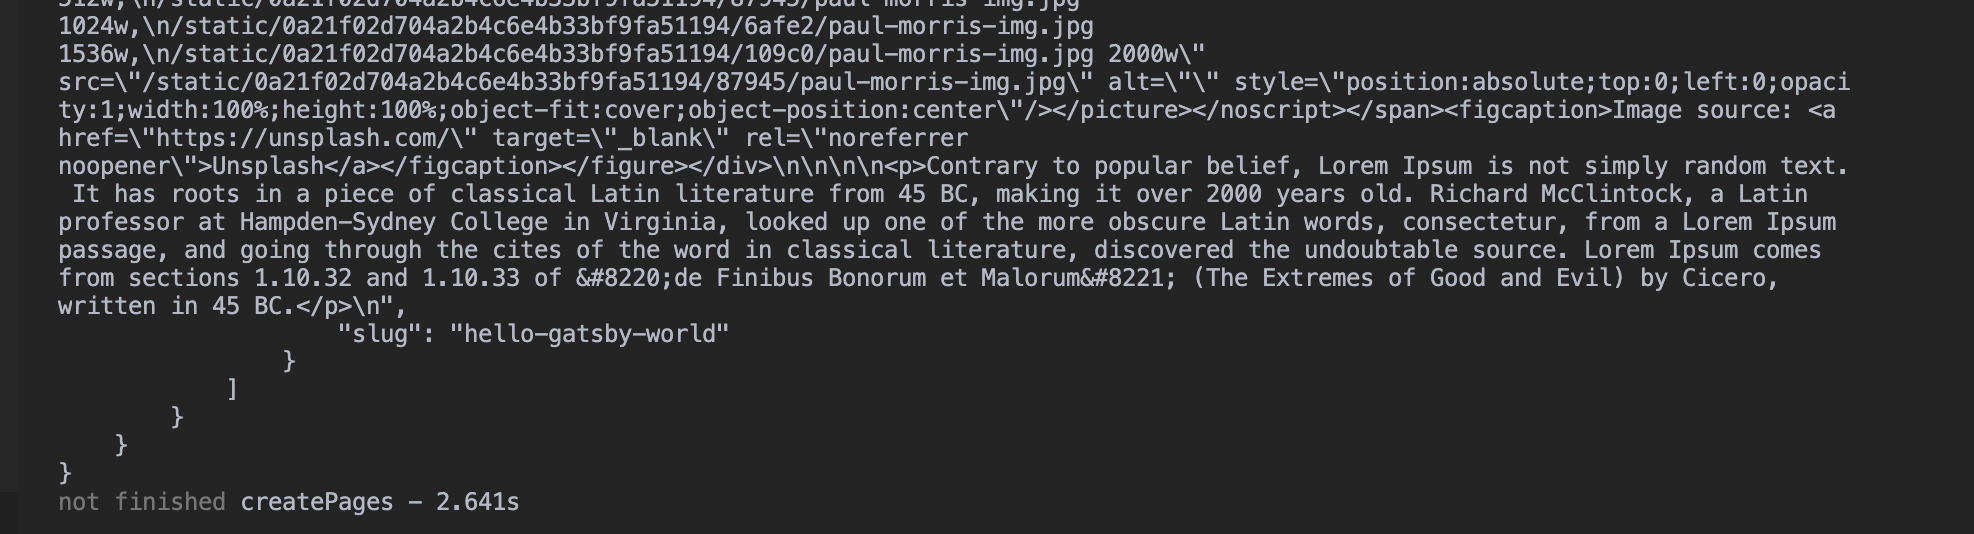
Create a src/components/templates directory and put the tutorial's blog-post.js file inside it. The template renders post.title and post.content (lines 12–13) through React JSX inside the src/components/layout.js components, and its GraphQL query looks up one post by the $slug variable that gatsby-node.js passes in when the page is created. Then update lines 12–13 of gatsby-node.js to supply that template:
// src/templates/blog-post.js
import React from "react"
import Layout from "../components/layout"
import { graphql } from "gatsby"

export default function BlogPost({ data }) {
  const post = data.allWpPost.nodes[0]
  console.log(post)
  return (
    <Layout>
      <div>
        <h1>{post.title}</h1>
        <div dangerouslySetInnerHTML={{ __html: post.content }} />
      </div>
    </Layout>
  )
}
export const query = graphql`
  query($slug: String!) {
    allWpPost(filter: { slug: { eq: $slug } }) {
      nodes {
        title
        content
      }
    }
  }
`
// gatsby-node.js
const path = require(`path`)
exports.createPages = ({ graphql, actions }) => {
const { createPage } = actions
return graphql(`
{
allWpPost(sort: { fields: [date], order:DEC }) {
nodes {
title
excerpt
content
slug
}
}
}
`).then(result => {
result.data.allWpPost.nodes.forEach(node => {
createPage({
path: node.slug,
component: path.resolve(`./src/templates/blog-post.js`),
context: {
// This is the $slug variable passed to blog-post.js
slug: node.slug,
},
})
})
})
}Restart the server again. The homepage no longer lists posts, but visiting http://localhost:8000/abcdf shows the 404 page, which carries links to each individual page and post. Visiting http://localhost:8000/hello-gatsby-world should display the "Hello Gatsby WordPress World" post itself.
Linking the two halves together means wrapping the post titles in index.js with Gatsby's Link component and pointing it at each post's slug, then tidying the query: comment out the page title, switch the heading element to <h2>, and order the posts DESC in both the graphql query and gatsby-node.js. Restarting and loading the homepage should give titles that navigate to their posts.
That is as far as this route goes. Menu items, custom post types and custom fields, and incremental builds with previews are all covered in separate plugin tutorials and reuse the same patterns.
Route three: Henrik Wirth's Twenty Twenty starter
The starter that tracks the default WordPress theme — gatsby-starter-wordpress-twenty-twenty, maintained by Henrik Wirth, author of the detailed step-by-step guide referenced in the earlier article — is the exception in the ecosystem: it is built against v4 of the source plugin and works out of the box once WordPress is configured per its documentation. Its structure mirrors the Twenty Nineteen Gatsby theme and Gatsby Starter WordPress Advanced; Wirth's own guide and Muhammad Muhsin's tutorial both describe how the port works. Its known limitations cover comments, monthly archive pages and tags.
Clone it into a twenty-twenty-starter folder and run gatsby develop from inside. The first attempt will fail until WPGRAPHQL_URL is set: copy .env.example to .env, edit the value, and restart.
#! clone gatsby-starter-wordpress-twenty-twenty
gatsby new twenty-twenty-starter https://github.com/henrikwirth/gatsby-starter-wordpress-twenty-twenty
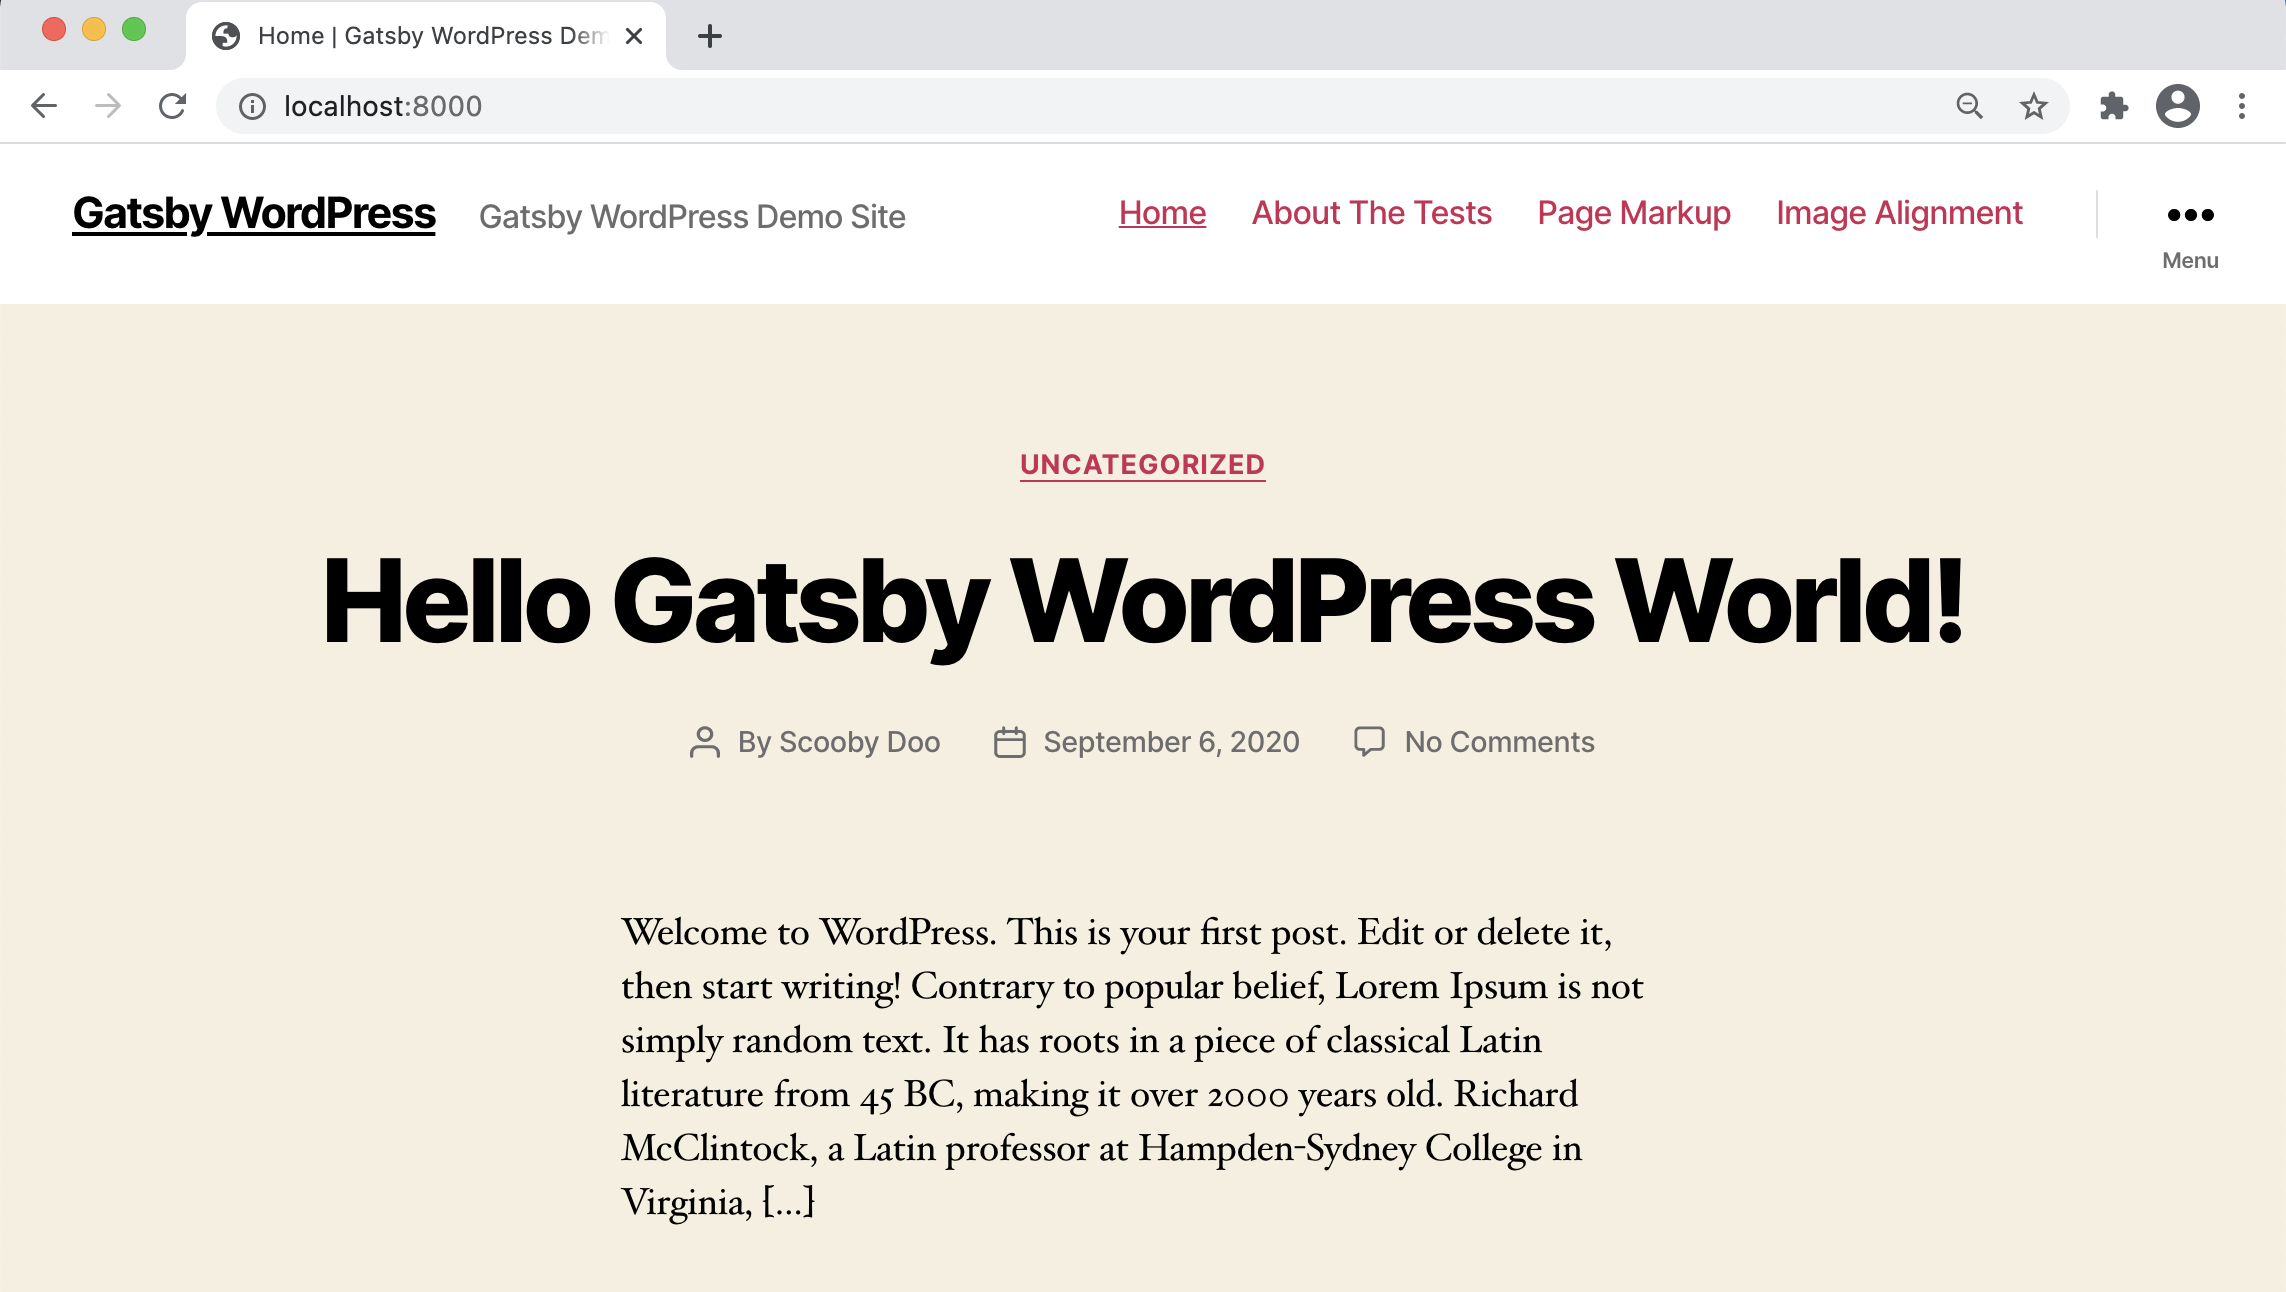
The menu only appears if the WordPress menu name matches the starter's expectation: Menu.js queries the menu slug primary at line 8, so a site configured with main-menu needs that file edited.
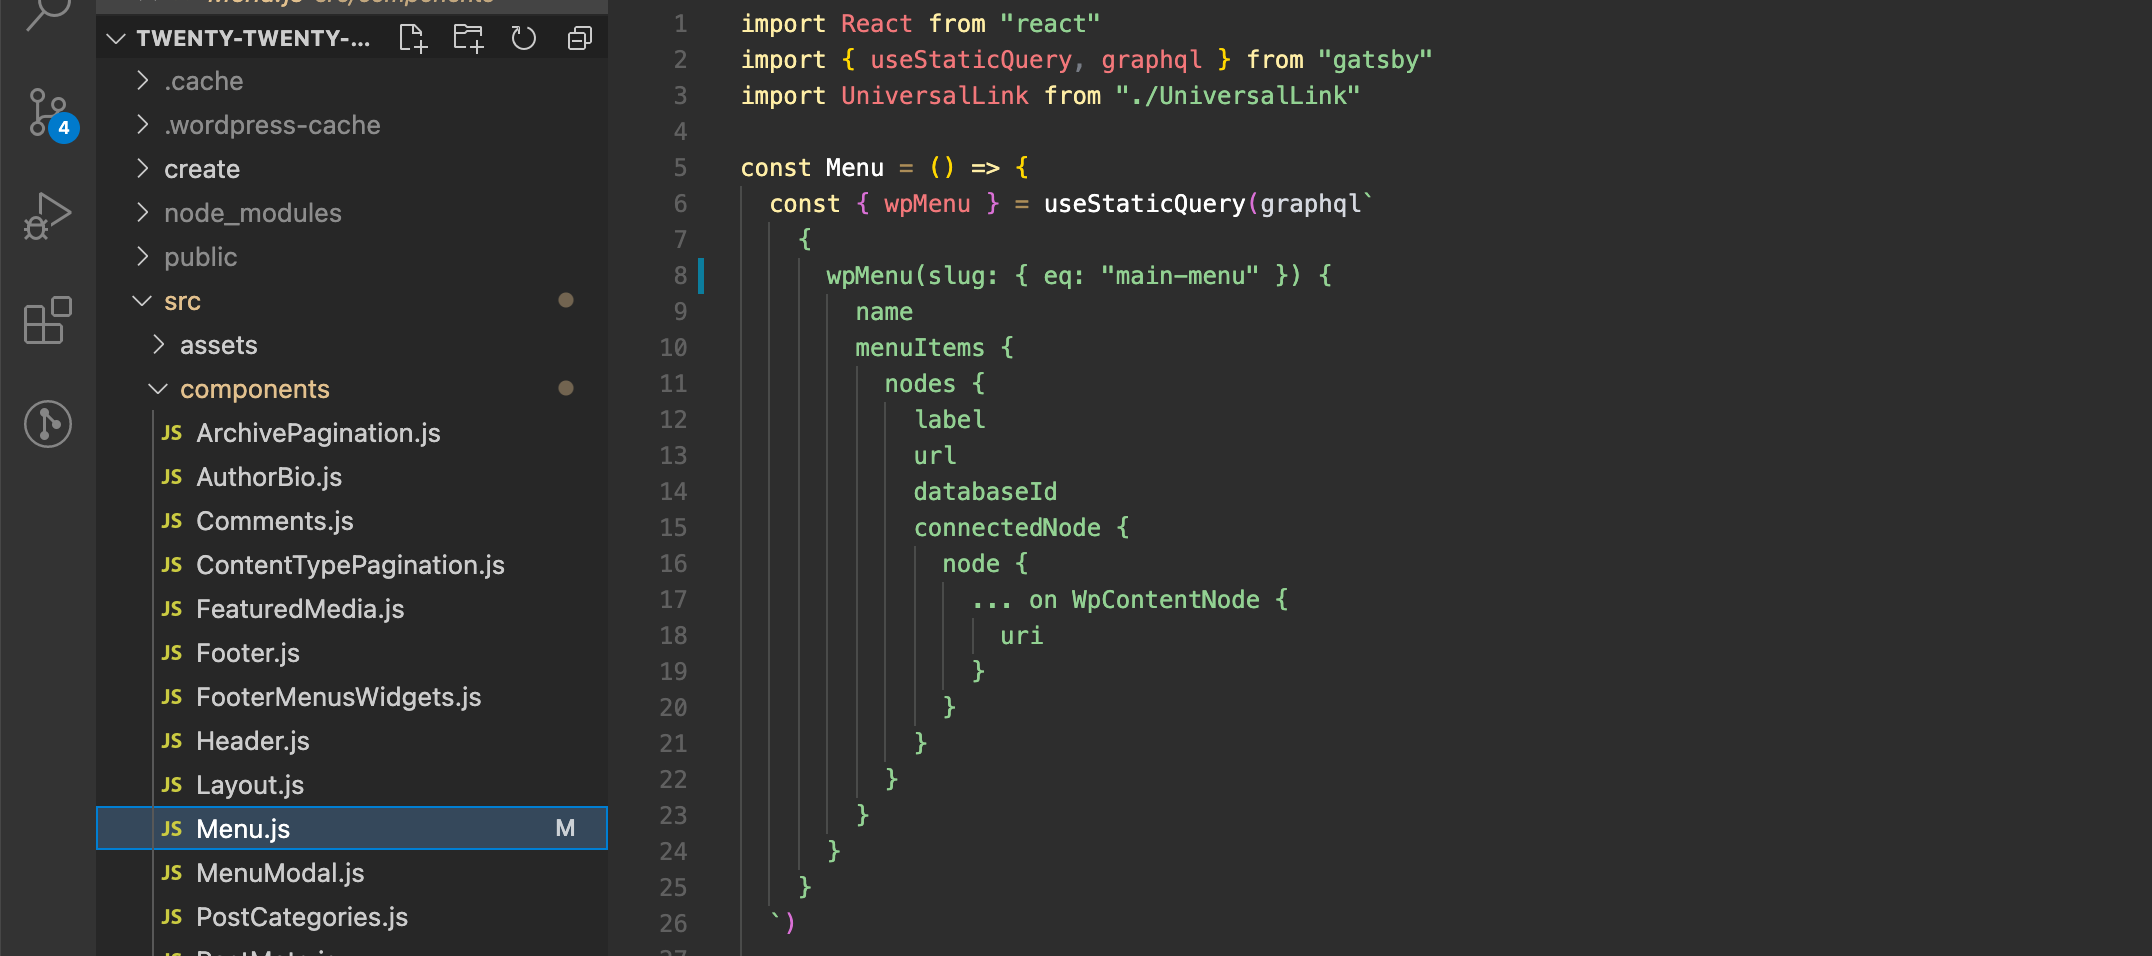
Since the starter had been tested against older tooling, I upgraded the plugins to WPGraphQL 1.2.6, WPGatsby 1.0.6 and Gatsby Source WordPress 4.0.1; it ran without errors.
Matching the theme's look and restyling components
Out of the box the front end uses the same CSS as the default Twenty Twenty theme, along with the same assets directory — fonts, images, SVG files and the rest. If that styling is acceptable, nothing further is needed. Customizing it means replacing a Header.js/Footer.js pair and following Gatsby's options to style its components; I used the CSS module and started a style folder at src/components/styles, containing a base folder. That CSS is imported from assets through gatsby-browser.js.
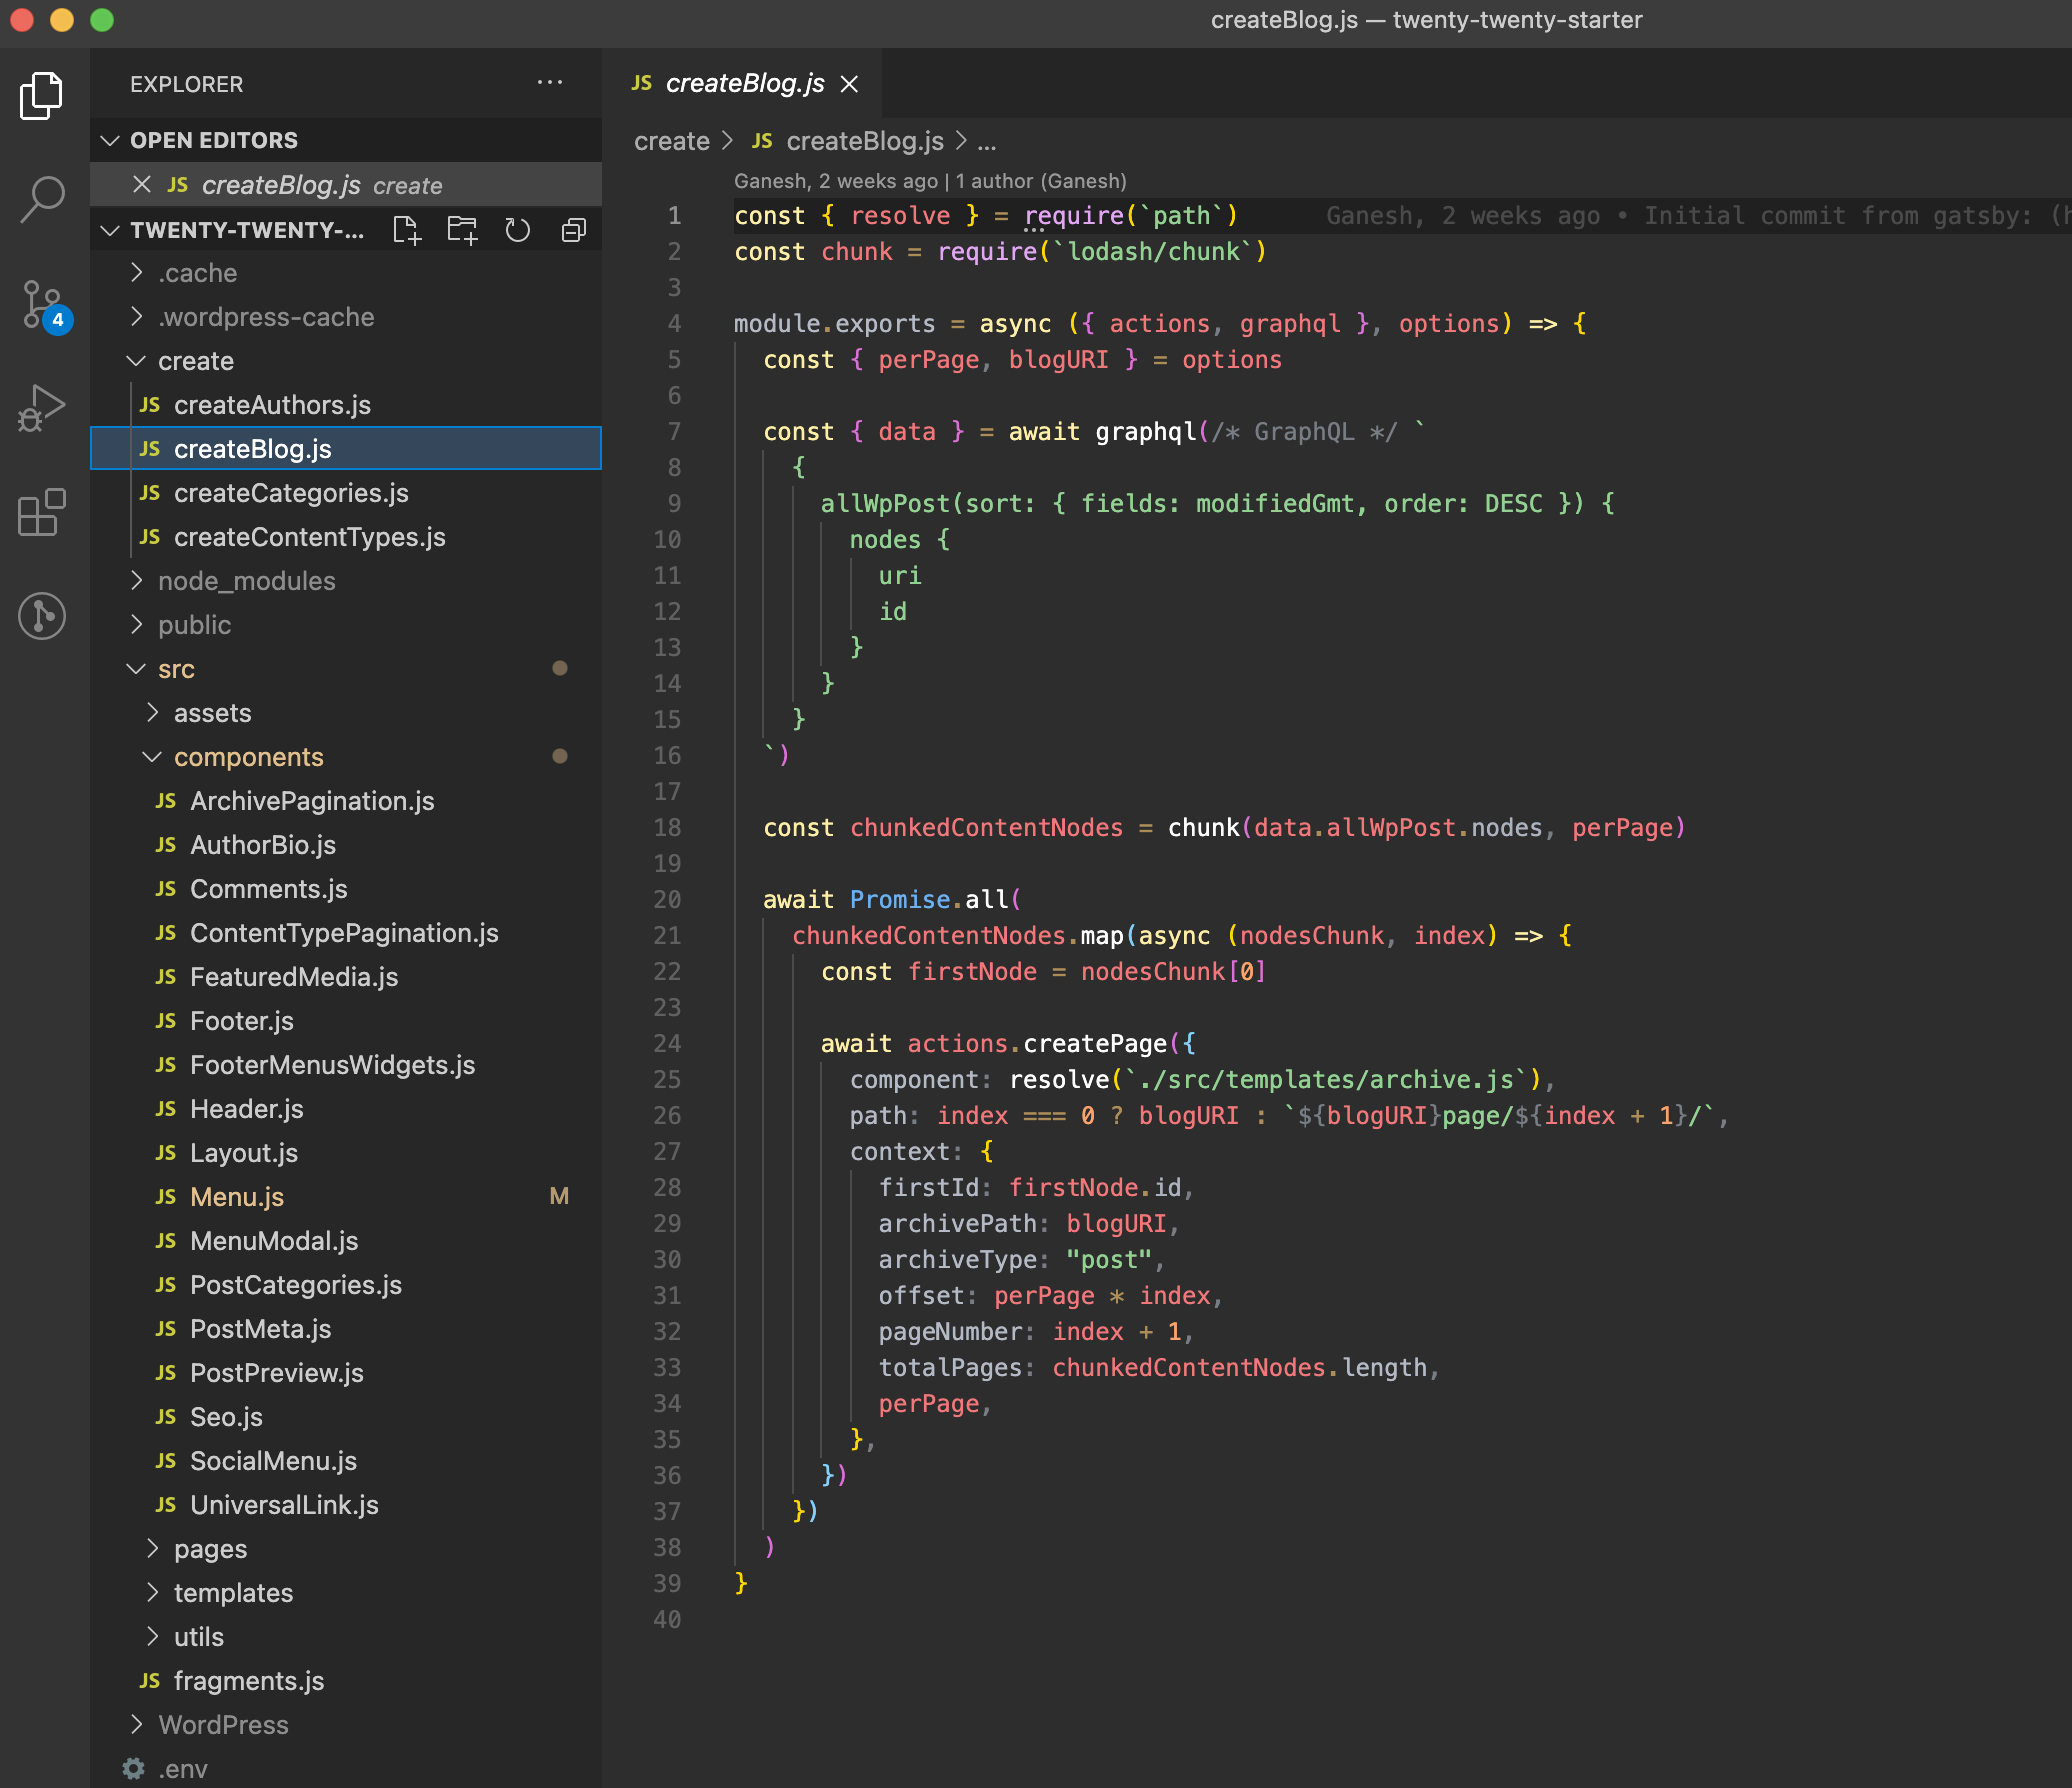
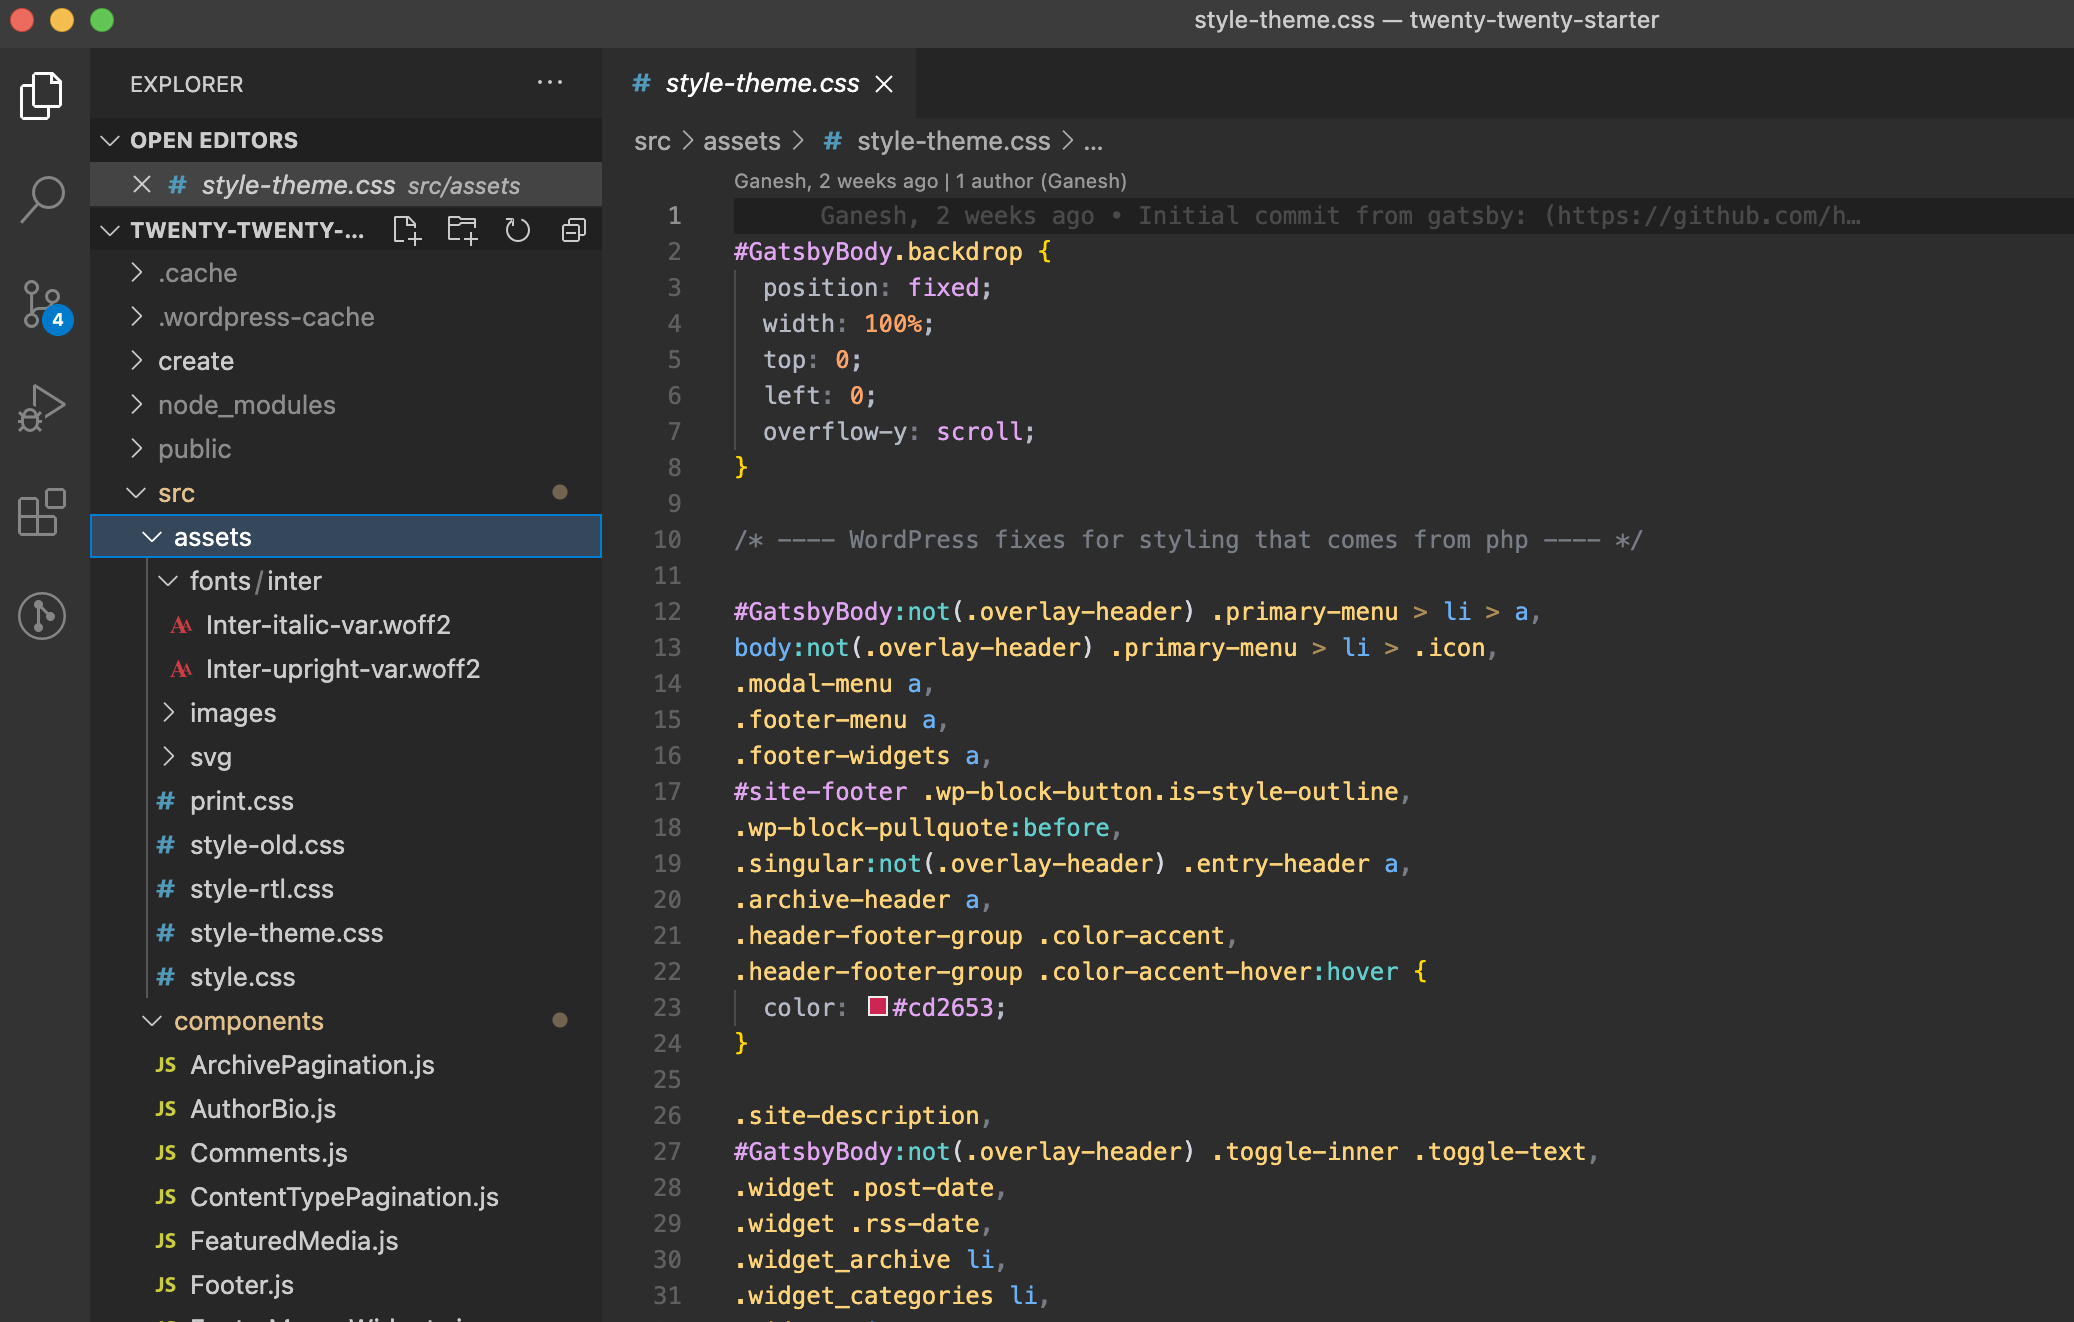
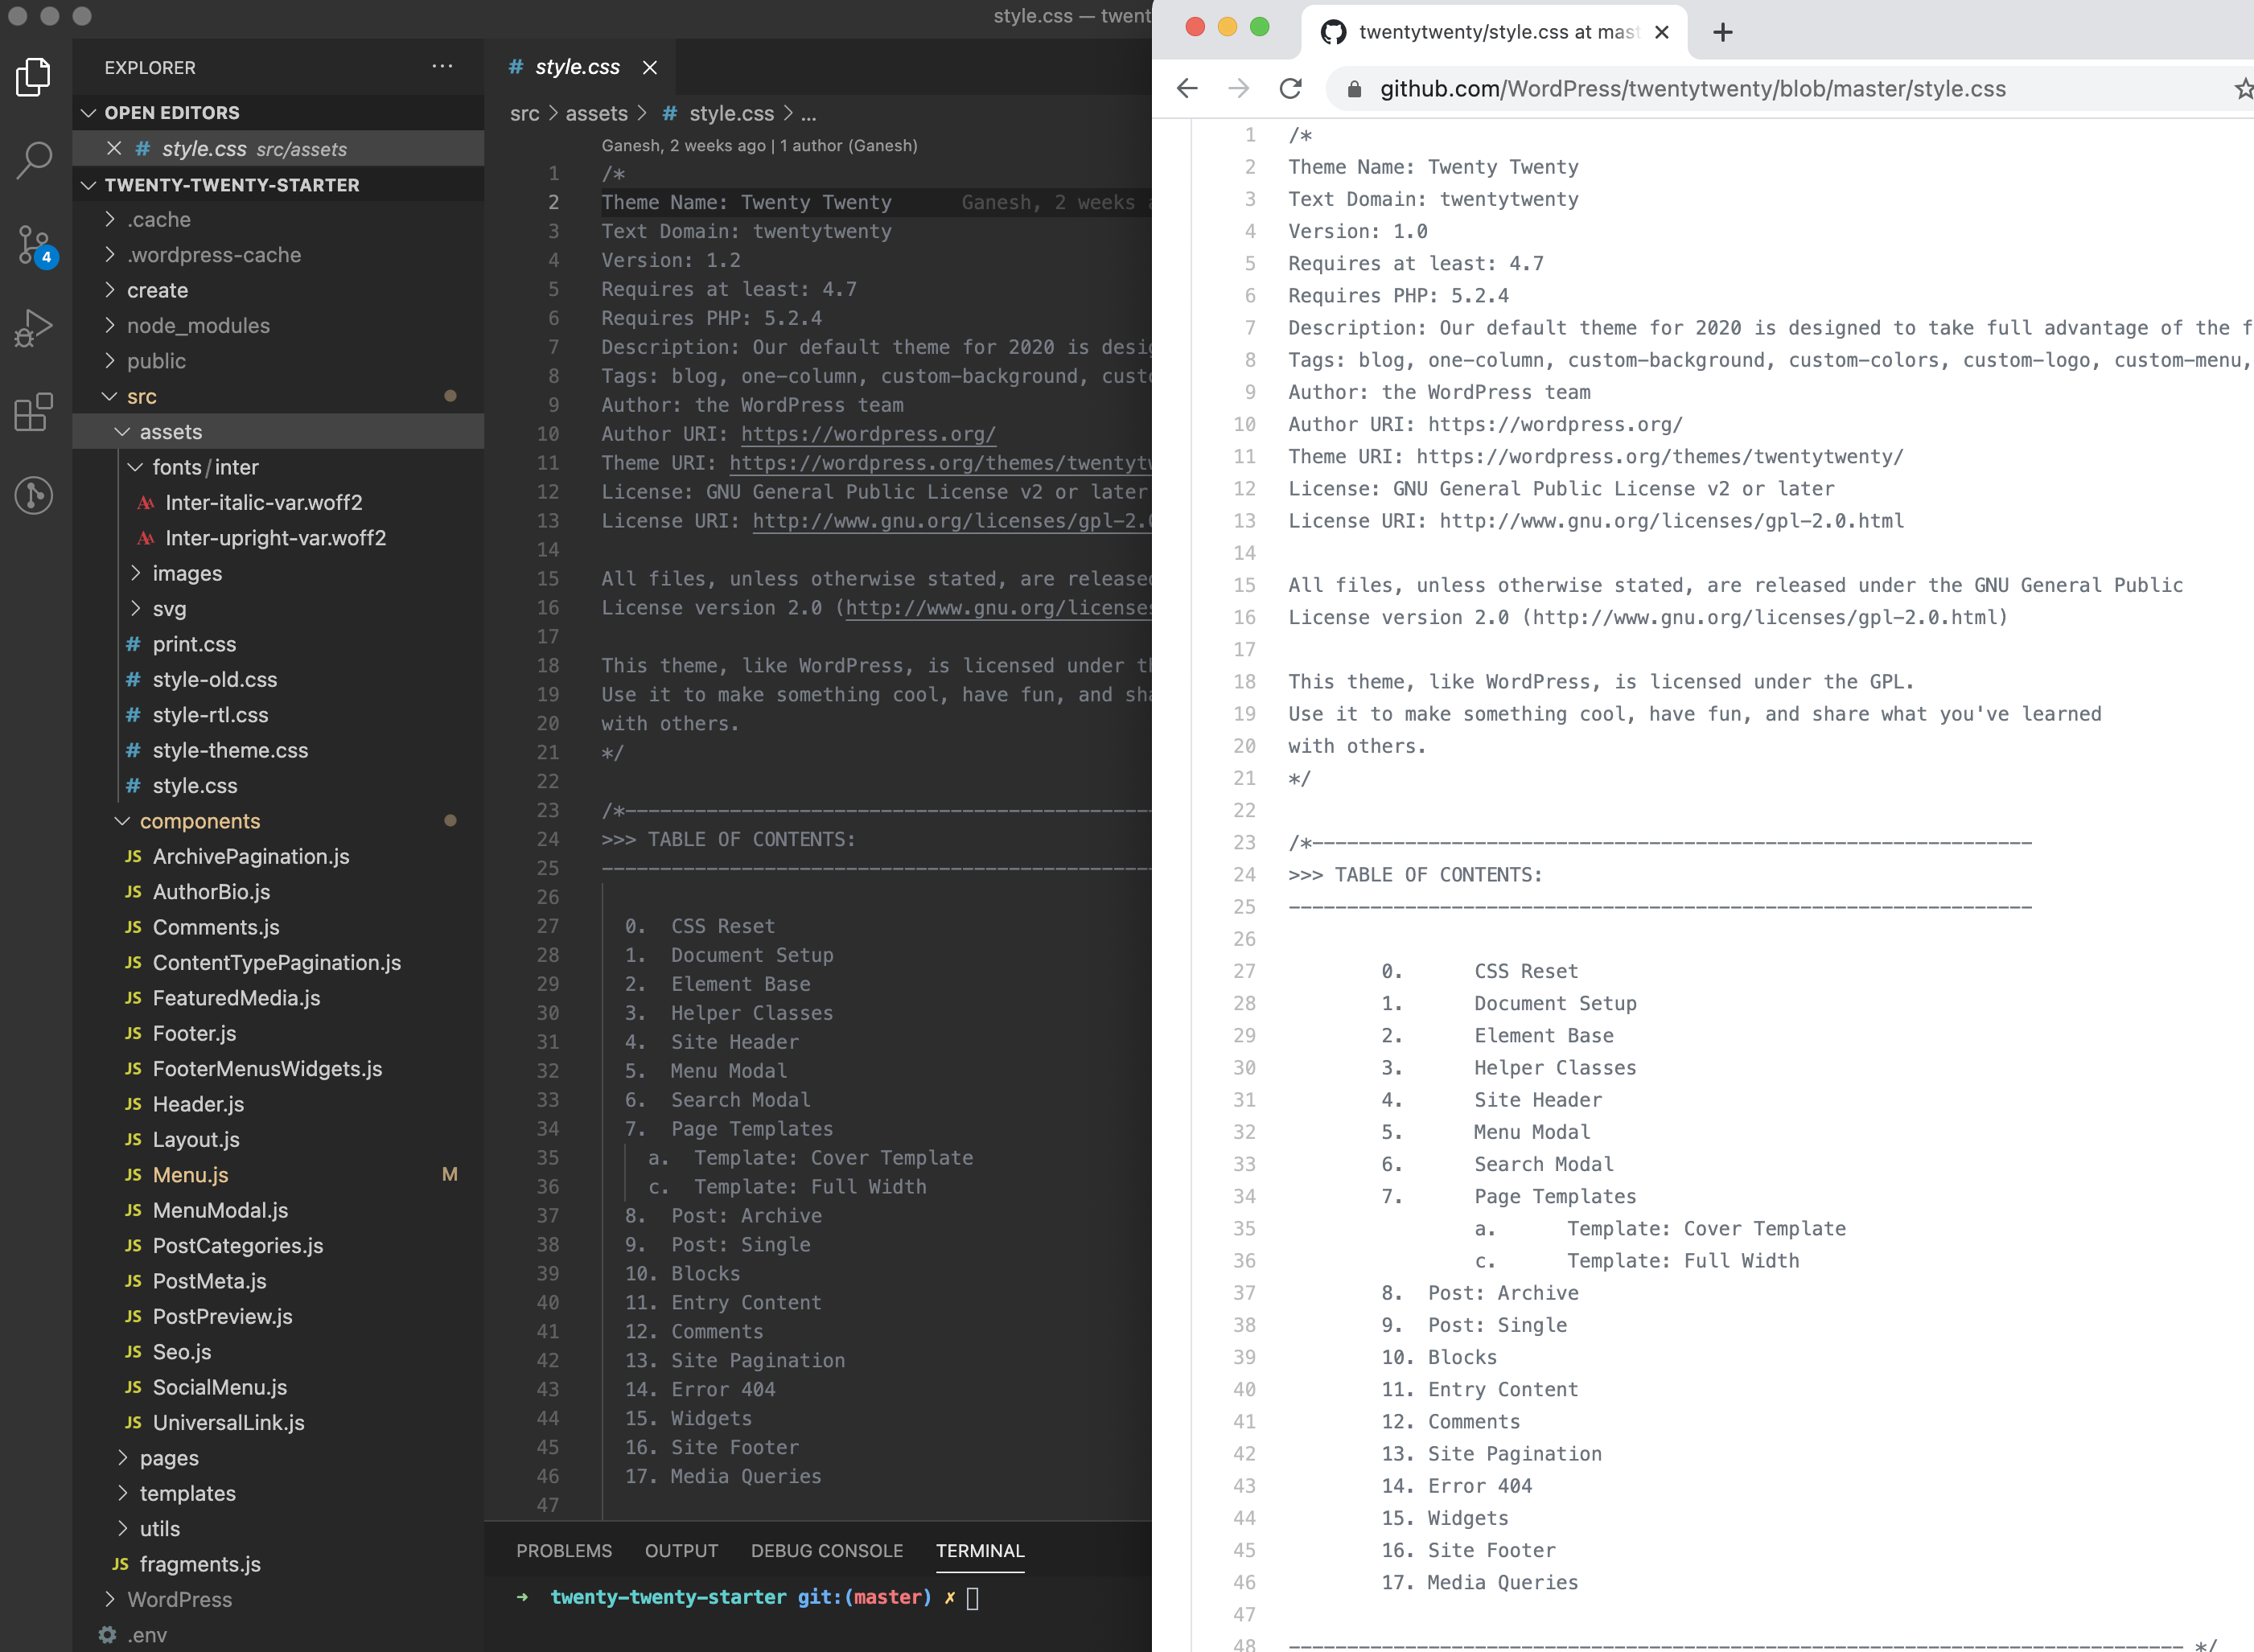
#! partial structure of /style folder
src
 |--/components
   |--/styles
     |--main.css
     |--/base
       |--reset.css
       |--variables.css
     |--/scss
       |--header.module.css
       |--mainNav.module.css
       |--footer.module.css
       |--elements.module.css
       // and so on...
// src/components/Header.js
import React from "react"
import { graphql, Link, useStaticQuery } from "gatsby"
import Menu from "./menu"
import style from "../styles/scss/header.module.css"
import logo from '../images/gatsby-icon.png'
const Header = ( ) => {
const { wp } = useStaticQuery(graphql`
{
wp {
generalSettings {
title
description
}
}
}
`)
return (
<header className={style.masthead}>
<div className={style.masthead_info}>
<Link to="/">
<img src={logo} alt="logo" width="100" height="100" display="inline-block" marginBottom= "0" className={style.site_logo} />
</Link>
<div className={style.site_header} >
<div className={style.site_title}>
<Link
to="/"
dangerouslySetInnerHTML={{ __html: wp.generalSettings.title }} />
</div>
<div className={style.site_description} dangerouslySetInnerHTML={{ __html: wp.generalSettings.description }} /></div>
</div>
<Menu />
</header>
)
}
export default Header// src/components/Footer.js
import React from "react"
import style from "../styles/scss/footer.module.css"
export default () => (
<footer className={style.colophon}>
<p>© {new Date().getFullYear()} | This site is Powered by {' ' } <a href="https://www.gatsbyjs.org">GatsbyJS</a> {' and '} <a href="https://www.wordpress.org">WordPress</a></p>
</footer>
)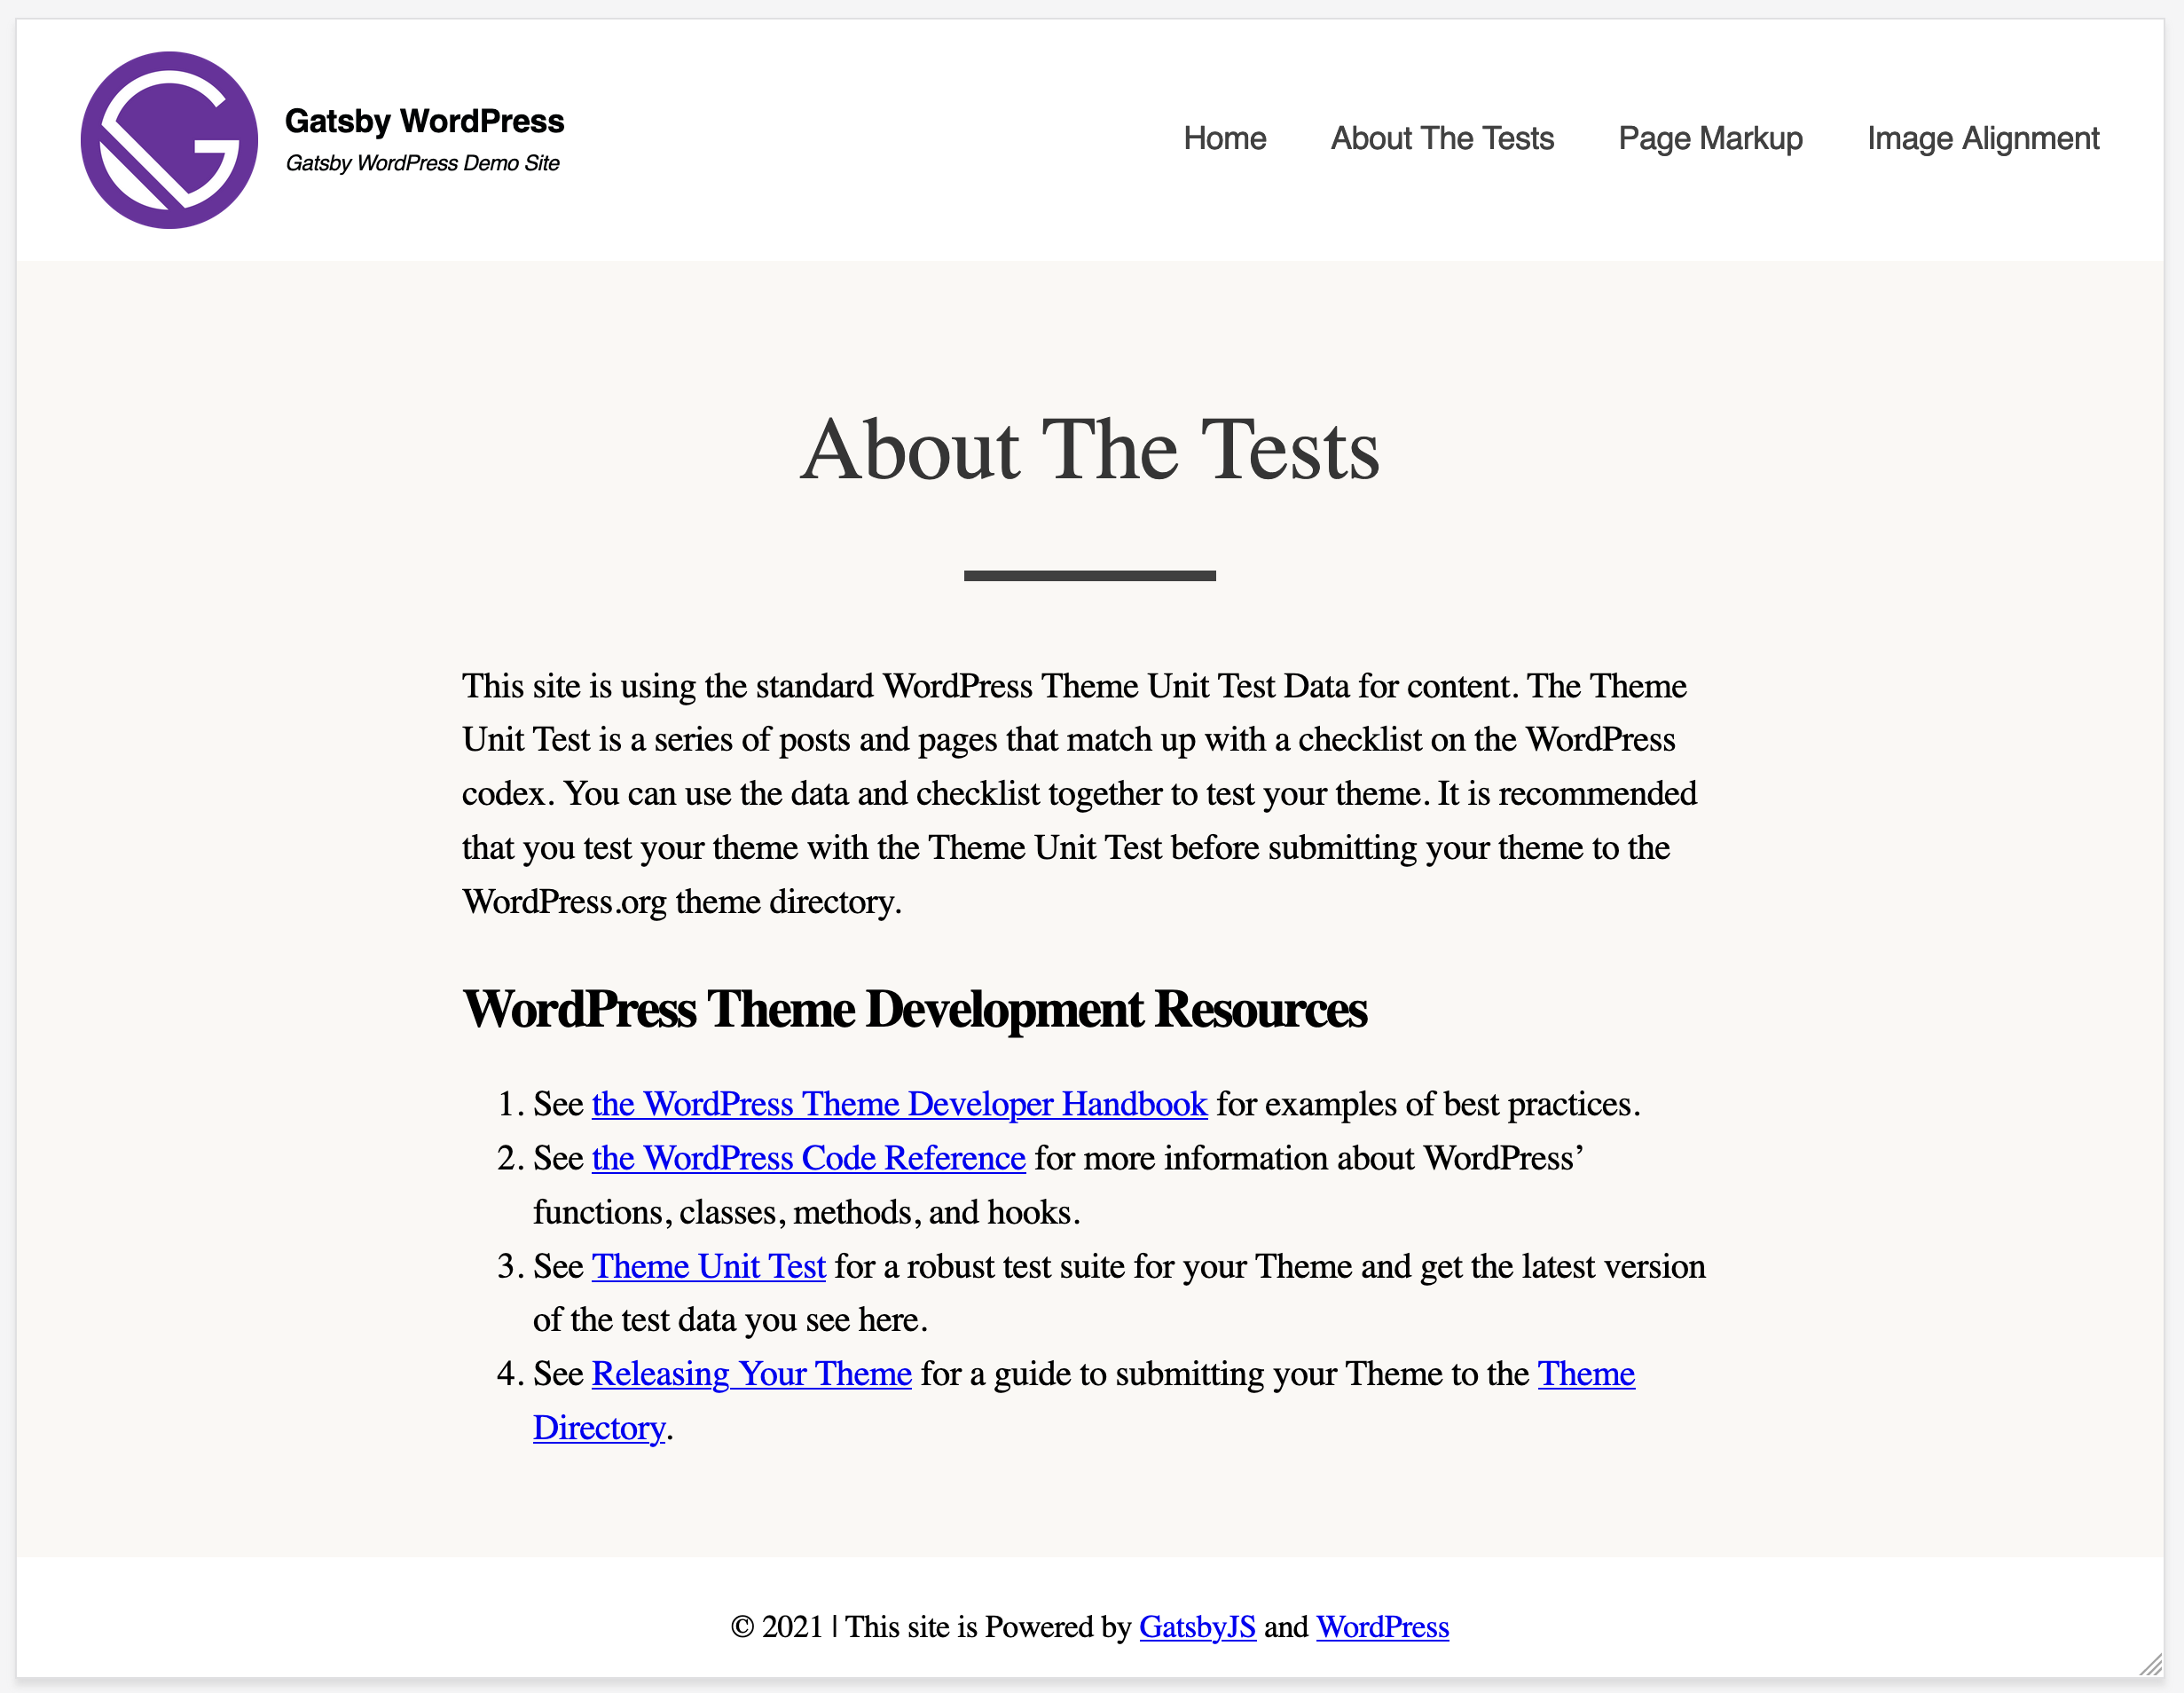
The modified header and footer styles I used come from Morten Rand-Hendriksen's Learning Gatsby course, and the full code for this variant is on public GitHub account (tinjure20/modified-gatsby-starter-wordpress-twenty-twenty).
The open questions for WordPress regulars
Lots of writing compares decoupled WordPress against Jamstack sites; Chris Coyier's "WordPress and Jamstack" is the most thorough treatment of performance, features, developer experience and build process among them. The narrower follow-on questions have their own resources. On cost, the easy assumption that Jamstack hosting is cheaper than LAMP does not hold universally: the actual figure depends on the site and how it is used.
- Nate Fitch's "How to Run Your WordPress Site On Local, Gatsby and Netlify for FREE!" argues a headless setup suits static blogs or sites with no interaction, and that hosting images on Cloudinary or another CDN after that point is simple, though large interactive sites are a different matter.
- Coyier's pricing section works through each hosting type to show why "Jamstack is cheaper" is not a blanket rule.
- Zell Liew's comparison of Netlify, Vercel and Digital Ocean recommends Netlify for small projects and Digital Ocean above that scale.
On choosing static at all — measured against everything WordPress provides natively, such as comments and plugins — Coyier's "Static or Not?" lays out both sides. On comments: "JAMstack Comments" on this site shows how dynamic comment functionality can be supplied to a static Gatsby site through Netlify's services, something briefly covered in the earlier article's write-up. On SEO, the gatsby-plugin-wpgraphql-seo community plugin lets the widely adopted Yoast SEO plugin (which Yoast distributes for WordPress) reach a Gatsby front end, while Jono Alderson's "A primer on JavaScript SEO for WordPress" weights the tradeoffs of relying on JavaScript and concludes that theme and plugin authors are fine following existing best practices provided they stay aware of the shift.
On how the moving parts fit, Jason Bahl — WPGraphQL's creator and maintainer — covers using the WordPress Block Editor in decoupled applications and stresses on the Matt Report podcast that WPGraphQL's job is data exposure, much like the WordPress REST API; what the front end makes of it is the developer's call. Templates aimed at non-developers barely exist, though agencies and the Themeforest marketplace are closing the gap: Gatsby WP Themes offers plugins for MailChimp, Contact Form 7 forms and Yoast SEO among others, and Themeforest lists more than 30 Gatsby templates, including an e-commerce-oriented one (the "Gatsby – WordPress + eCommerce theme"). These are commercial products with costs attached.
Where learning resources help
The gatsby-source-wordpress and gatsby-source-wpgraphql plugins do their part in moving WordPress data into Gatsby, but presenting it is left to React, Vue, Next or whichever framework is in use, and gaps in React and JavaScript knowledge are the main thing that slows beginners. Two workshops from the 2021 Gatsby Conference are relevant: Bahl's builds a WordPress-powered Gatsby blog with Yoast SEO support and deploys it to Gatsby Cloud, and WP Engine's Matt Landers uses the Advanced Custom Fields plugin to build a team member page. For a first entry point, Bahl also answers beginner questions on Matt Report.
For structured practice, Morten Rand-Hendriksen's LinkedIn Learning course on building a headless WordPress site with Gatsby uses this same plugin and produces a complete site including dropdown header navigation, footer menus, posts, pages, categories, tags and page navigation; the exercise files live in the LinkedIn Learning GitHub repository.
Should you go headless now?
My previous conclusion was skeptical: the available Gatsby WordPress themes did not feel ready for users like me, and fast-moving work on the block editor, WPGraphQL and the Gatsby source plugin made it hard to say when things would settle. That view has shifted somewhat, though it's still evolving. Coyier's argument in "Static or Not?" stands: a server-side WordPress site is perfectly acceptable and often the smart choice when robustness and feature-readiness matter, because WooCommerce Commerce, form plugins, core auth and Gutenberg cover so much ground.
As a technical learning exercise I haven't given up on a decoupled personal project, but I won't pretend it hasn't been frustrating. The stack isn't for everyone in the WordPress community and assumes React and JavaScript fluency, with GraphQL experience mattering most. My own sites broke over dependencies, and fixing them could take days of research; that frustration is about my own level, not the frameworks, which are excellent. Experienced developers bump into the same edges — David Cramer objects that a static site generator does not need GraphQL distributed across it, and that reading already-in-memory objects shouldn't require a GraphQL API — and GraphQL itself is an opinionated language whose specification changes frequently, which is why so much traffic in the WPGraphQL Slack concerns queries.
I encountered Frontity, a React framework covered on this site, during the same work. It pulls all WordPress data through the REST API without writing a query, which for my use case looks like the better and considerably simpler option; in brief use it raised no dependency or library problems at all, it provides a "production-ready" theme, and its tutorial materials are extensive. If this experience holds up I'll explore moving the project onto it and report back.