

Serverless Functions Without the Server Headache
Static site generators like Gatsby produce HTML, CSS, and JavaScript files that need to be hosted somewhere. That part is easy. The harder problem is anything that requires server-side logic—sending an email from a contact form, for example. Browsers can't do that on their own, and standing up a traditional backend just for one small task is a lot of overhead.
Netlify's approach to AWS Lambda functions removes most of that friction. Instead of managing servers or paying for idle compute, you write a function file, push it to GitHub, and Netlify deploys it alongside your static site. Here's how to get a basic one running.
Step 1: Configure Netlify with netlify.toml
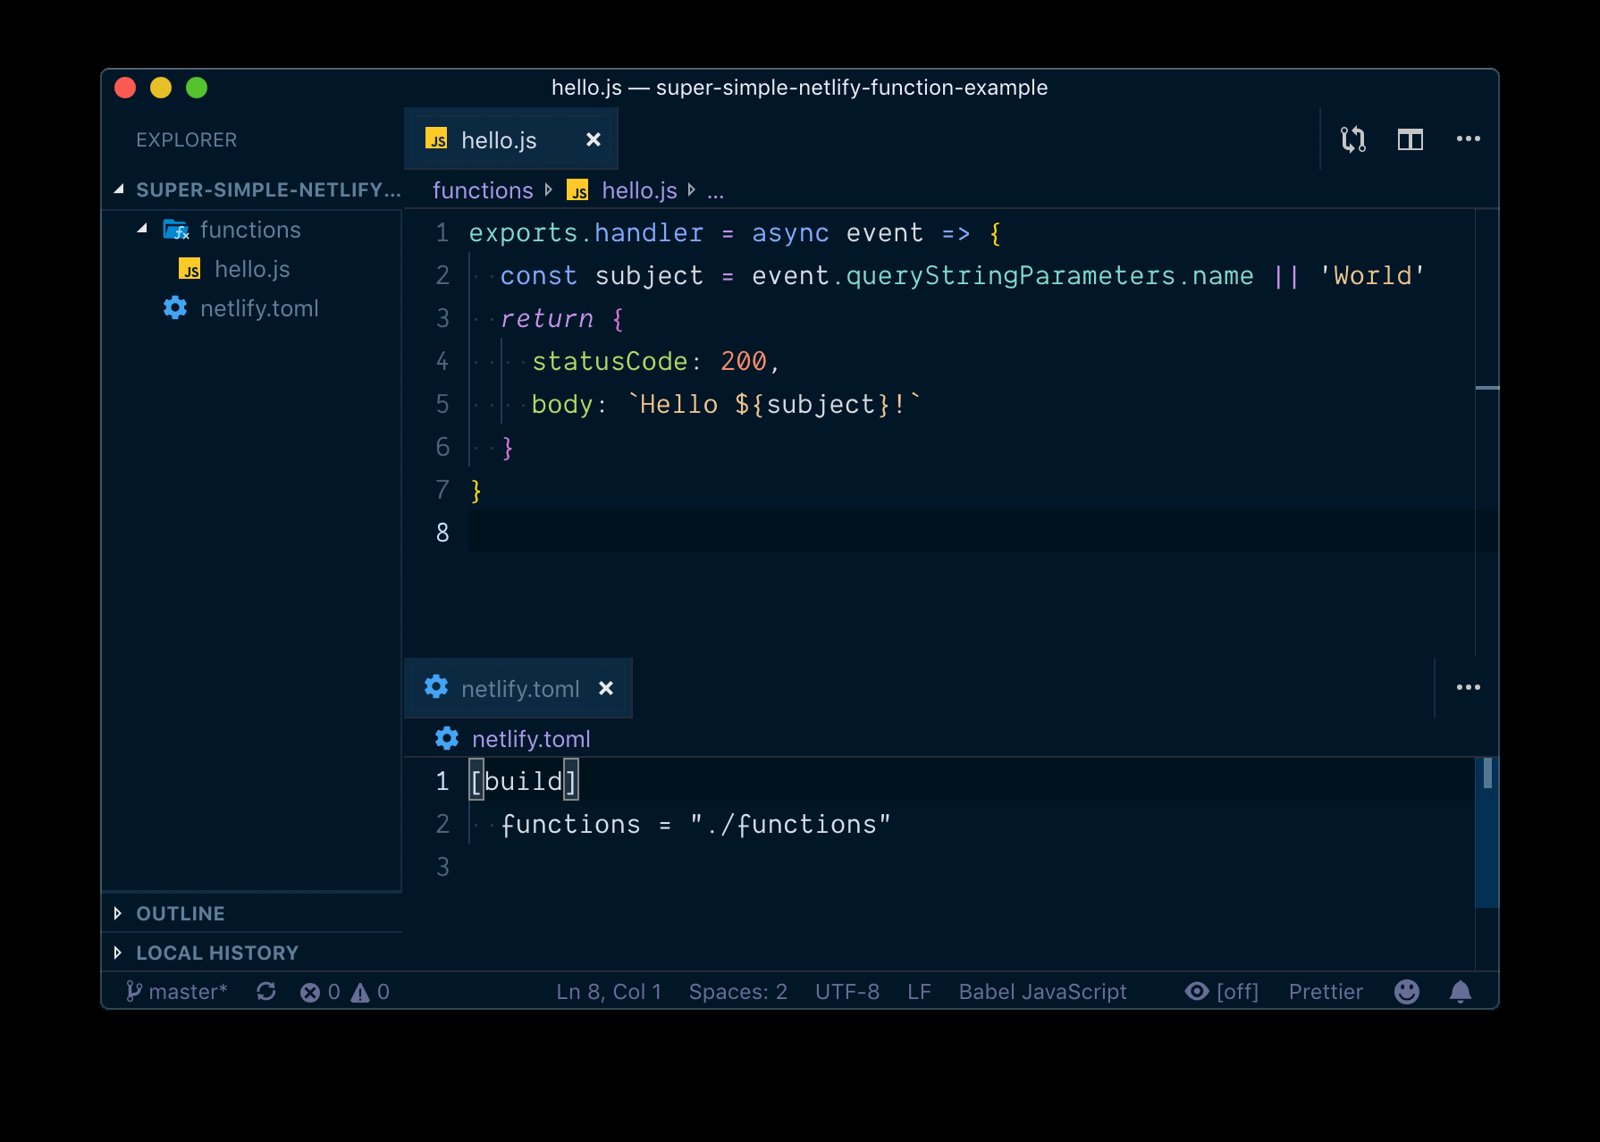
This file tells Netlify where to find your functions during the build. The minimal version looks like this:
[build]
  functions = "./functions"
That single setting points Netlify to a functions directory in your project.
Step 2: Write the function
Create functions/hello.js with a simple handler:
// functions/hello.js
exports.handler = async (event) => {
	const subject = event.queryStringParameters.name || 'World'
	return {
		statusCode: 200,
		body: `Hello ${subject}!`,
	}
}
Netlify runs AWS Lambda under the hood, so anything you can do in a Lambda function works here. The example above is an async function that resolves to a response object. Real-world functions can do much more—connecting to an SMTP server to send mail, for instance.
Step 3: Commit and deploy
Push your project to GitHub:
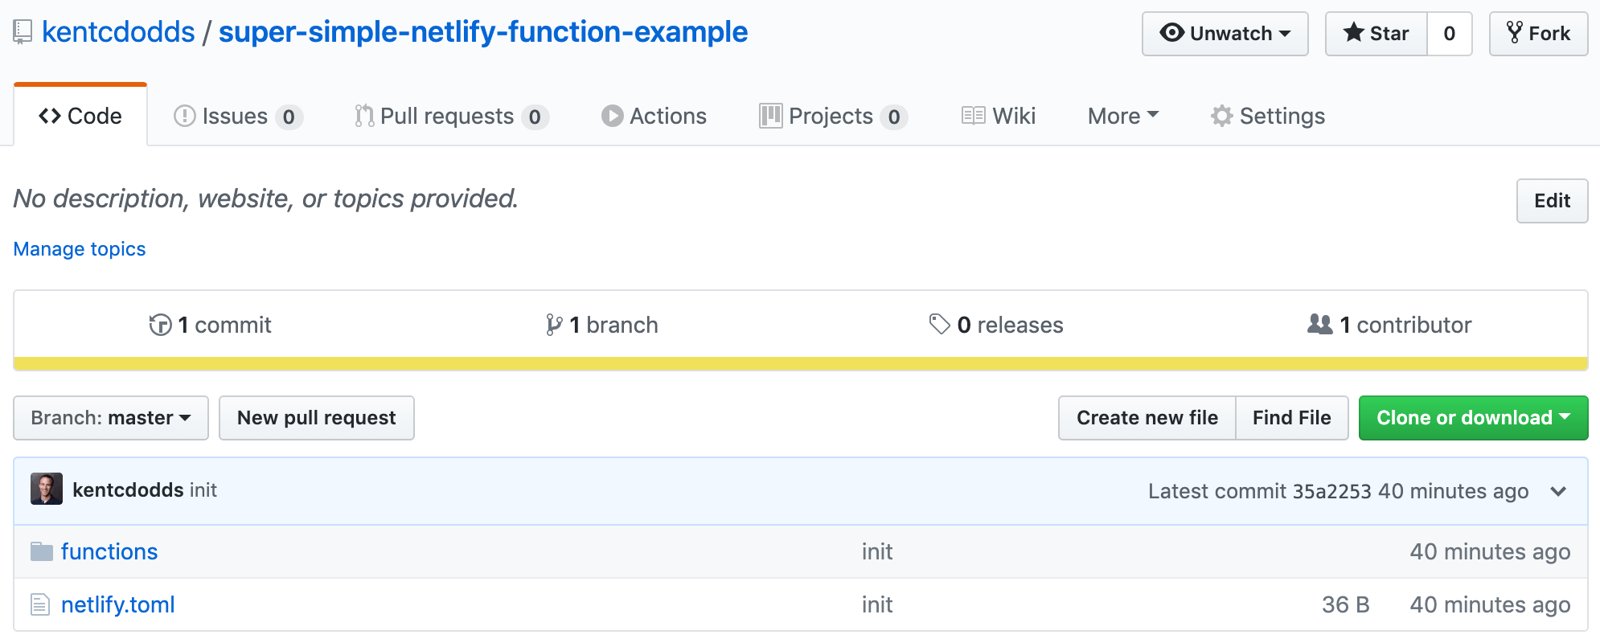
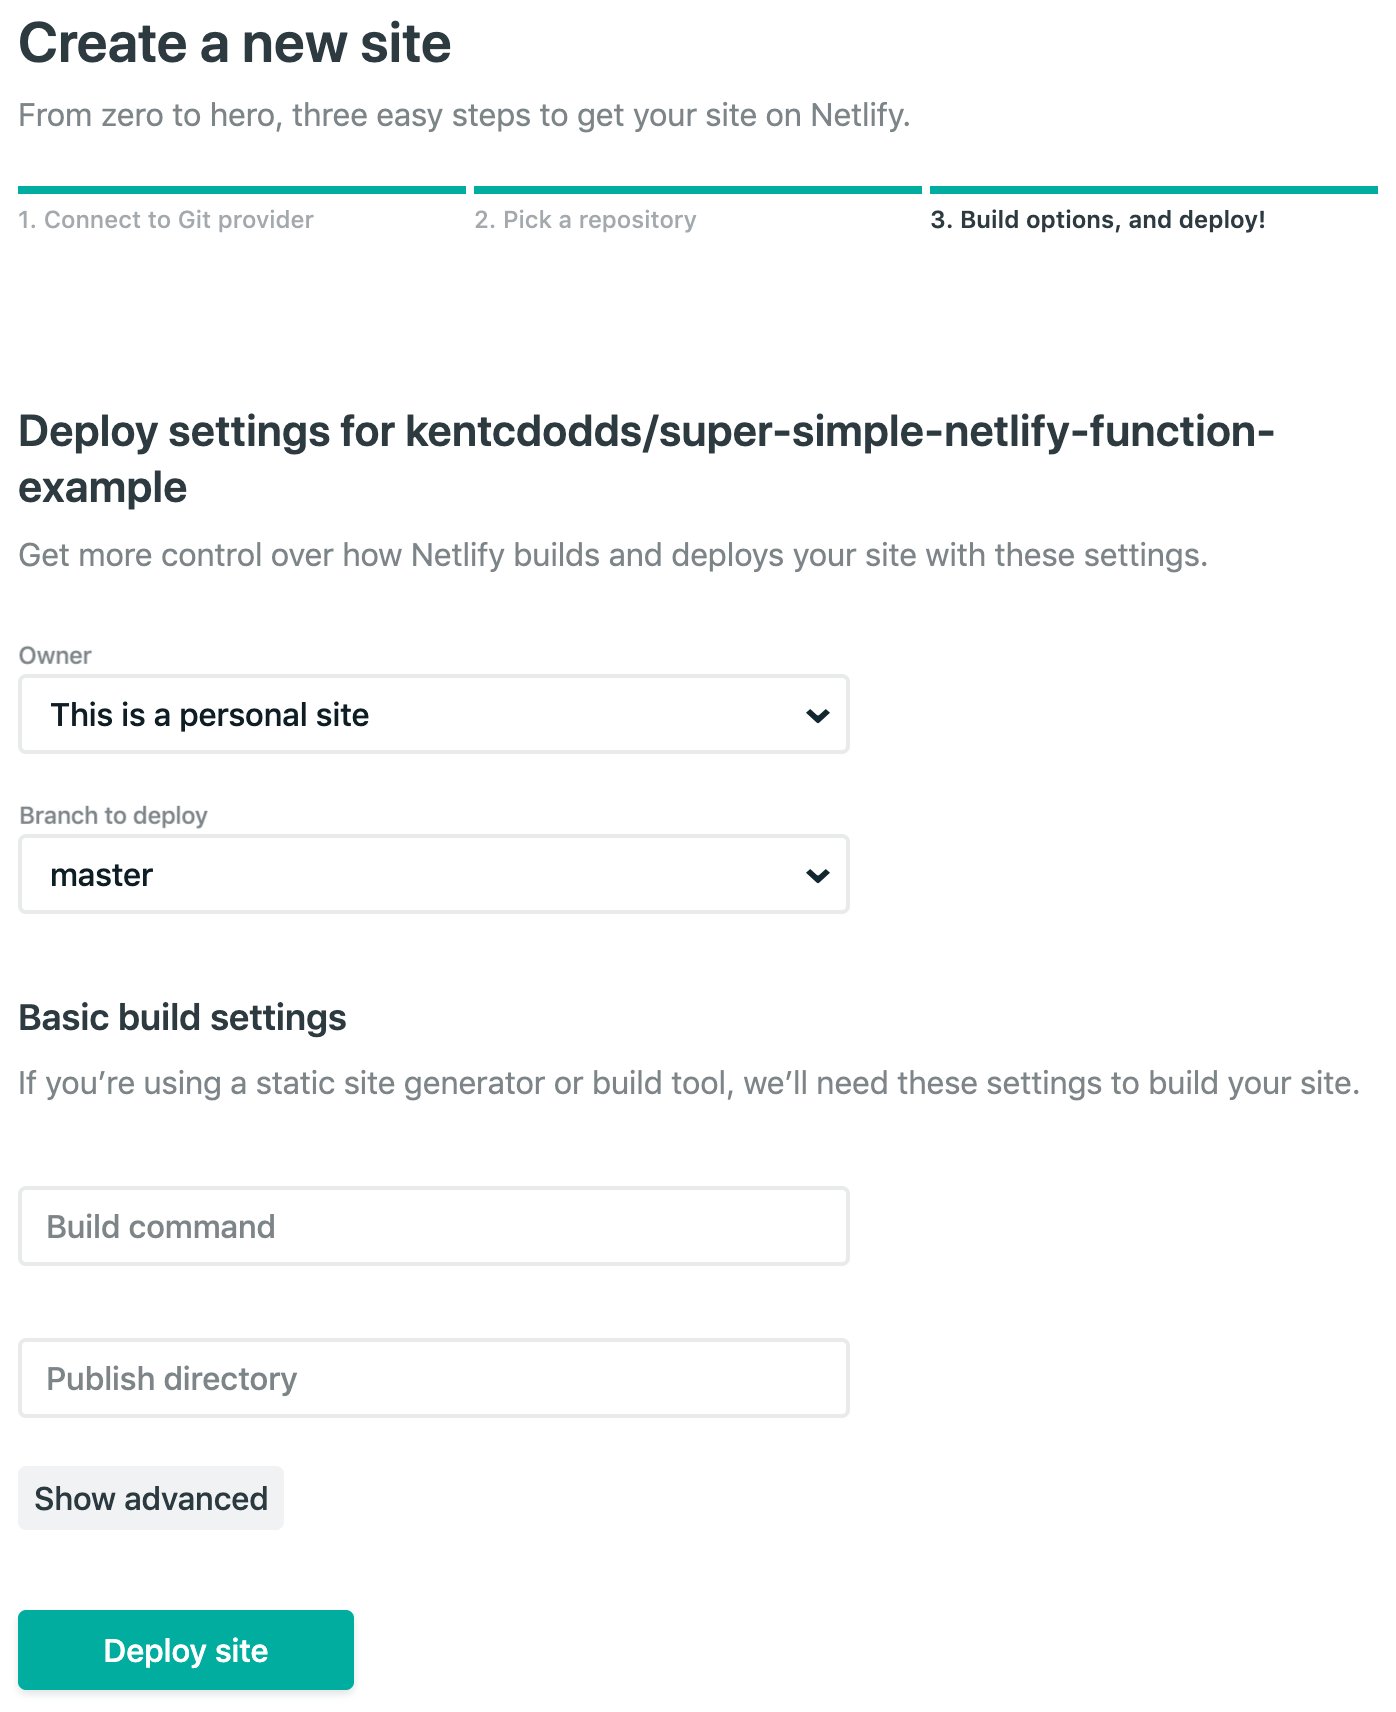
In the Netlify dashboard, click "New site from Git," connect your GitHub account, and select the repository. Leave the build command and publish directory fields empty, then click "Deploy site."
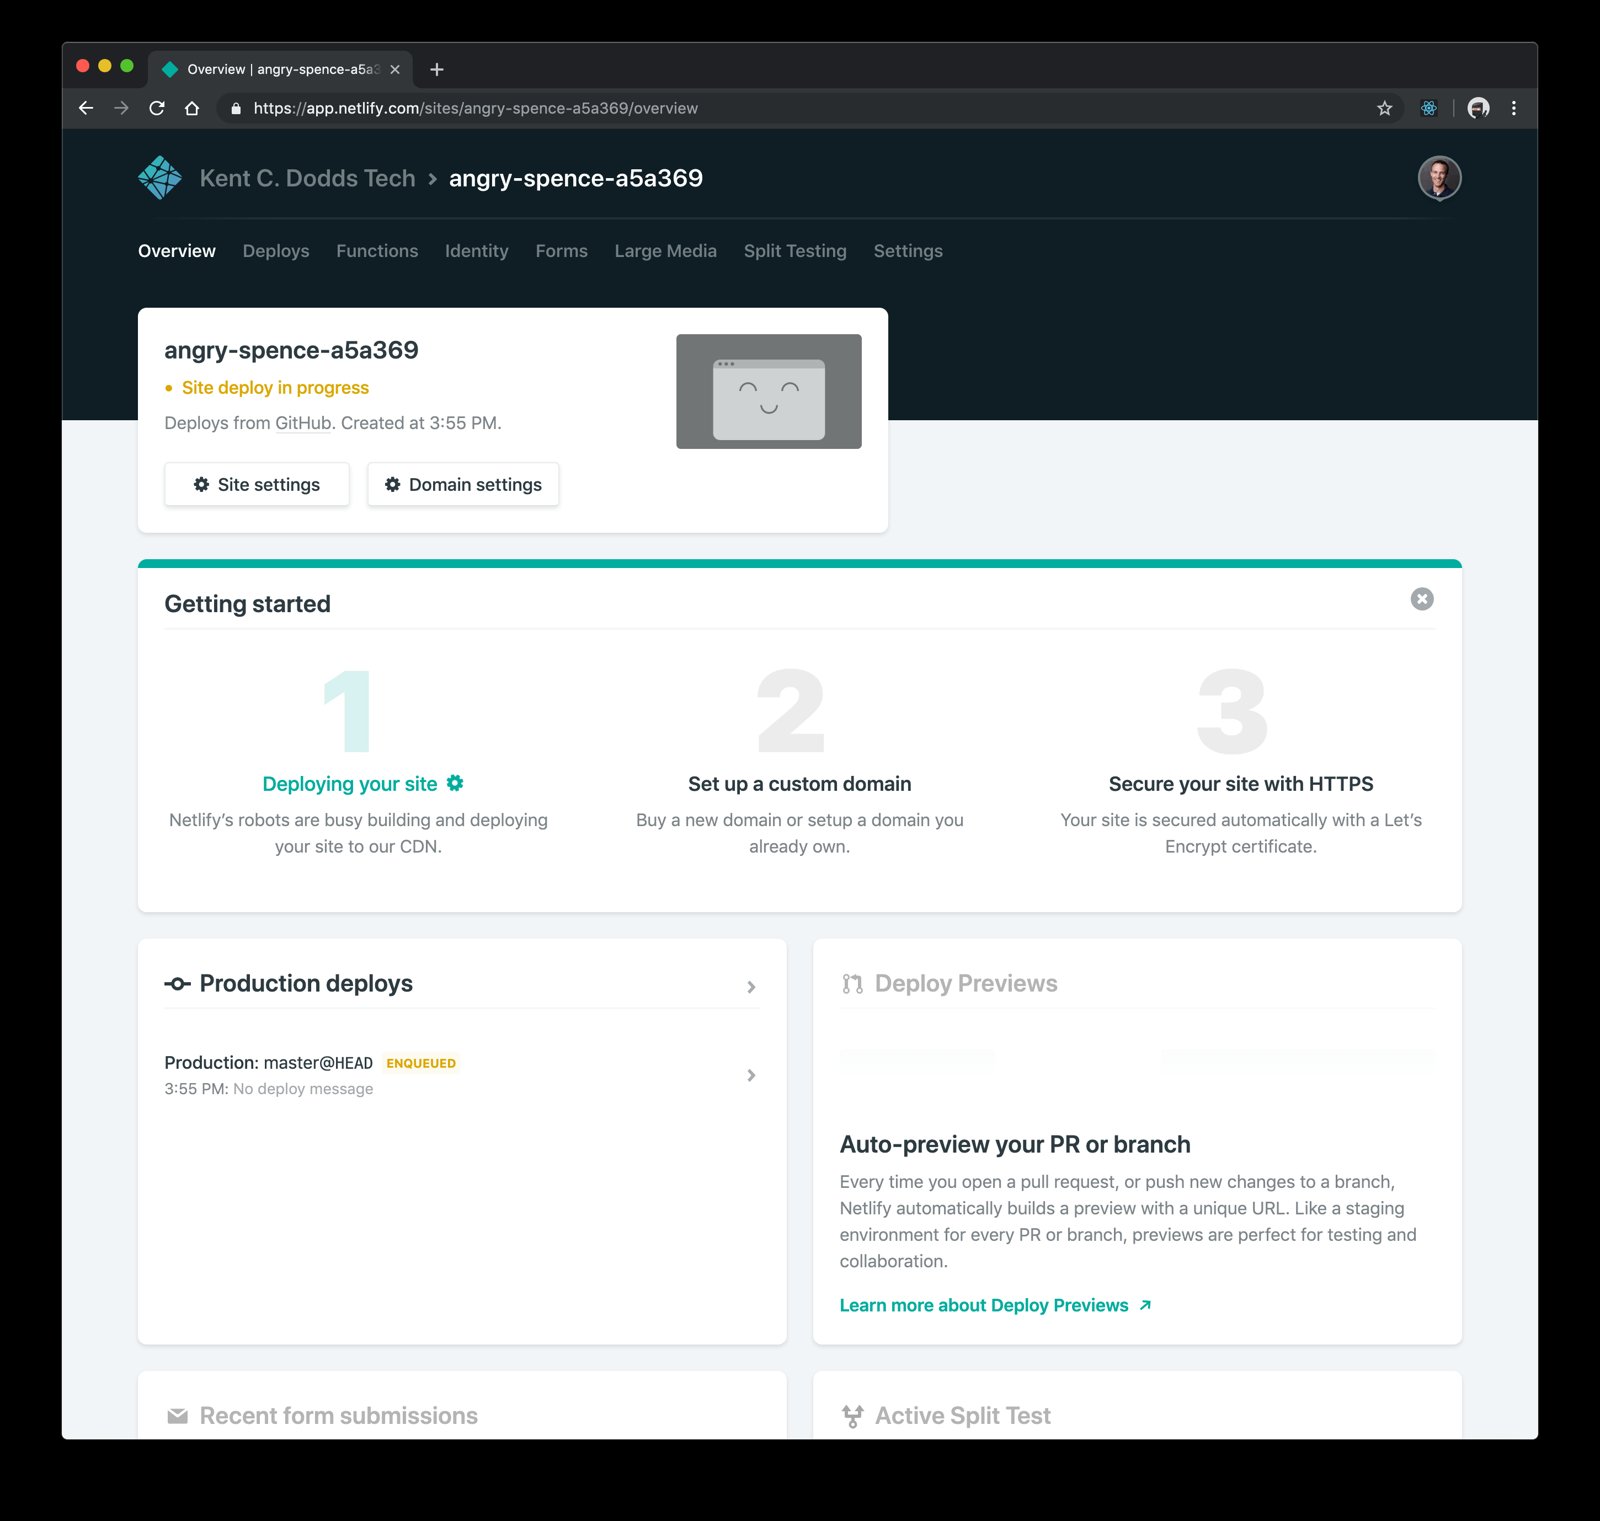
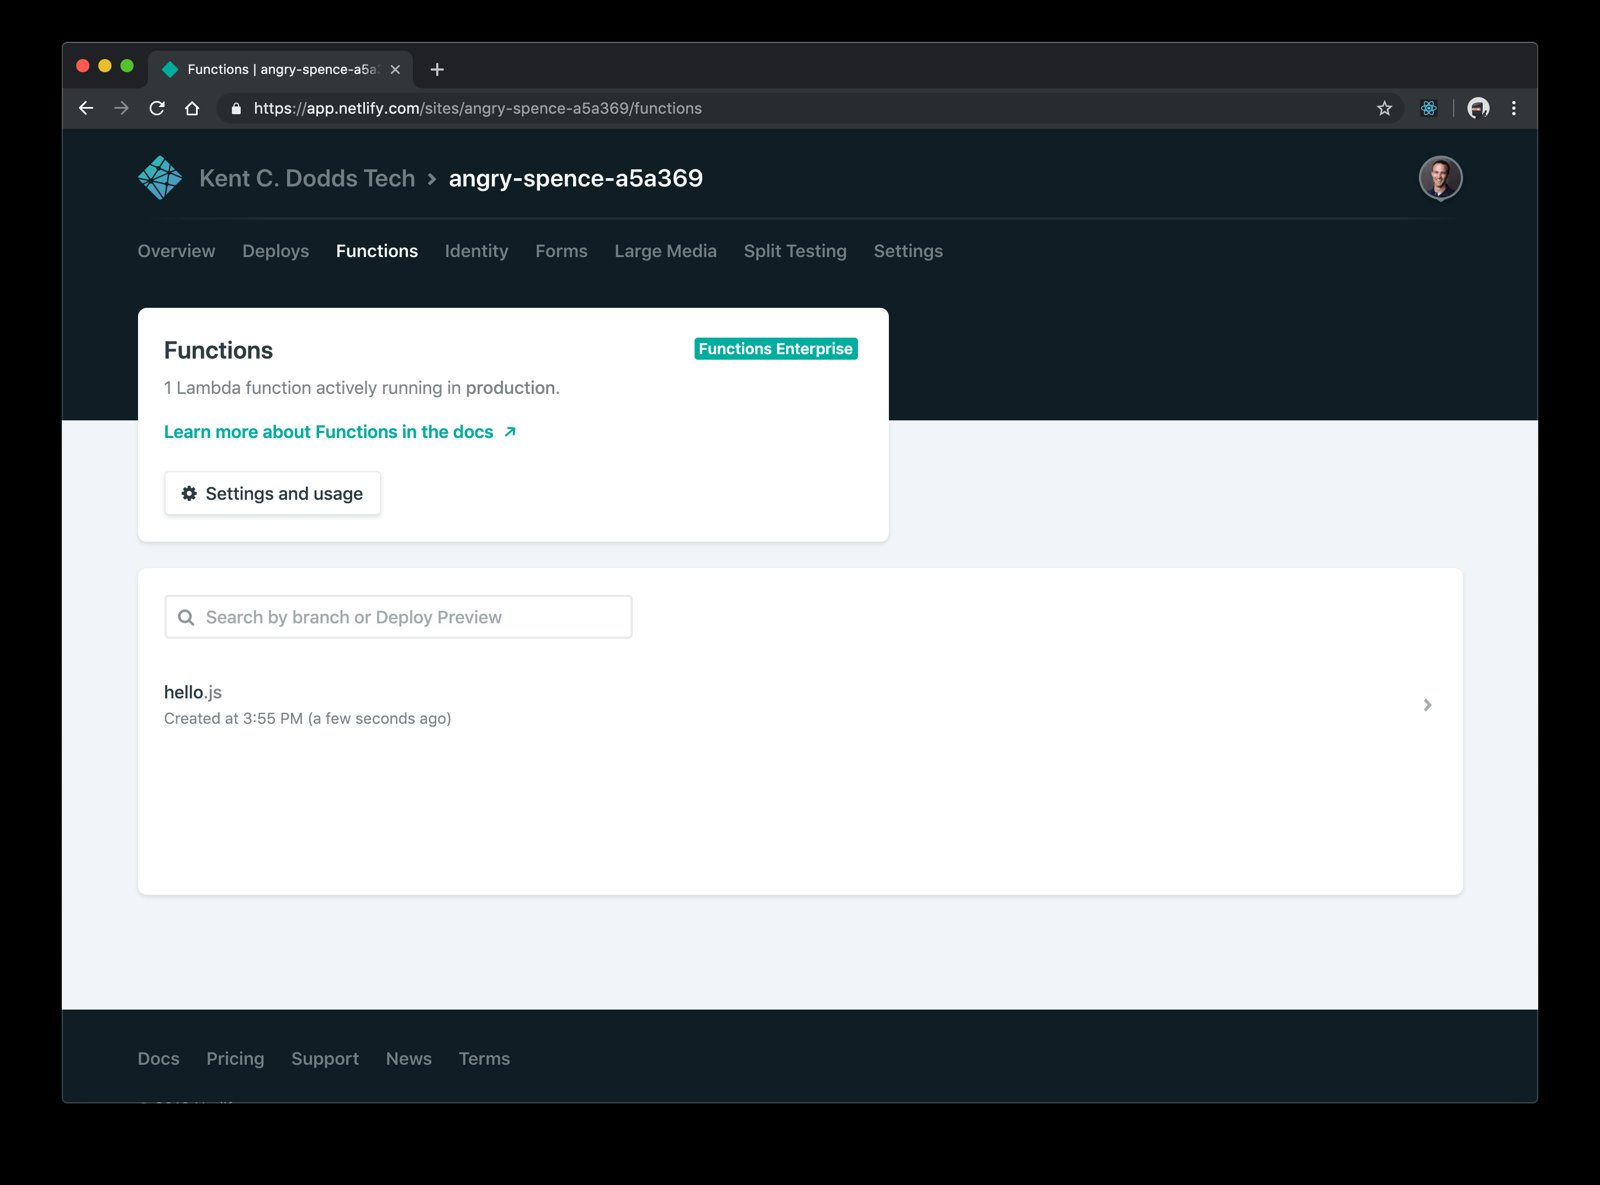
The deploy finishes in a few seconds. On the site's "Functions" page, you'll see hello.js listed:
Clicking into it shows the function log, where console.log output and invocation timestamps appear:
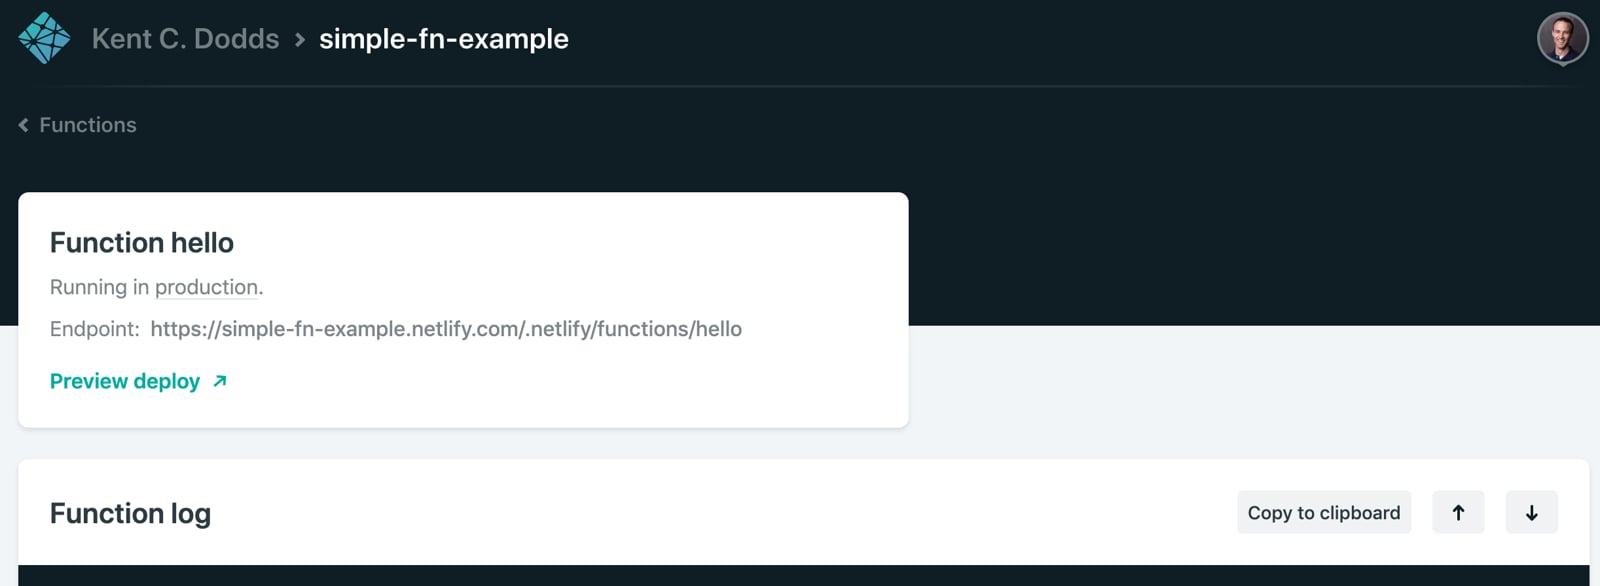
The endpoint is exposed at https://<your-site-name>.netlify.com/.netlify/functions/hello.
A quick note on how this wires together: Netlify takes each JavaScript file in the ./functions directory and deploys it as-is to AWS Lambda, then creates the /.netlify/functions endpoint for each. The path prefix is fixed and not configurable.
Hit that URL and you get:
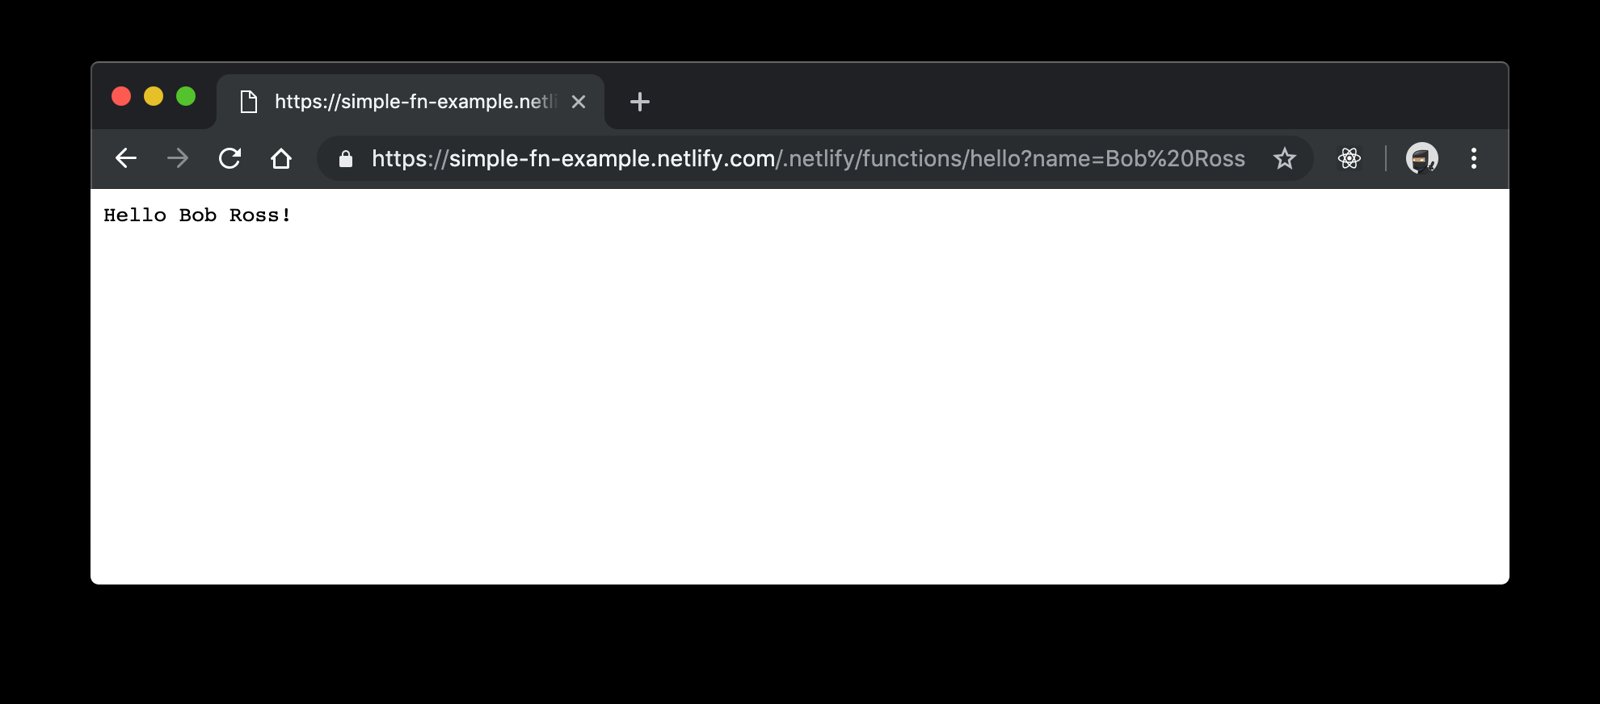
Going Further with netlify-lambda
The basic setup has two limitations worth knowing about. First, Netlify only sends the function files themselves to AWS—you can't require from a local utils directory or from node_modules. Second, testing locally is awkward.
Netlify's engineers built netlify-lambda to address both problems. The key changes to adopt it:
- Add a
package.jsonwithnetlify-lambdainstalled plusdevandbuildscripts. - Add a
.gitignoreentry for the.netlifydirectory, wherenetlify-lambdaoutputs compiled functions. - Add a
commandline innetlify.tomlthat runsnpm run build, triggeringnetlify-lambdato bundle your function into a single file. - Update the
functionsline innetlify.tomlto point at.netlify/functions/.
With that setup, requiring local files works normally, and your function is bundled for delivery to AWS Lambda.
Practical Notes
Deploying an update is just a matter of committing changes and pushing to GitHub—Netlify rebuilds and updates the Lambda function automatically. That workflow is what makes this approach genuinely useful for small backend needs.
Two additional details from real-world use: Netlify's built-in Forms service can handle contact forms, but it doesn't send emails directly—you'd need to integrate with Zapier. And while the /.netlify/functions path isn't changeable, you can alias it to any URL with a redirect, potentially serving your entire site from a function.


