A set of rechargeable bike lights, unused for years, charged but failed after roughly five minutes of runtime. The suspected cause was a worn-out cell, making the lights a reasonable first repair project for someone with minimal electronics experience.
The work was done at a local makerspace, using its soldering iron. The account below contains no safety advice, and there is no model number to report — the lights were opened, not identified.
Opening the housing and reaching the board
The housing felt like silicone, so the approach was simply to cut along whatever looked vaguely like a seam. Some silicone was torn in the process; the messy result was still enough to expose the circuit board. Screws held the assembly together and were removed to free the board.
Only as few screws as possible were taken out, to reduce the risk of losing them or being unable to reassemble the light.
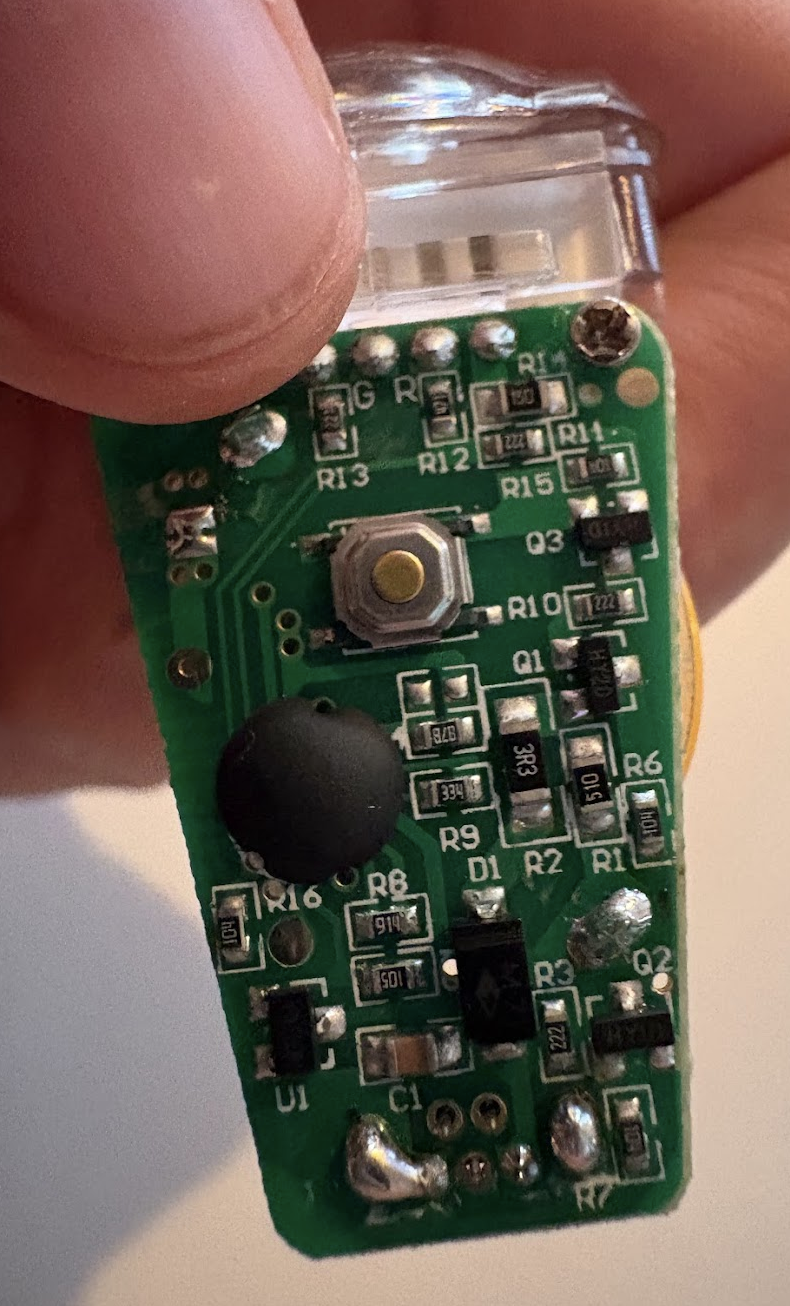
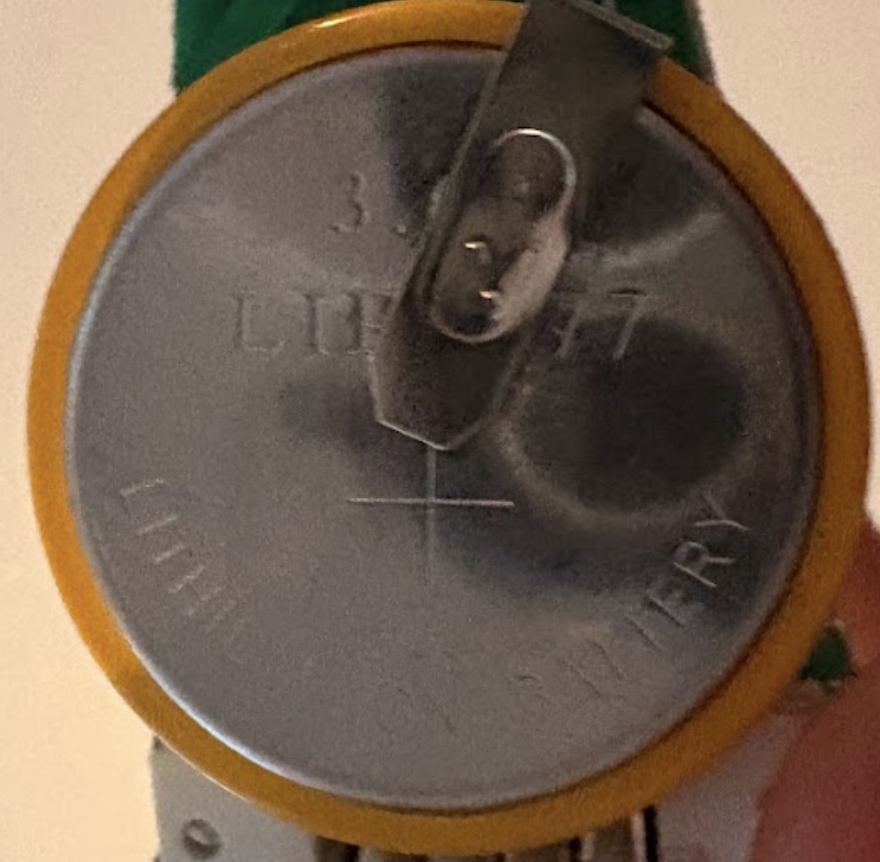
The battery attachment point is left of RI3 and above Q2. The battery itself looked like this:
Desoldering the old cell
Desoldering was new territory, so the iFixit guide to desoldering served as a reference; friends named Lee and Lauria gave advice as well.
The procedure that was followed:
- Use a desoldering pump to remove most of the solder.
- Once most of it is gone, pull the parts apart somewhat to try to separate them.
- Avoid overheating the battery by taking breaks to let it cool; with limited soldering experience this takes a while.
- Leave the attachment welded to the top of the battery alone. Removing it seemed impossible and was thought to be necessary, but the replacement battery ships with that part.
Identifying the part
The battery is marked with something like “3” and “LI???77”. The metal piece on top appeared welded on and was not something to remove, which made it unclear how to determine what an “LI???77” is or how to order another one.
Lauria showed how to use DigiKey’s search, though DigiKey did not carry the part. Separately, an LLM was asked; it returned “LIR2477”, which on lookup looked exactly like the original battery. Methods for identifying such a cell without an LLM would be worth learning.
Ordering and reassembly
Two batteries were ordered from AliExpress — one for each of the two lights — along with silicone glue. The batteries were about $3 each and the glue $8.
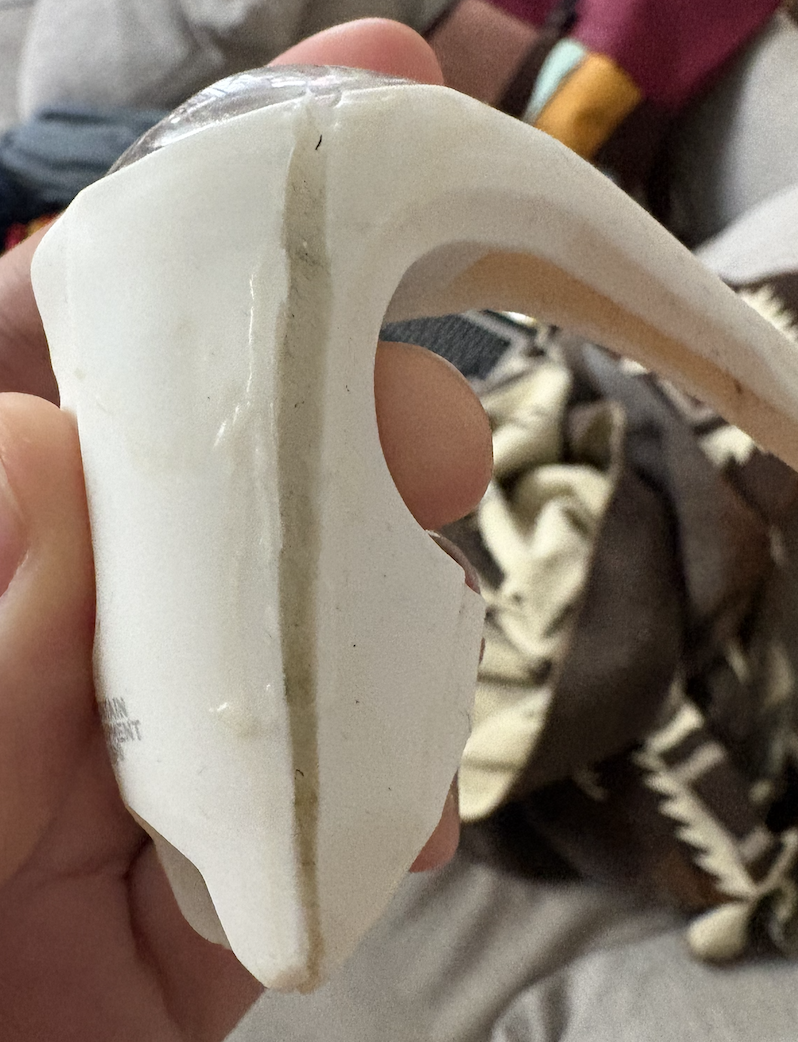
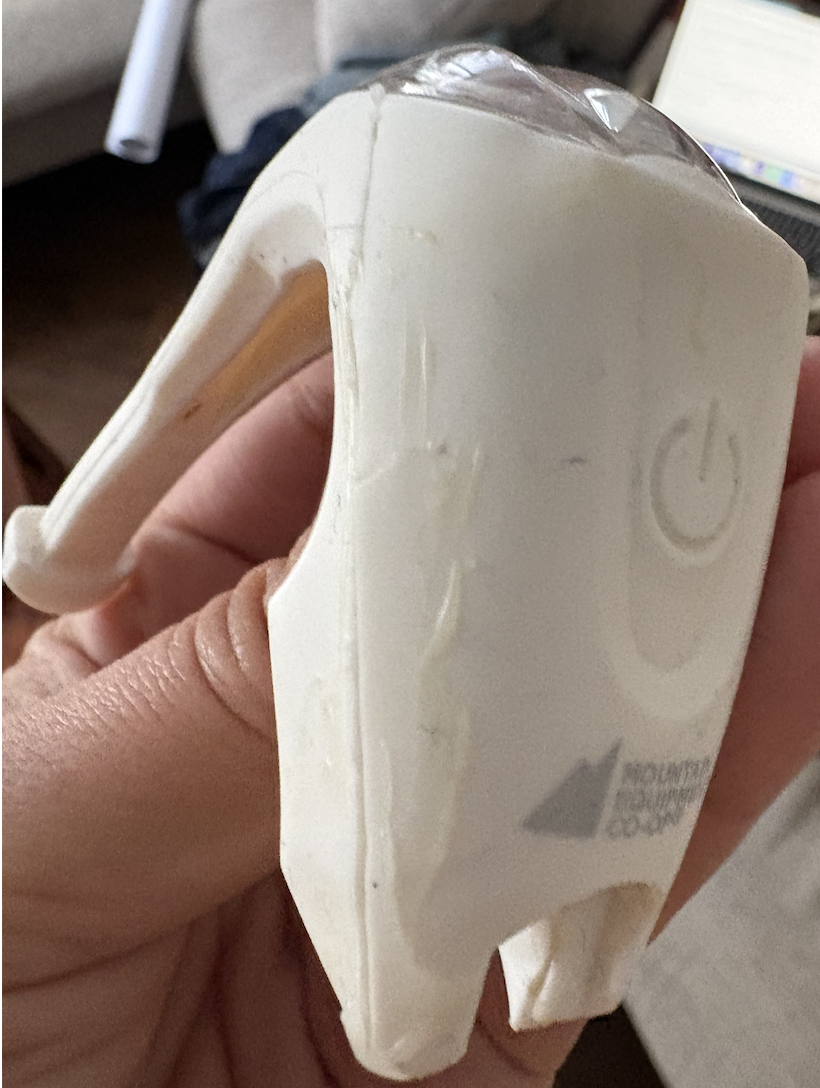
The parts took roughly two weeks to arrive. Back at the makerspace the new batteries were soldered in and the screws reinserted. The screws are very small and hard to hold; some were dropped and lost, so fewer of them were used than came out. Glue was then used to close everything up, with a halfhearted attempt at clamping the glued parts. After a drying period the light was taken home and the glue left to cure for 24 hours. The old batteries were taken to a nearby drop-off that accepts them.
Outcome
The lights work and have been used for night riding. They have not needed a recharge yet, and the actual lifetime of the new cell is still unknown — a new Mini USB cable had to be ordered after all the old ones were discarded, and it had not arrived.
The glue job is visibly careless and the housing did not go back together very well. Total parts cost was about $20 CAD, and the whole exercise required extremely minimal electronics skills.