
Setting up a local Sanity Studio
The build starts from a local Sanity Studio. The blog template, launched from the command line, is enough to follow along, though the starters at sanity.io/create work just as well. Some JavaScript familiarity helps, and only a little React is involved. Node and npm need to be installed, along with the Sanity CLI:
npm install --global @sanity/cliRun sanity init to create a project, signing in with Google, GitHub, or an email/password account. Pick the blog template when the prompt asks for one:
? Select project template
  Movie project (schema + sample data)
  E-commerce (schema + sample data)
❯ Blog (schema)
  Clean project with no predefined schemas
Then cd into the project folder, open it in an editor, and run sanity start. The dev server hot reloads the studio as files change; ctrl + C stops it in most terminals.
Defining a CodePen type
Schemas declare which document types exist and which fields they contain. They are JavaScript objects imported into schemas.js, which exports a function the Studio turns into UI. Create /yourproject/schemas/codepen.js:
export default {
  name: "codepen",
  type: "object",
  title: "CodePen Embed",
  fields: [
    {
      name: "url",
      type: "url",
      title: "CodePen URL"
    }
  ]
};
Register it in /yourproject/schemas/schema.js with two added lines:
import createSchema from "part:@sanity/base/schema-creator";
import schemaTypes from "all:part:@sanity/base/schema-type";

import blockContent from "./blockContent";
import category from "./category";
import post from "./post";
import author from "./author";
import codepen from "/codepen.js"; // <= first import the object

export default createSchema({
  name: "default",
  types: schemaTypes.concat([
    post,
    author,
    category,
    blockContent,
    codepen // <= add it to the schema types array
  ])
});
The CodePen object is now usable as a type in any schema that takes fields, simply by writing type: 'codepen'.
Placing the field in Portable Text
The two systems store rich text differently. Gutenberg keeps JSON at runtime, but developers mostly work with HTML and JSON objects inside HTML comments. Sanity stores and distributes content as Portable Text, which frontends serialize themselves — with React, Vue, Svelte, .NET, PHP, or even Markdown — so rendering stays under fine-grained control. The content lives in Sanity's backend as structured data, and the frontend decides how to present it.
/schemas/blockContent.js is an array. Rich text is an array of types, one of which must be block for paragraphs, so the minimal definition looks like this:
export default {
  name: "body",
  type: "array",
  title: "Body",
  of: [
    {
      type: "block"
    }
  ]
};
The actual file also declares styles, lists, marks, and more, and its top-level array already holds block and image. Add codepen as the third entry:
export default {
  title: "Block Content",
  name: "blockContent",
  type: "array",
  of: [
    {
      type: "block"
      // ...
    },
    {
      type: "image",
      options: { hotspot: true }
    },
    {
      type: "codepen"
    }
  ]
};
With sanity start running, the post type's rich text editor at https://localhost:3333 now offers the new field:
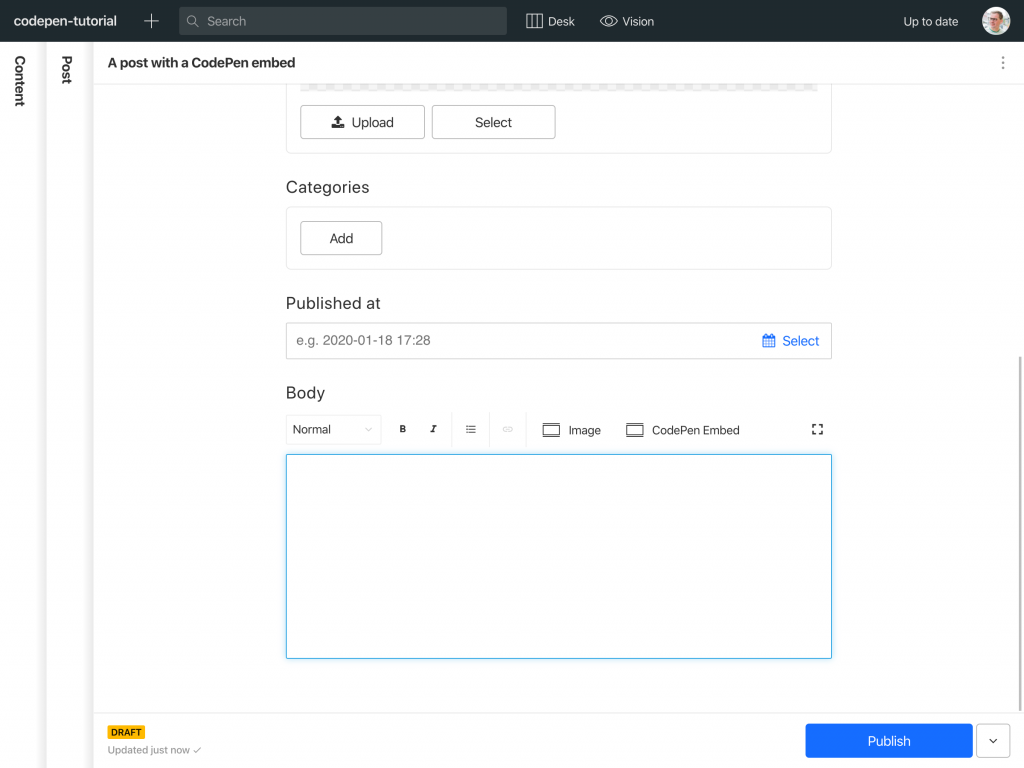
Clicking the button opens a modal with the URL input defined earlier. Entering a URL is functional but uninspiring, so the next step is the real embed as an inline preview.
Building a live preview component
Back in /yourproject/schemas/codepen.js, import React and add the component boilerplate:
import React from "react";

const CodePenPreview = ({ value }) => {
  return <pre>{JSON.stringify(value, null, 2)}</pre>;
};

export default {
  name: "codepen",
  type: "object",
  title: "CodePen Embed",
  fields: [
    {
      name: "url",
      type: "url",
      title: "CodePen URL"
    }
  ]
};
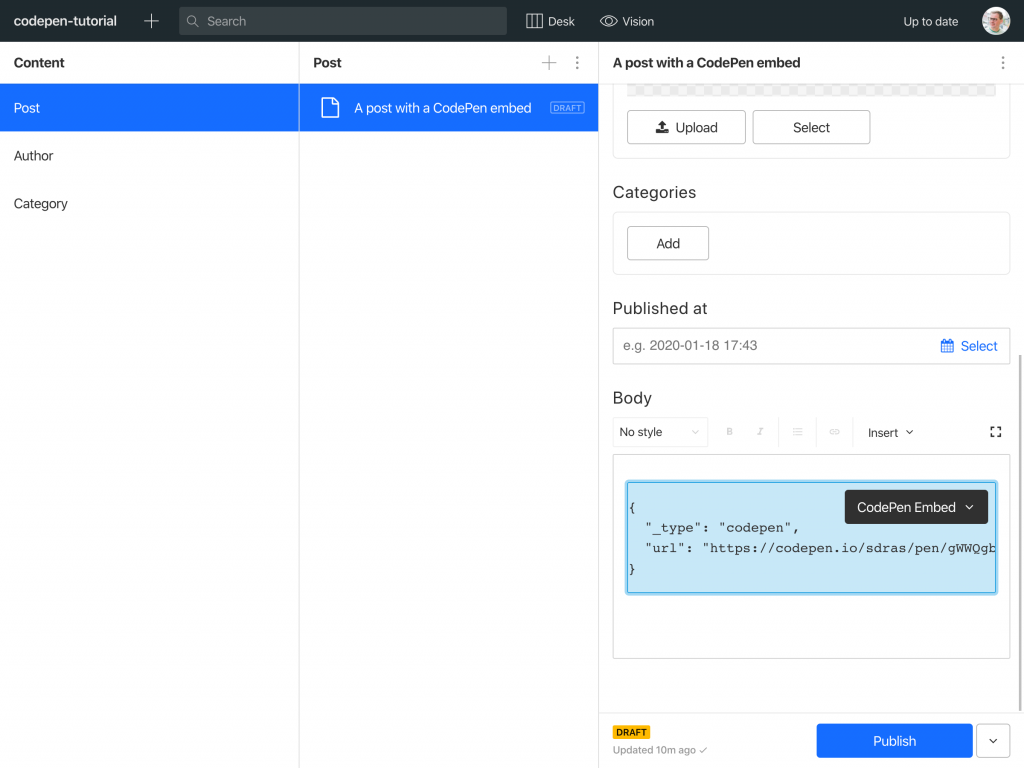
Outputting the data through JSON.stringify is a quick readable stand-in; console.log(value) would also do.
Next, tell Sanity to use this component as the preview and which object fields to select into its value:
import React from "react";

const CodePenPreview = ({ value }) => {
  return <pre>{JSON.stringify(value, null, 2)}</pre>;
};

export default {
  name: "codepen",
  type: "object",
  title: "CodePen Embed",
  preview: {
    select: {
      url: "url"
    },
    component: CodePenPreview
  },
  fields: [
    {
      name: "url",
      type: "url",
      title: "CodePen URL"
    }
  ]
};
The editor then renders roughly like this:
Adapting the iFrame markup for JSX
The simplest route is CodePen's iFrame embed. The original element:
<iframe height="265" style="width: 100%;" scrolling="no" title="React Animated Page Transitions" src="https://codepen.io/sdras/embed/gWWQgb?height=265&theme-id=dark&default-tab=js,result" frameborder="no" allowtransparency="true" allowfullscreen="true">
  See the Pen <a href='https://codepen.io/sdras/pen/gWWQgb'>React Animated Page Transitions</a> by Sarah Drasner
  (<a href='https://codepen.io/sdras'>@sdras</a>) on <a href='https://codepen.io'>CodePen</a>.
</iframe>
Pasted as-is it almost works; a few HTML attributes must be made JSX-compatible:
style="width: 100%;"becomesstyle={{width: "100%"}}frameborder="no"becomesframeBorder="no"allow-transparency="true"becomesallowTransparencyallow-fullscreen="true"becomesallowFullScreen
The content inside the iFrame (links and such) can be dropped, since it's not useful in the studio. The result:
import React from "react";
import Codepen from "react-codepen-embed";

const CodePenPreview = ({ value }) => {
  return (
    <iframe
      height="265"
      style={{ width: '100%' }}
      scrolling="no"
      title="React Animated Page Transitions"
      src="https://codepen.io/sdras/embed/gWWQgb?height=370&theme-id=dark&default-tab=js,result"
      frameBorder="no"
      allowTransparency
      allowFullScreen
    />);
};

// ...
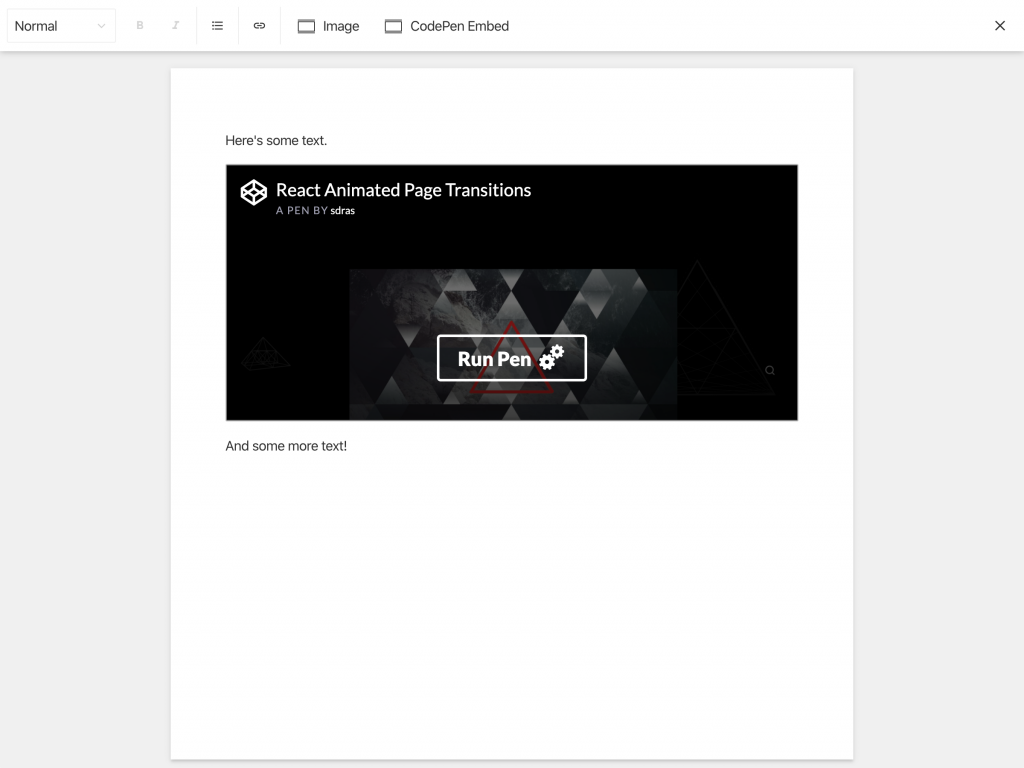
On save, the embed appears inside the rich text editor:
Rebuilding the embed URL
The iFrame uses an embed URL carrying display parameters, but asking authors to fetch that from CodePen defeats the purpose of a URL-only field. Instead, derive it from the regular URL: split the string on forward slashes and use array destructuring, leaving unneeded positions empty. This assumes a particular URL format and isn't bulletproof, but it suits the example. Template literals then reassemble the embedUrl:
import React from "react";

const CodePenPreview = ({ value }) => {
  const { url } = value;
  if (!url) {
    return (<div>Add a CodePen URL</div>)
  }
  const splitURL = url.split("/");
  // [ 'https:', '', 'codepen.io', 'sdras', 'pen', 'gWWQgb' ]
  const [, , , user, , hash] = splitURL;
  const embedUrl = `https://codepen.io/${user}/embed/${hash}?height=370&theme-id=dark&default-tab=result`;
  return (
    <iframe
      height="370"
      style={{ width: '100%' }}
      scrolling="no"
      title="CodePen Embed"
      src={embedUrl}
      frameBorder="no"
      allowTransparency
      allowFullScreen
    />
  );
};
// ...
Save, and the custom CodePen block is complete.
Adding the remaining settings
The Gutenberg block exposes more options than a single URL, and nothing prevents matching them. The React CodePen embed component documents a table of accepted properties; each can become a schema field. To add themeId, for instance:
import React from "react";
import Codepen from "react-codepen-embed";

const CodePenPreview = ({ value }) => {
  const { url, themeId = "dark" } = value; // <= add themeId here, default it to "dark"
  if (!url) {
    return (<div>Add a CodePen URL</div>)
  }
  const splitURL = url.split("/");
  // [ 'https:', '', 'codepen.io', 'sdras', 'pen', 'gWWQgb' ]
  const [, , , user, , hash] = splitURL;
  const embedUrl = `https://codepen.io/${user}/embed/${hash}?height=370&theme-id=${themeId}&default-tab=result`; // <= add themeId here
  return (
    <iframe
      height="370"
      style={{ width: '100%' }}
      scrolling="no"
      title="CodePen Embed"
      src={embedUrl}
      frameBorder="no"
      allowTransparency
      allowFullScreen
    />
  );
};

export default {
  name: "codepen",
  type: "object",
  title: "CodePen Embed",
  preview: {
    select: {
      url: "url",
      themeId: "themeId" // <= add themeId here
    },
    component: CodePenPreview
  },
  fields: [
    {
      name: "url",
      type: "url",
      title: "CodePen URL"
    },
    // Add the new field below
    {
      name: "themeId",
      type: "string",
      title: "Theme ID",
      description: 'You can use "light" and "dark" also.'
    }
  ]
};
The same pattern of schema definition plus preview component extends to essentially any custom component: schemas declare the structured data, and preview components decide how it renders in the editor.