

Why Craft CMS Deserves a Look
Craft CMS, developed by Pixel & Tonic, has become a serious contender in the CMS space. With an active community — its Discord server topped 5,000 members within its first year — and a client roster that includes Netflix, Craft is steadily gaining ground. For teams coming from WordPress, the admin interface feels familiar, which eases the transition. What sets Craft apart is its flexible field system, letting you shape content structure to fit each project rather than forcing content into predefined templates.
There’s no subscription lock-in either: a one-off license fee covers Pro and eCommerce features, and the plugin store continues to grow. Add in an actively maintained codebase that keeps pace with modern web development, and it’s a solid choice for everything from marketing sites to custom builds.
Setting Up a Local Environment
Craft ships with Craft Nitro, a tool that automates local environment setup. Nitro relies on Multipass, which runs an Ubuntu virtual machine behind the scenes — you never need to interact with Ubuntu directly. Start by downloading and running the Multipass installer for your operating system from its official site.
Installing Nitro on macOS and Linux
Open a terminal and run the Nitro installer script. Follow the on-screen prompts to create your virtual machine using the default presets, which meet Craft’s minimum requirements. Tuning is possible, but defaults work fine for most projects.
bash <(curl -sLS https://installer.getnitro.sh)
Installing Nitro on Windows 10 Pro
Windows setup requires Hyper-V, so this will not work on the Home edition. With Hyper-V enabled, follow these steps:
- Download
nitro_windows_x86_64.zipfrom the latest release. - Create a
Nitrofolder in your home directory if one doesn’t already exist, e.g.C:\Users\<username>\Nitro. - Extract the zip and place
nitro.exeinto that folder. - On first install, add Nitro to your global path from the command line:
setx path "%PATH%;%USERPROFILE%\Nitro"Finally, launch cmd.exe with administrator rights and run Nitro, following the prompts to create your first machine. The default settings Nitro suggests are sufficient.
Creating a New Craft Project
With Nitro and your virtual machine ready, the next step is downloading Craft and mounting your project files so local edits reflect instantly in the Ubuntu VM. You’ll also set up a local test domain along the way.
- Create a folder for your project.
- Download Craft CMS from the latest release, either via Composer or as a zip.
- Extract the files into your project folder.
- Open a terminal and navigate there:
cd /path/to/project. - Run
nitro addand follow the prompts. Defaults are generally fine.
If you run into “Not Readable” errors on macOS, Multipass needs full disk access. Enable it under System Preferences → Security & Privacy → Privacy → Full Disk Access by checking multipassd.
Configuring the Database
With your test domain and mounted files in place, open the project’s .env file in the root folder and update the database connection details as follows:
DB_USER="nitro"
    DB_PASSWORD="nitro"
    # 'nitro' is the default database
    DB_DATABASE="nitro"
To connect your preferred SQL client to the database, run nitro info and use the IP address shown under “IPV4” along with the username, password, and port you selected during setup.
Running the Installer
Everything is now in place to install Craft itself. Navigate to your test domain followed by /admin — e.g., testdomainyouset.test/admin — and Craft’s install screen should appear. Follow the on-screen instructions, and you’ll land in the admin panel once complete.
If you skipped Composer during installation, you may be asked for a security key. Generate one with a password manager like 1Password or LastPass — there’s no length limit. Open .env, find SECURITY_KEY="", and paste your key inside the quotes.
You now have a working Craft CMS local environment, ready for anything from migrating a WordPress blog to building a custom eCommerce store. When you’re done developing, shut the server down with nitro stop.
A few useful Nitro commands during development:
nitro start— starts the development servernitro stop— stops the development servernitro context— shows info about installed environmentsnitro info— details about the current environment, including PHP version
Building the Content Model
With Craft installed, the next step is to define the structure of our cat blog. Craft uses a graphical interface for content modeling, so there is no need to write configuration code. For this project, we need two content types: a channel for individual cat posts, which we’ll call "Cats," and a single page for the homepage.
Creating the Sections
Sections are the containers for your content. A "Channel" is suited for repeated content like blog posts, while a "Single" is for one-off pages such as a homepage. To set up the Cats channel:
- Go to Settings in the left-hand menu.
- Click Sections and then New Section.
- Set the Name to
Catsand choose the Section Type ofChannel. - In the Entry URI Format field, enter
/cats/{slug}. - For the Template, enter
cat. - Save the section.
This configuration tells Craft to generate URLs like ourtestdomain.test/cats/fluffy and use the cat.twig template for rendering.
Next, create the homepage as a single page:
- Within Sections, click New Section.
- Set the Name to
Homepageand chooseSingleas the Section Type. - Tick the Homepage checkbox.
- In the Template field, enter
index. - Save the section.
Defining Custom Fields
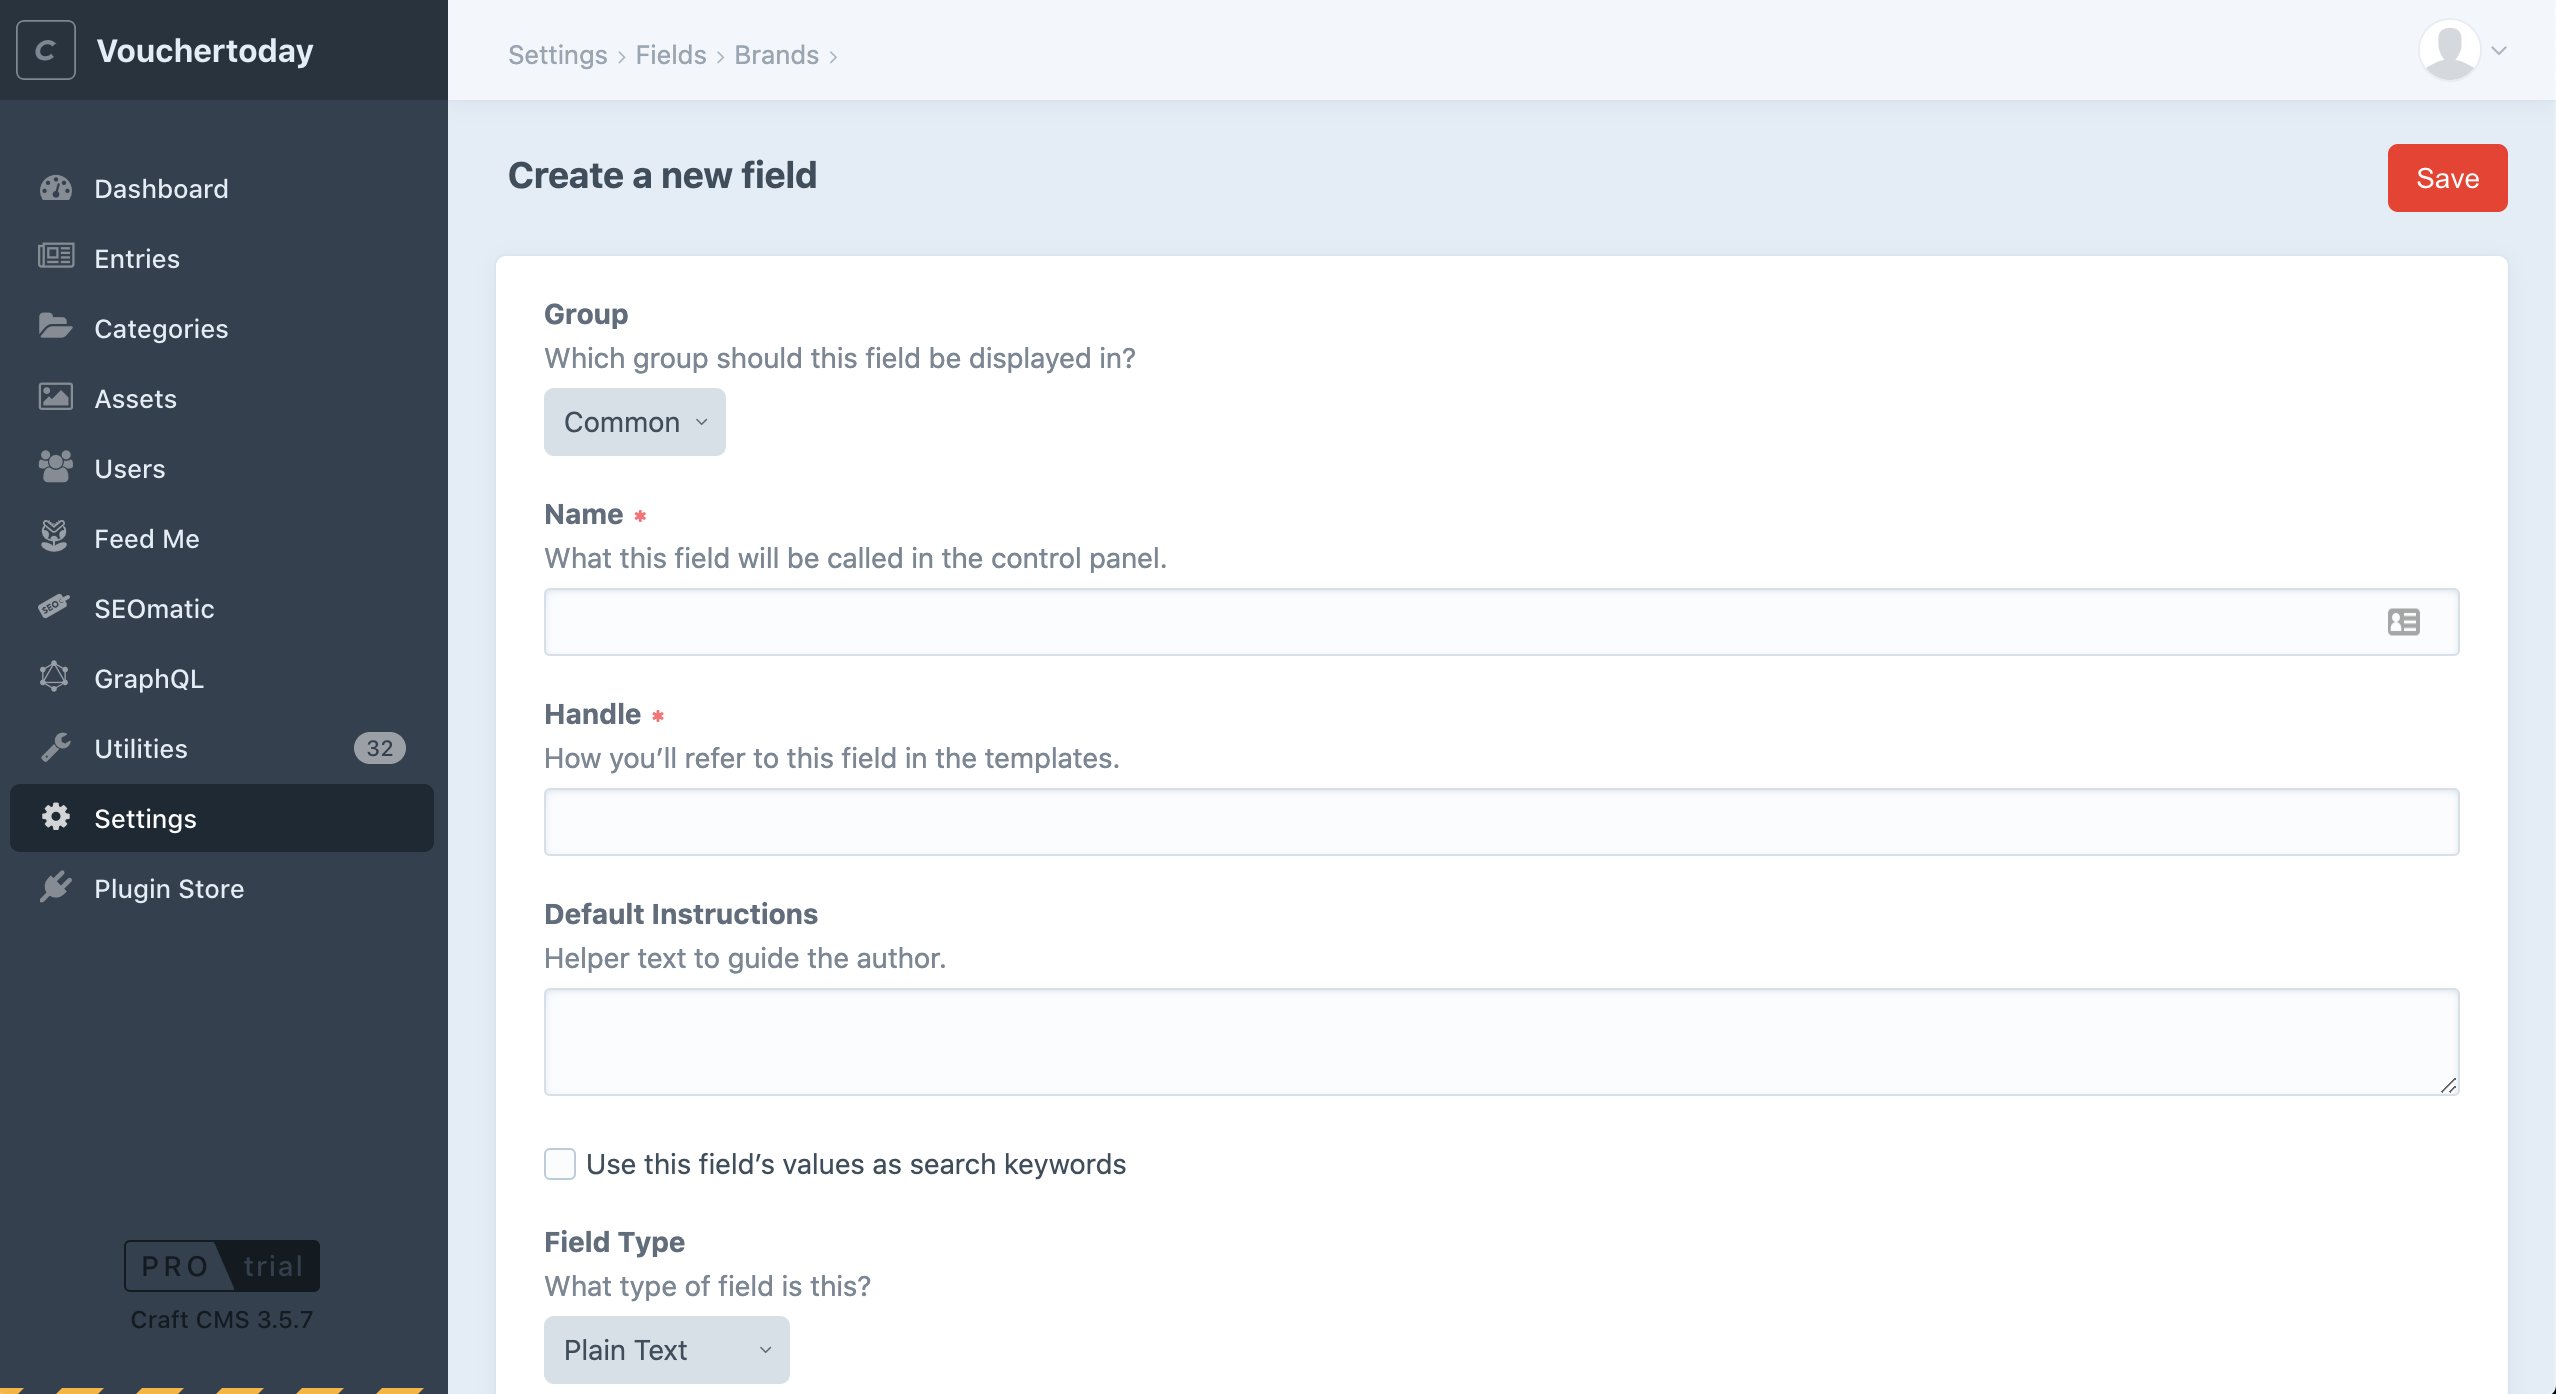
Craft starts with a blank slate, allowing us to build our own field structure. First, we need to create the individual fields for our cat posts. Navigate to Settings → Fields and click New Field for each of the following:
- Cat's Name: Choose the
Plain Textfield type. - Cat's Description: Use the
Plain Textfield type and set a Field Limit of 2000 characters.
For the cat photos, we must first tell Craft where to store uploaded files. Head to Settings → Assets → New Volume.
- Set the Name to
Cat's Photo. - Enable Assets in this volume have public URLs.
- Set Base URL to
@web/uploads/. - Set File System Path to
@webroot/uploads/. - Save the volume.
Now we can create the photo field itself. Click New Field again, name it Cat's Photo, and select the Assets field type.
Linking Fields to Sections
With our fields and sections created, we need to associate them. This is done by dragging and dropping.
- Go to Settings → Sections.
- Click Edit Section Type on the "Cats" section.
- Select the Fields tab.
- Drag the "Cats" fields we created into the content pane.
- Save the section.
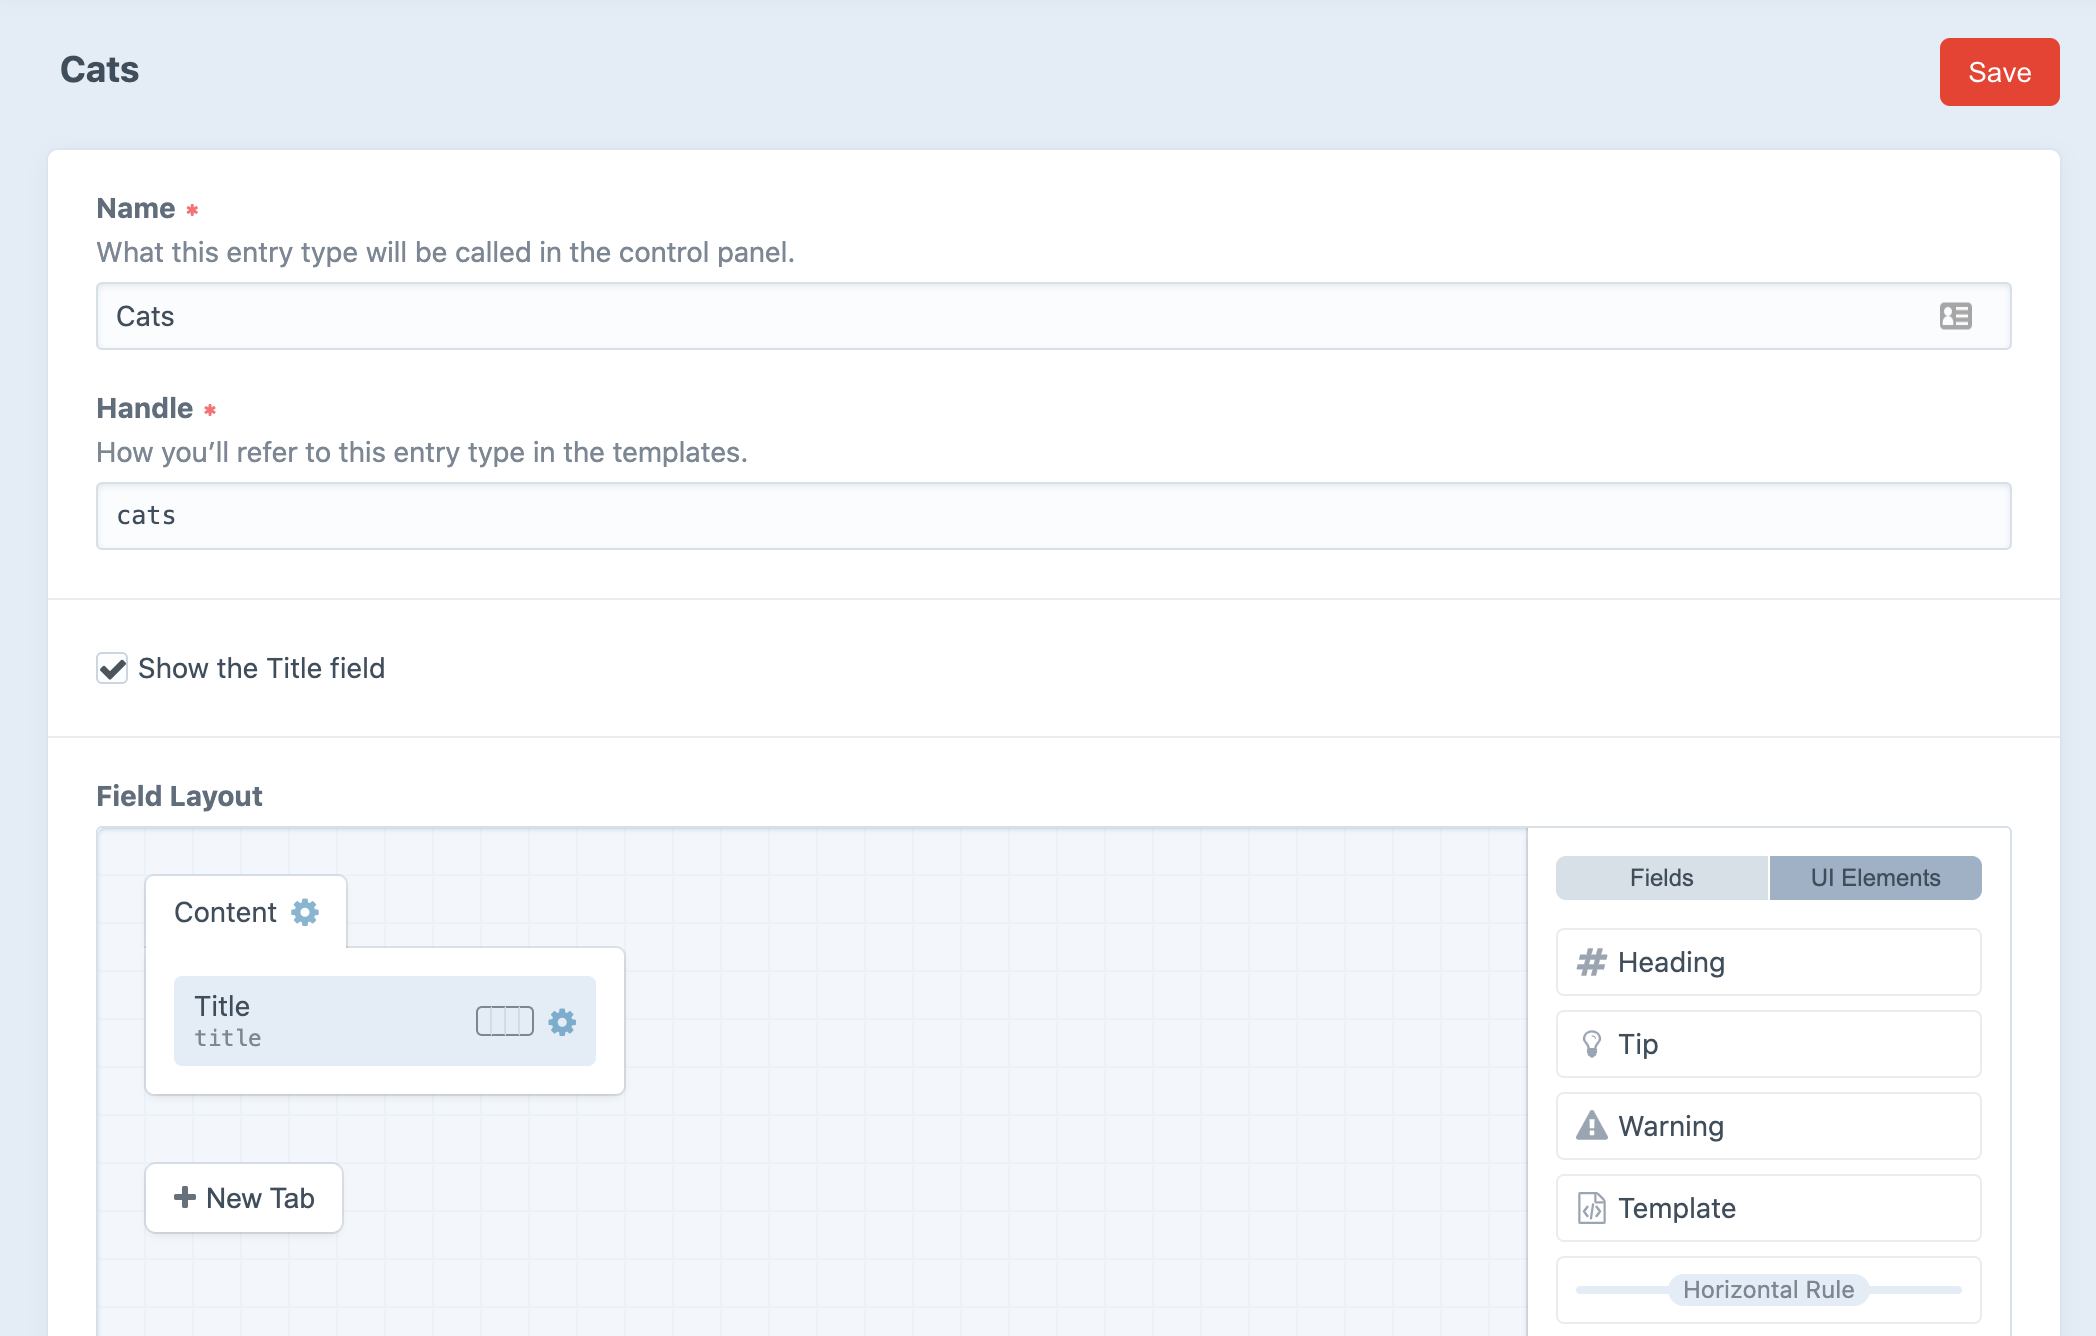
Tip: You can disable the default title field by toggling off the "Show the Title Field" option, in case you prefer to use the cat's name as the entry title.
Creating and Listing Cat Entries
With the model in place, we can start generating content. In the admin panel, click Entries → New Entry, select the "Cats" section from the dropdown, and fill in the details for your feline post.
To display these entries on the site, open your Craft project folder in a code editor and create the index.twig file in the templates directory. If a default index file exists, clear its contents.
<!DOCTYPE html>
<html xmlns="https://www.w3.org/1999/xhtml" lang="en-US">
<head>
  <link rel="stylesheet" href="https://stackpath.bootstrapcdn.com/bootstrap/4.5.2/css/bootstrap.min.css" integrity="sha384-JcKb8q3iqJ61gNV9KGb8thSsNjpSL0n8PARn9HuZOnIxN0hoP+VmmDGMN5t9UJ0Z" crossorigin="anonymous">
</head>

<body>
{# Create an entry query with the 'section' and 'limit' parameters #}
{% set myEntryQuery = craft.entries()
    .section('cats')
    .limit(10) %}

{# Fetch the entries #}
{% set entries = myEntryQuery.all() %}

{# Display the entries #}

<div class="container">
  <div class="row">
    {% for entry in entries %}
      <div class="col">
          <article class="card">

              {% set catImage = entry.catsPhoto.one() %}
              {% if catImage %}
                <img src="{{ rel.url }}" class="card-img-top" alt="...">
              {% endif %}

              <div class="card-body">
                <h1><a href="{{ entry.url }}">{{ entry.title }}</a></h1>
                <h2>{{ entry.catsName }}</h2>
                <p>{{ entry.catsDescription }}</p>
                <a class="btn btn-primary" href="{{ entry.url }}">View {{ entry.catsName }}</a>
              </div>

          </article>
      </div>
    {% endfor %}
  </div>
</div>

</body>
</html>
This template queries the "Cats" section, limits the output to 10 entries, and loops through them. Because images in Craft are stored as arrays, an inner loop is required to iterate over and display each image.
After saving, visit your development URL (ensure the server is running with nitro start). Your index page should now show the cat posts. Clicking through to an individual post will currently result in a 404 error until we create the cat.twig template.
Building the Individual Post Page
To fix the 404, create a new file named cat.twig in the templates folder. Inside the entry context, there is no need to query for the entry again, as Craft provides it directly.
<html>
  <body>
    {% block content %}

      {% set catImage = entry.catsPhoto.one() %}
      {% if catImage %}
        <img src="{{ rel.url }}" class="card-img-top" alt="...">
      {% endif %}

      {{ entry.title }}
      {{ entry.catsName }}
      {{ entry.catsDescription }}

    {% endblock %}
  </body>
</html>
After saving, refresh the site and navigate to one of your cat entries. The individual post page should now be accessible.
Going Headless with GraphQL
Craft CMS's Pro package enables headless usage by adding user accounts and a GraphQL API. The Pro version has a free trial, allowing for thorough testing before purchase.
Starting the Pro Trial
From the admin panel, go to the Plugin Store and select Upgrade. Click Trial on the "Pro" section and follow the process. Once activated, a new GraphQL option will appear in the sidebar.
After your content models are set up, Craft automatically generates the GraphQL schemas for them—there is no need to define types manually.
Creating the API Endpoint
Craft doesn't expose GraphQL at a default URL. We need to add a route rule to make the endpoint available. Open the routes.php file in your project's config directory and add the rule shown below. This makes the endpoint accessible at https://yourprojecturl.test/api.
return [
    'api' => 'graphql/api',
    // ...
];
After saving, you can test the endpoint to ensure it's active.
curl -H "Content-Type: application/graphql" -d '{ping}' https://yourprojecturl.test/apiA successful response will be "pong".
Enabling Content for the API
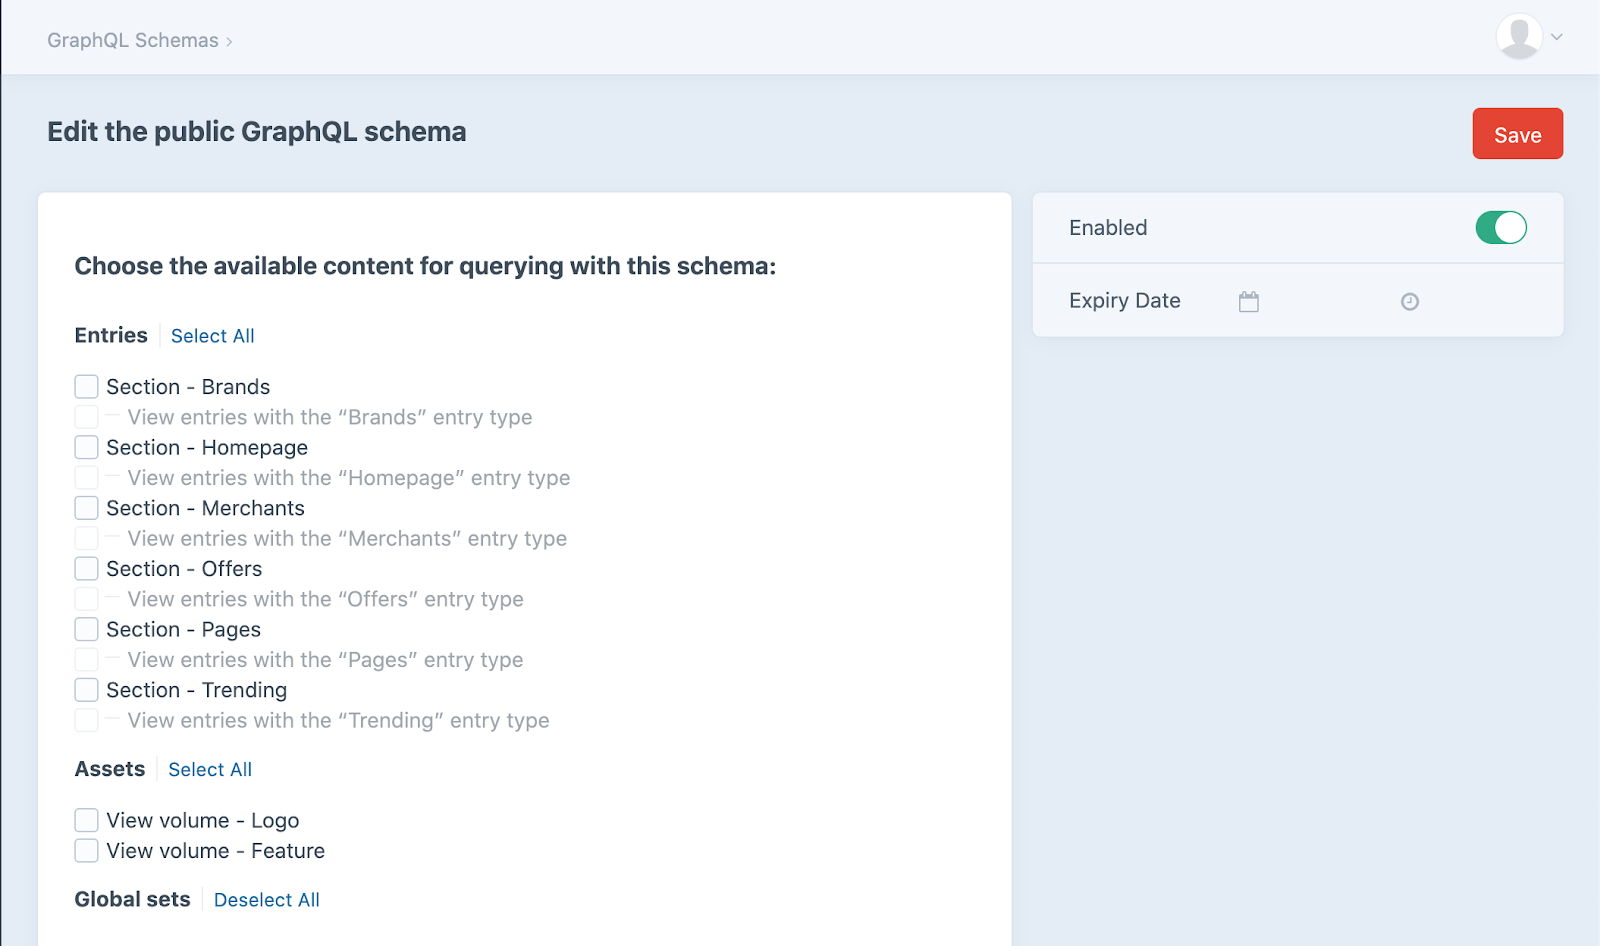
To control which sections are available via GraphQL, go to the GraphQL section in the admin sidebar, click Public Schema, enable the "Cats" section, and save. This allows public access to that content without any authentication. For more restrictive access, you can create private schemas, though that is beyond the scope here.
Testing with GraphiQL
To verify the API works, use the built-in GraphiQL client found in the GraphQL dropdown menu.
- Open GraphiQL.
- Change the schema from "Full Schema" to "Public Schema".
- Enter a GraphQL query in the left-hand pane to fetch your cats.
- Click the Play button to run the query.
query ($section: [String], $orderBy: String) {
  entries(section: $section, orderBy: $orderBy) {
    title
    slug
    id
  }
}
This confirms your headless endpoint is functioning and returns the desired cat data.


