
Django’s Generated Files: What They Really Do
Django markets itself as a framework for rapid development, and that promise largely rests on its scaffolding tools. When you run commands like startproject and startapp, Django doesn’t just create empty directories — it generates a working project structure with configuration files, routing skeletons, and app packages ready to be filled in. For developers who have used Django but never looked under the hood, the generated files can feel like magic. This article walks through what those files are, what they do, and how they fit together.
For this walkthrough, we’ll scaffold an e-commerce platform called ecommerce_site with a single app named trading. The app will support only two features: creating products and processing orders via the admin interface. This keeps the focus on the framework’s structure rather than business logic.
Installing Django and Setting Up the Environment
Before generating anything, you need Django installed inside an isolated virtual environment. The environment is named djangodev and must be activated every time you work on the project.
Create the environment:
python3 -m venv ~/.virtualenvs/djangodevActivate it. On Unix-like systems:
source ~/.virtualenvs/djangodev/bin/activateIf the source command fails, use:
. ~/.virtualenvs/djangodev/bin/activateWindows users should instead run:
...\> %HOMEPATH%\.virtualenvs\djangodev\Scripts\activate.batWith the environment active, install Django:
python -m pip install DjangoVerify the installation:
python -m django --versionThat’s all the setup required. The real work begins with Django’s code-generation commands.
Configuration Files Explained
When you start a Django project, the generated files aren't just boilerplate — they carry out distinct responsibilities that Django relies on to run your application. Here's a breakdown of the key files and what they control.
settings.py
Rather than forcing you to build authentication, permissions, and security standards from scratch for every application, Django ships with configurations you can pick and choose from. The settings.py file is where Django looks for the variables that point to other files or critical information. The path to this file is set from manage.py when the project starts.
DEBUG
Set toTrueduring development so you can read errors and debug code; it must beFalsewhen the project is in production.INSTALLED_APPS
A list of apps that provide features. Defaults include'django.contrib.auth'for authentication,django.contrib.admin'for admin functionality, and'django.contrib.messages'for sending notifications to users. Any app you create with thestartappcommand must be listed here before Django recognizes it.MIDDLEWARE
A lightweight framework for processing inputs and outputs during requests and responses. Each middleware performs a specific task; for instance,'django.contrib.auth.middleware.AuthenticationMiddleware'works with'django.contrib.sessions'to associate users with requests.ROOT_URLCONF
Specifies the module where Django looks for yoururlpatterns. When a request arrives, Django loads this module and scans itsurlpatternslist for a matching path.TEMPLATES
Allows rendering HTML files into views. With'BACKEND'set and'APP_DIRS'set toTrue, Django searches the/templatesfolder. The'context_processors'inOPTIONSare callables that take the request as an argument and merge it with the context during template rendering.WSGI_APPLICATION
Points to theapplicationvariable defined in yourwsgi.pyfile.DATABASE
A dictionary providing access to a database. The default is SQLite, but you can configure PostgresSQL, MySQL, or MongoDB as shown here:
DATABASES = {
    'default': {
        'ENGINE': 'django.db.backends.postgresql_psycopg2',
        'NAME': 'db_name',
        'USER': 'db_user',
        'PASSWORD': 'db_password',
        'HOST': 'localhost',
        'PORT': '',
    }
}
For non-production scenarios, the default SQLite setup is sufficient. Postgres databases require you to create the database first and supply credentials with write permissions.
AUTH_PASSWORD_VALIDATORS
Functions invoked for password validation whenever user records are created, reset, or changed. You can review these in the official documentation for password validation.
Additional settings are documented in the Django settings reference.
manage.py
Every Django project needs a single entry point for running commands that start the application. manage.py serves as a gateway for terminal commands and works equivalently to django-admin. It also tells Django where to find your configuration settings — this default is already set and doesn't need to be changed.
The def main() function points to the default configuration module in settings.py. It attempts to import the execute function and raises ImportError if something fails. All arguments from the terminal are captured by sys.argv, which is then passed to execute(). For example:
python manage.py runserverproduces["manage.py", "runserver"]python manage.py startapp tradingproduces["manage.py", "startapp", "trading"]python manage.py makemigrationsproduces["manage.py", "makemigrations"]
The command-line arguments trigger the parts of Django that start the server, handle migrations, and support testing and deployment.
Designing Your Models
Django keeps model configuration in a single file: models.py located within your app's directory. Each class maps to the structure of a database table based on the data types you expect to capture from users or admins. Your models generate a migration file that interacts with the DATABASE setting in settings.py.
To illustrate, here are two models — one for products and one for orders:
from django.db import models

class Product(models.Model):
    name = models.CharField(max_length=50)
    image = models.ImageField(upload_to='products', default='python.png')
    price = models.IntegerField()
    description = models.TextField()

    def __str__(self):
        return self.name

class Order(models.Model):
    product =  models.ForeignKey(Product, on_delete=models.CASCADE)
    quantity = models.IntegerField()
    date = models.DateField(auto_now_add=True)
    user = models.CharField(max_length=50)

    def __str__(self):
        return self.user
The product model stores a name, price, description, and an image, which gets uploaded to a folder called products upon save. The order model links to the products table, recording the quantity, a date, and the user who placed it. From this class design, Django builds a database schema and generates a Python API for querying Product and Order objects — no third-party migration tools required, as Django ships its own.
Registering Your App and Migrating
Django writes the registration code for you in app.py. To use your trading app, add it to INSTALLED_APPS in settings.py:
INSTALLED_APPS = [
    'django.contrib.admin',
    'django.contrib.auth',
    'django.contrib.contenttypes',
    'django.contrib.sessions',
    'django.contrib.messages',
    'django.contrib.staticfiles',
    'trading.apps.TradingConf',
]
With your virtual environment activated and working inside the project directory, run these terminal commands:
$ python manage.py makemigrations trading
$ python manage.py migrate
The makemigrations trading command records changes from models.py and writes a migration file into the migration folder (named 0001_initial.py the first time). Then, migrate applies those changes to your database. Each subsequent modification to models.py generates an additional migration file here.
Admin Dashboard Setup
To manage your products and orders through the admin interface, Django has built-in functionality already ready. The 'django.contrib.admin' app is included in INSTALLED_APPS by default, and the URL is mapped to path('admin/', admin.site.urls) in urls.py. The admin.py file lets you register your models so admins can perform CRUD operations.
Create an admin user from the terminal:
$ python manage.py createsuperuserAfter entering a username, email, and password, you can start the development server:
$ python manage.py runserverNavigate to https://127.0.0.1:8000/admin/ to access login. Once logged in, you'll see the admin dashboard — the default Groups and Users sections are for permission control and user management.
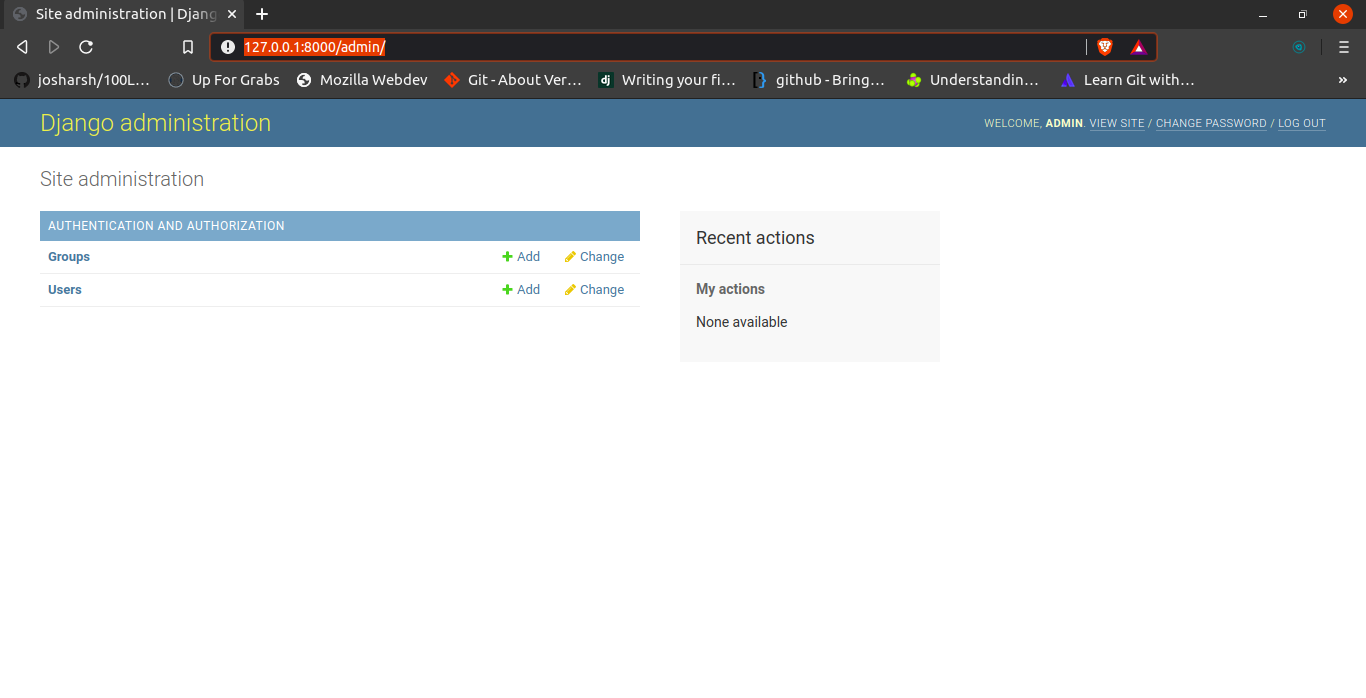
Register your models by adding these lines to admin.py:
from django.contrib import admin

# Register your models here.
from .models import Product, Order

admin.site.register(Product)
admin.site.register(Order)
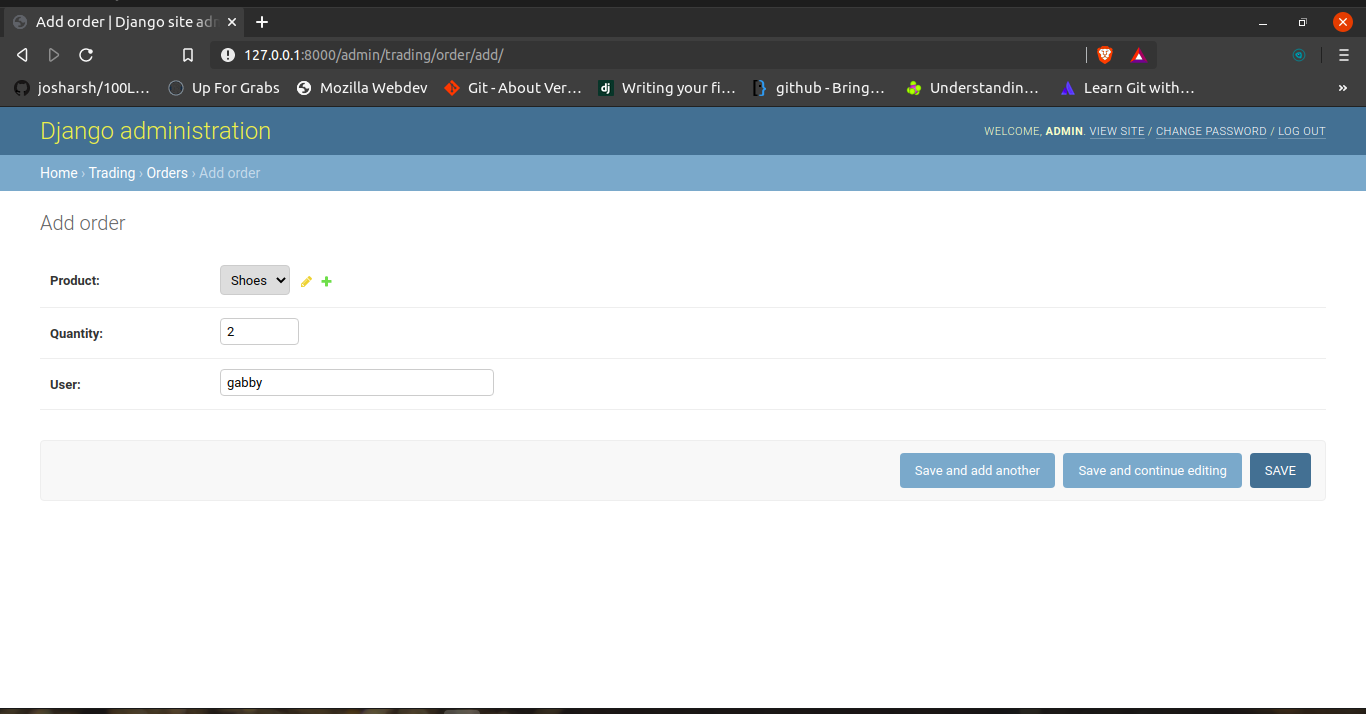
The import line brings admin's functionality into your app, then the two classes you defined in models.py are imported and registered. After registration, your dashboard exposes them for editing.
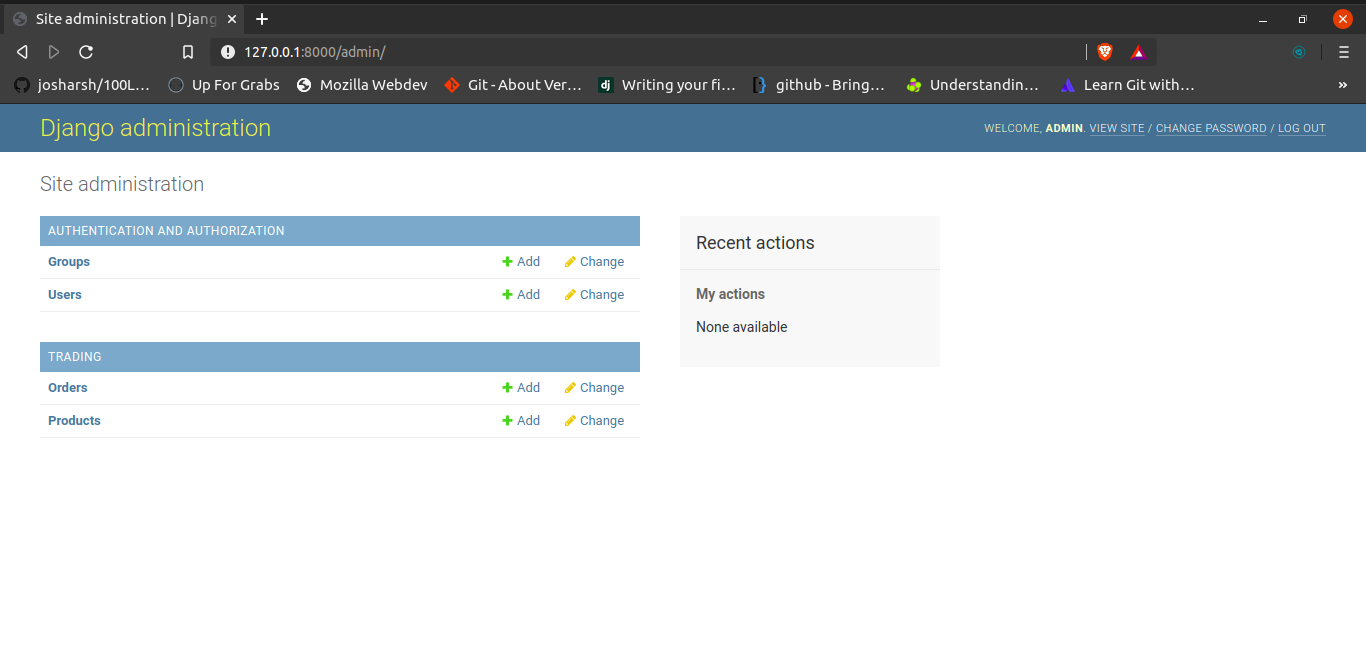
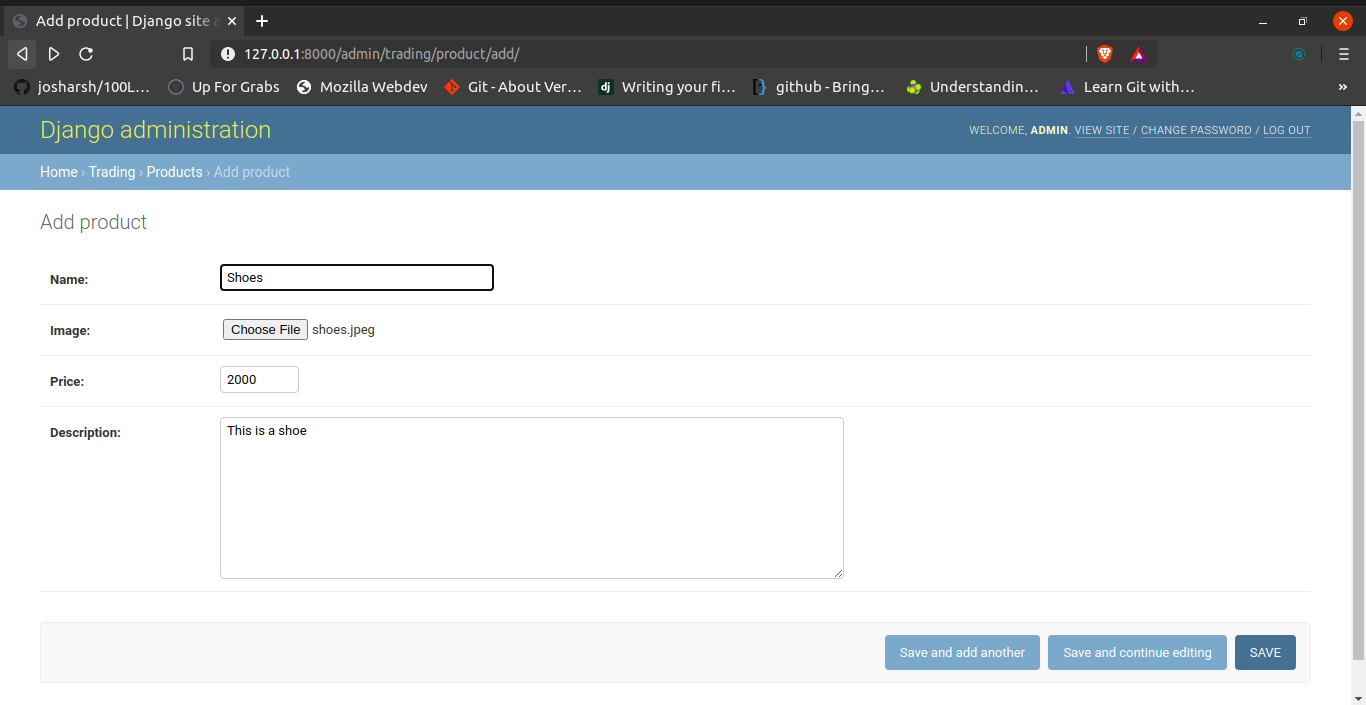
From the dashboard, you can now add products and place orders directly.
Routing Without the Guesswork
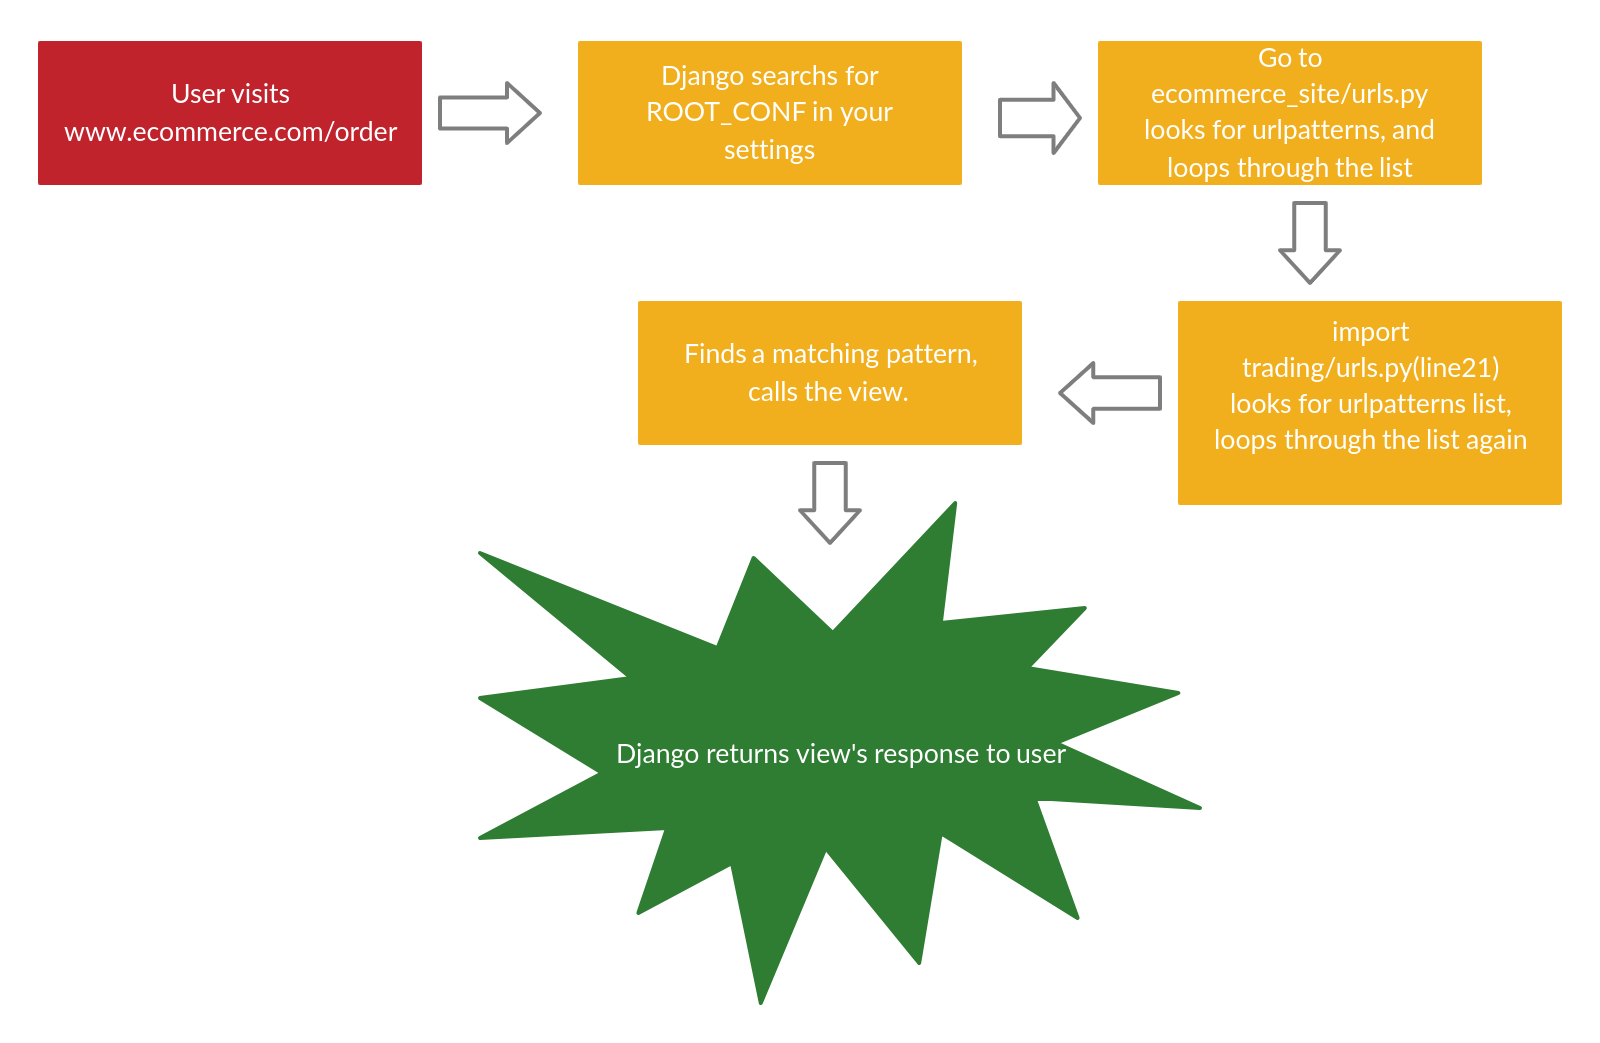
Django’s routing system is centralized in the urls.py file, which is referenced by the ROOT_CONF variable in settings.py. This is where all URL configurations live. Every view you create—whether in a separate file or directly in the URL config—must be registered in the urlpatterns list, which Django expects to find in that file. The file can be swapped out for any other file containing a urlpatterns list.
urlpatterns = [
    path('admin/', admin.site.urls),
]
Each element in the urlpatterns list is an instance of either path or re_path. Each instance takes two required arguments: the URL pattern (e.g., 'admin/') and the view or URL module it maps to (e.g., admin.site.urls). These instances can also point to other URL configuration files, which keeps the project organized as it grows.
Creating Views
Backend logic lives in the views.py file, where you define function-based or class-based views. A view is simply a callable that takes an HTTP request and returns an HTTP response. For example, importing HttpResponse allows you to define simple views like def home for the root URL and def order for the order path.
from django.http import HttpResponse

def home(request):
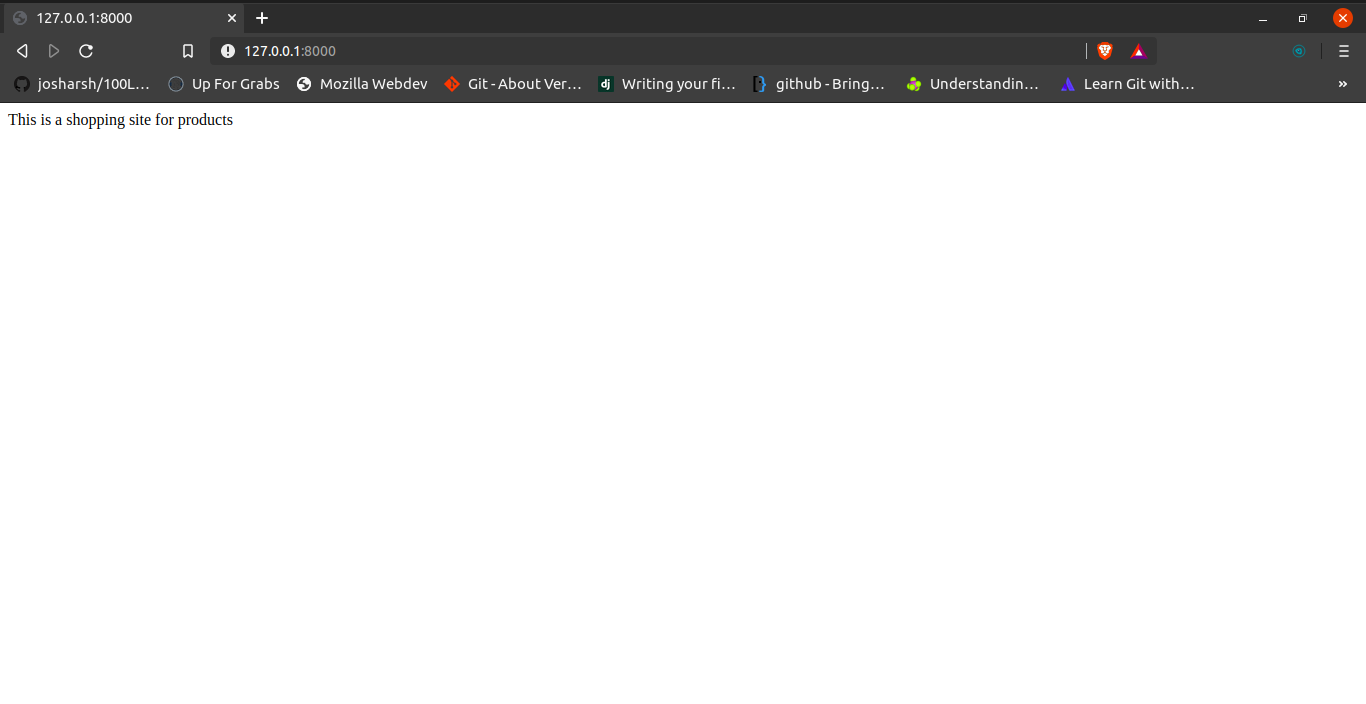
    return HttpResponse("This is a shopping site for products")

def order(request):
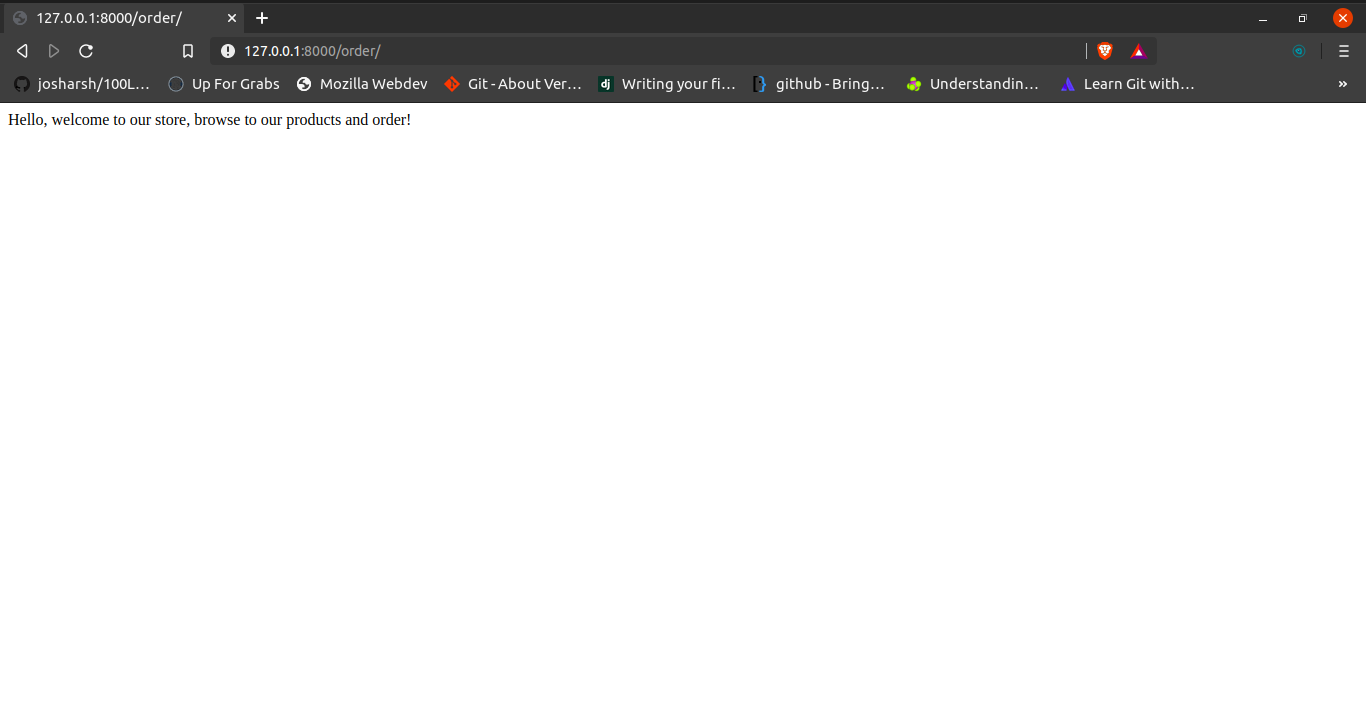
    return HttpResponse("Hello, welcome to our store, browse to our products and order!")
After defining views, you need to map them to routes. You can put urlpatterns in the same file, or import the app's views into the project’s urls.py. The cleaner approach is to create a dedicated URL configuration file inside the app directory and then include it from the project-level file.
For an app named trading, the directory should include a urls.py file:
trading/
    __init__.py
    admin.py
    apps.py
    migrations/
        __init__.py
        0001_initial.py
    models.py
    tests.py
    urls.py
    views.py
Populate the app-level URL file with the view mappings:
from django.urls import path

from . import views

urlpatterns = [
    path('', views.home, name='home'),
    path('order/', views.order, name='order'),
]
Next, register that file in the project URL configuration. The include class from django.urls makes this possible:
from django.contrib import admin
from django.urls import include, path

urlpatterns = [
    path('admin/', admin.site.urls),
    path('', include('trading.urls'))
]
Here, the path function is imported from Django, along with the views.py module from trading. The urlpatterns list then holds a path instance for each view. Visiting https://127.0.0.1:8000/ triggers def home:
Navigating to https://127.0.0.1:8000/order/ calls def order:
Note: Running startproject and startapp is not required, but Django strongly encourages it. You are free to create or move files after those commands to suit your workflow.
How Django Handles a Request
Here is the request-resolution sequence that Django follows:
- Django reads the
ROOT_CONFvariable insettings.pyto find the root URL configuration module. - It loads that Python module and looks for the
urlpatternslist, which contains instances ofdjango.urls.path()and/ordjango.urls.re_path(). - The framework iterates through
urlpatternsin order, checking each pattern against the requested URL. - When a match is found, Python imports and calls the corresponding view, passing the HTTP request along with it.
- The view processes the request and returns either a response (template or message) or a redirect to another view.
- If no pattern matches—or if an exception is raised at any point—Django invokes an error-handling view.