

Microcopy Management With Copy Docs
Managing in-product text is rarely a designer's favorite task. Updating a button label in Figma or Sketch means hunting through frames, while grammar checking tools are largely absent from design software. The copy docs technique offers a structured alternative: keep the interface in your design tool, but treat a separate document as the single source of truth for all of its copy.
This approach gained early public attention through Andrea Drugay, a UX writer at Dropbox, and has since been adapted for use in small teams where a single person often handles both design and writing.
What a Copy Doc Is
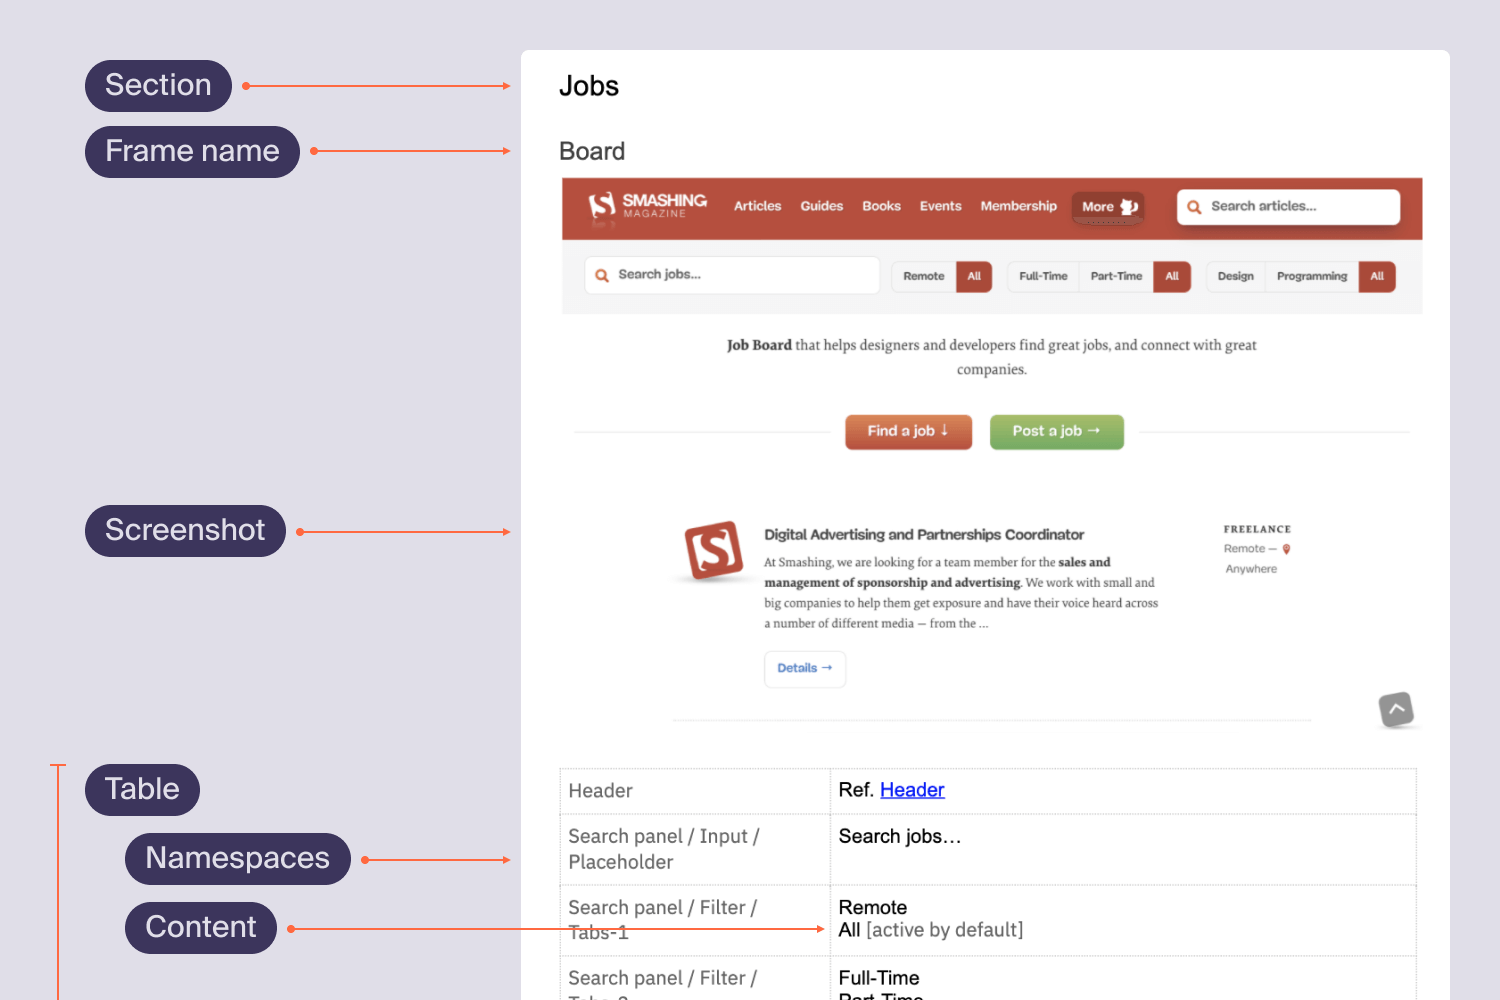
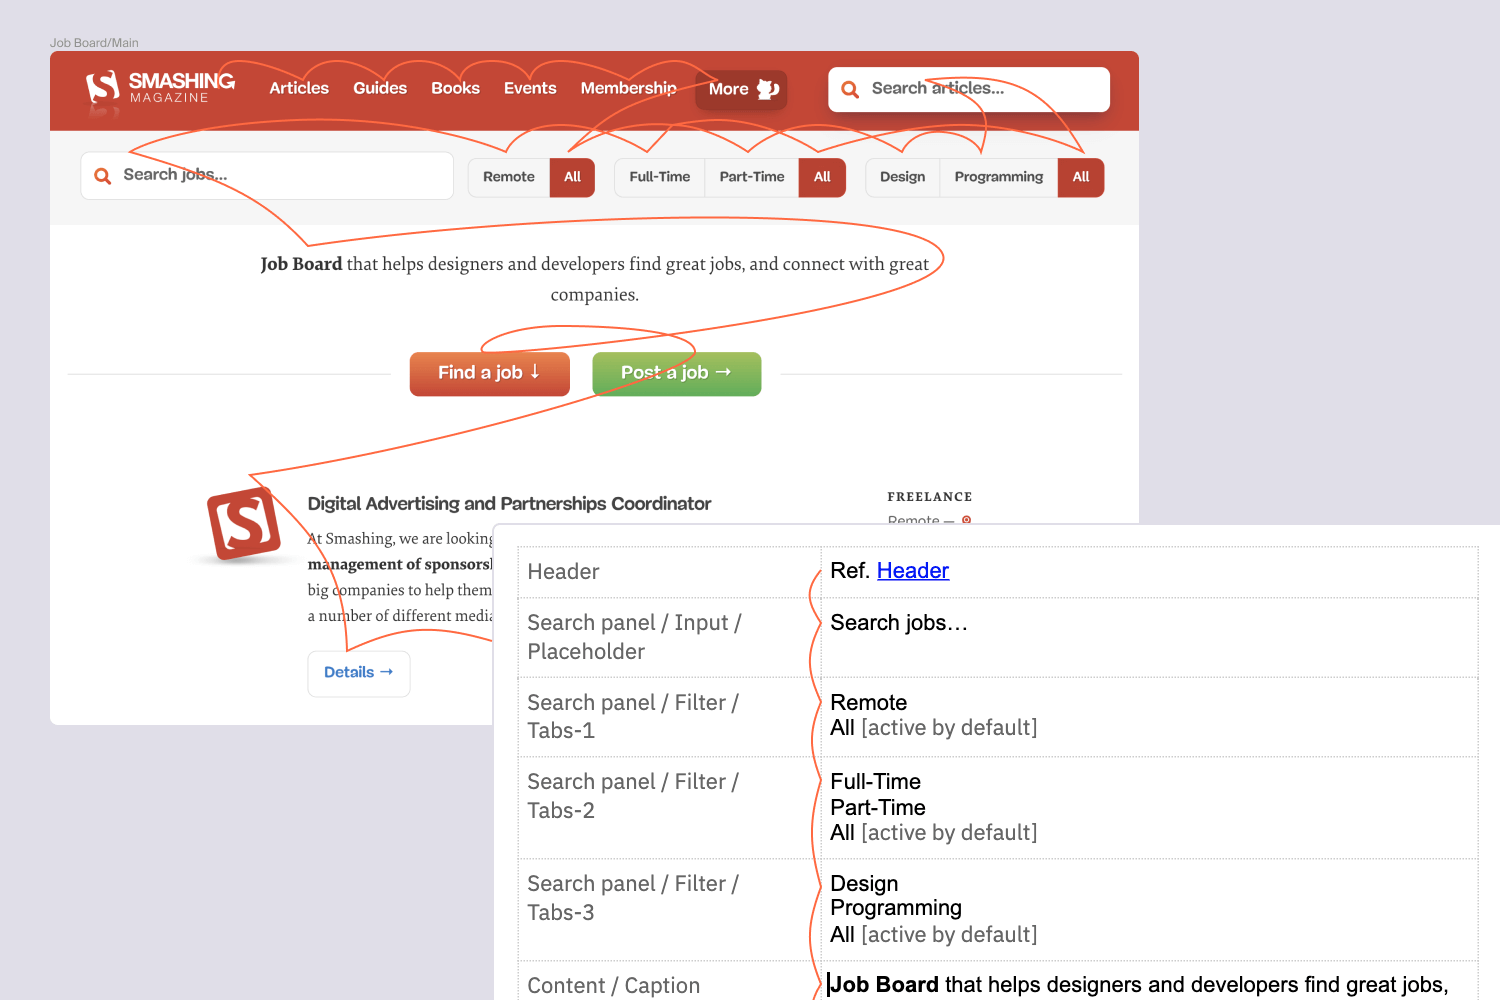
A copy doc is a living document where all in-product texts live alongside their instances and behavioral descriptions. While Figma or Sketch handles UI elements, the copy doc becomes the source of copy truth. This separation makes sense from a tooling standpoint: use design tools for visual work, and editing tools for content.
Why Bother
The technique adds a layer of process, so the benefits need to justify that overhead. In practice, they generally do.
Works With Any Design Tool
The copy doc lives separately from your design file, so it works alongside Figma, Sketch, XD, or anything else your team uses.
Content Gets Your Full Attention
Working in a content-native environment reduces distractions and helps you focus. This is particularly valuable if you're both writer and designer on a project. You're also less likely to overlook "hidden" states like error and success feedback, and you can annotate complex conditional logic — "If event X, button copy becomes Y" — without touching graphics.
Skeptics might worry that copy viewed outside its interface loses context. In the vast majority of cases, you can judge text length without the UI; only rarely do you need to drop a line into the mockup to check how it feels.
Consistency Becomes Manageable
Unlike essay writing, the UX world rewards consistency over synonym variety. Confusing users by using "Delete" in most places but "Erase" in one spot can suggest a different action altogether.
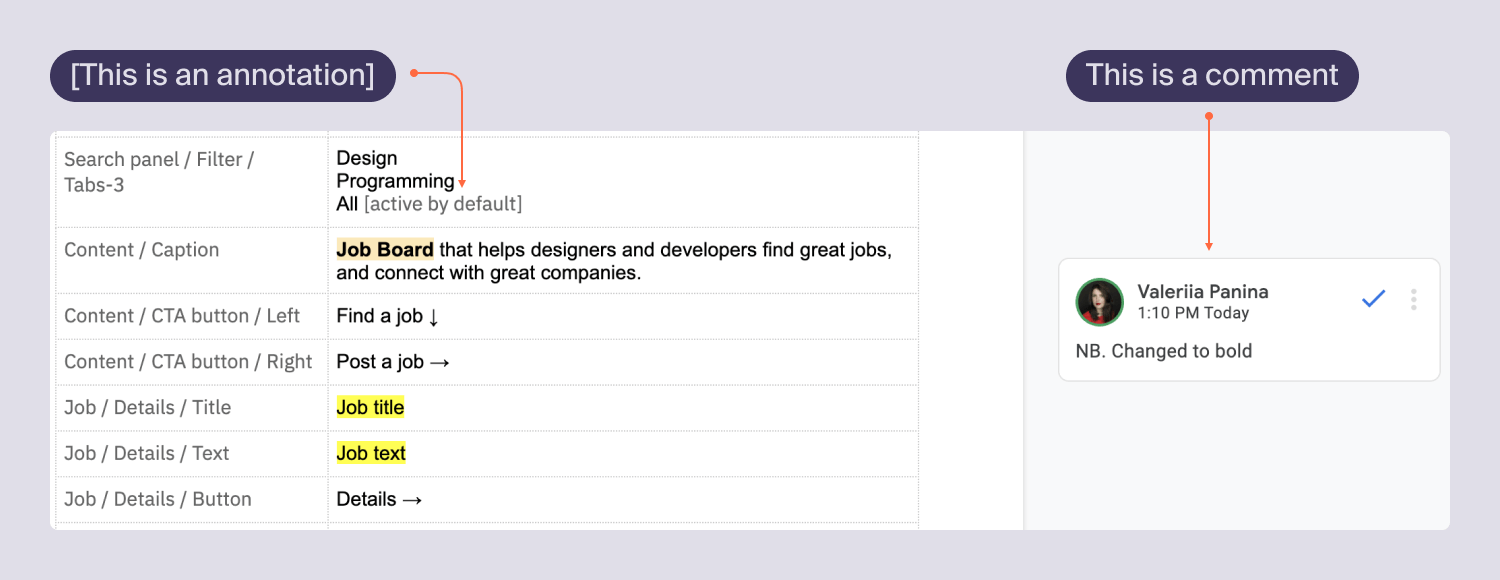
A copy doc lets you locate every instance of a term at a glance. If usability testing reveals a better word for your context, a bulk rename in the document followed by updates to the design files is simpler than scrolling through frames and hoping you didn't miss an element. The approach also works in reverse: when a single word refers to two different concepts, you can split it. For instance, distinguishing between native tool comments and in-document annotations clarifies meaning for both you and your team.
Proofreading and Collaboration
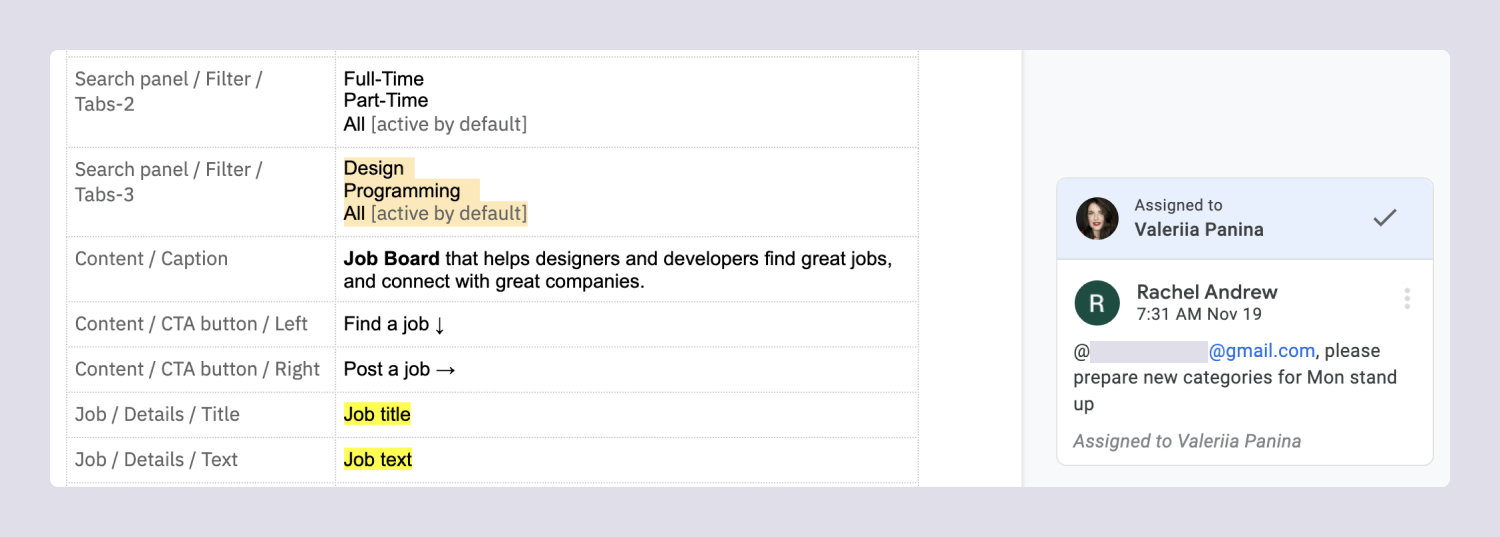
Language specialists work well with Word-like formats that include word counts for estimations. Editing software also brings deep collaboration toolsets to the team. What you hand off to developers becomes organized, annotated copy rather than just a design file.
Lighter Files and Grammar Checks
Avoid multiplying frames for identical screens that differ only in text. Keeping copy separate cuts down file clutter. And working in a real text editor means spellcheck and grammar tools actually apply to your microcopy.
Building a Copy Doc
These are the steps for setting one up from scratch.
1. Draft the Interface
You need a skeleton of your UI first. This works at the mockup stage, though content-first flows may begin with copy docs and use them as a checklist while building the interface.
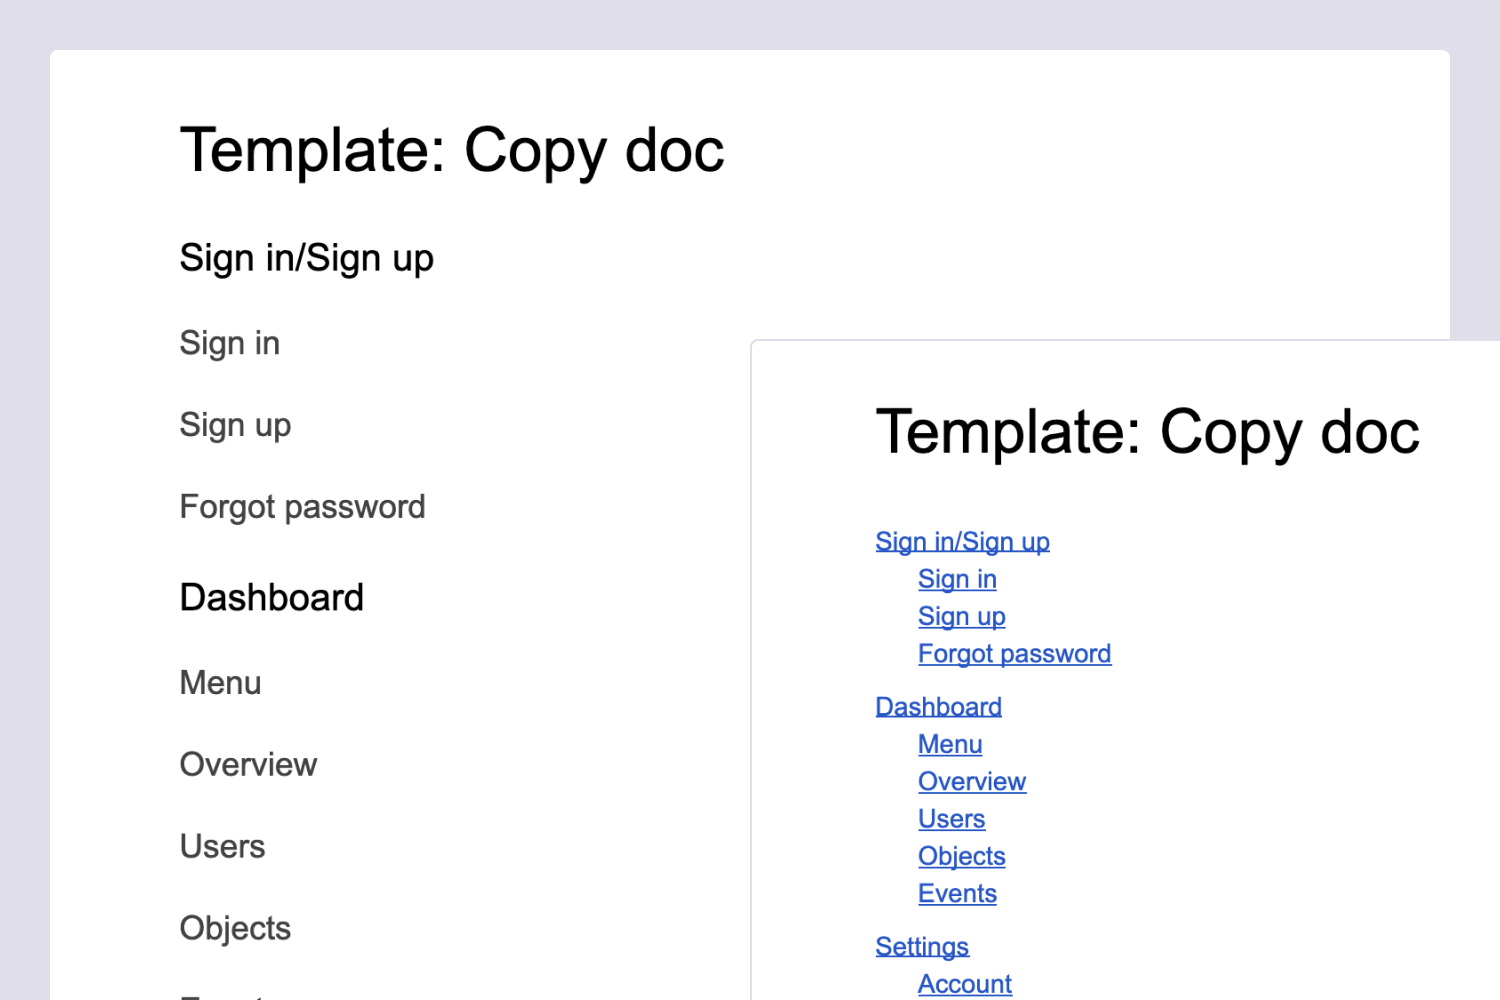
2. Outline the Document
Create document sections that match your screen names so the structure mirrors the product.
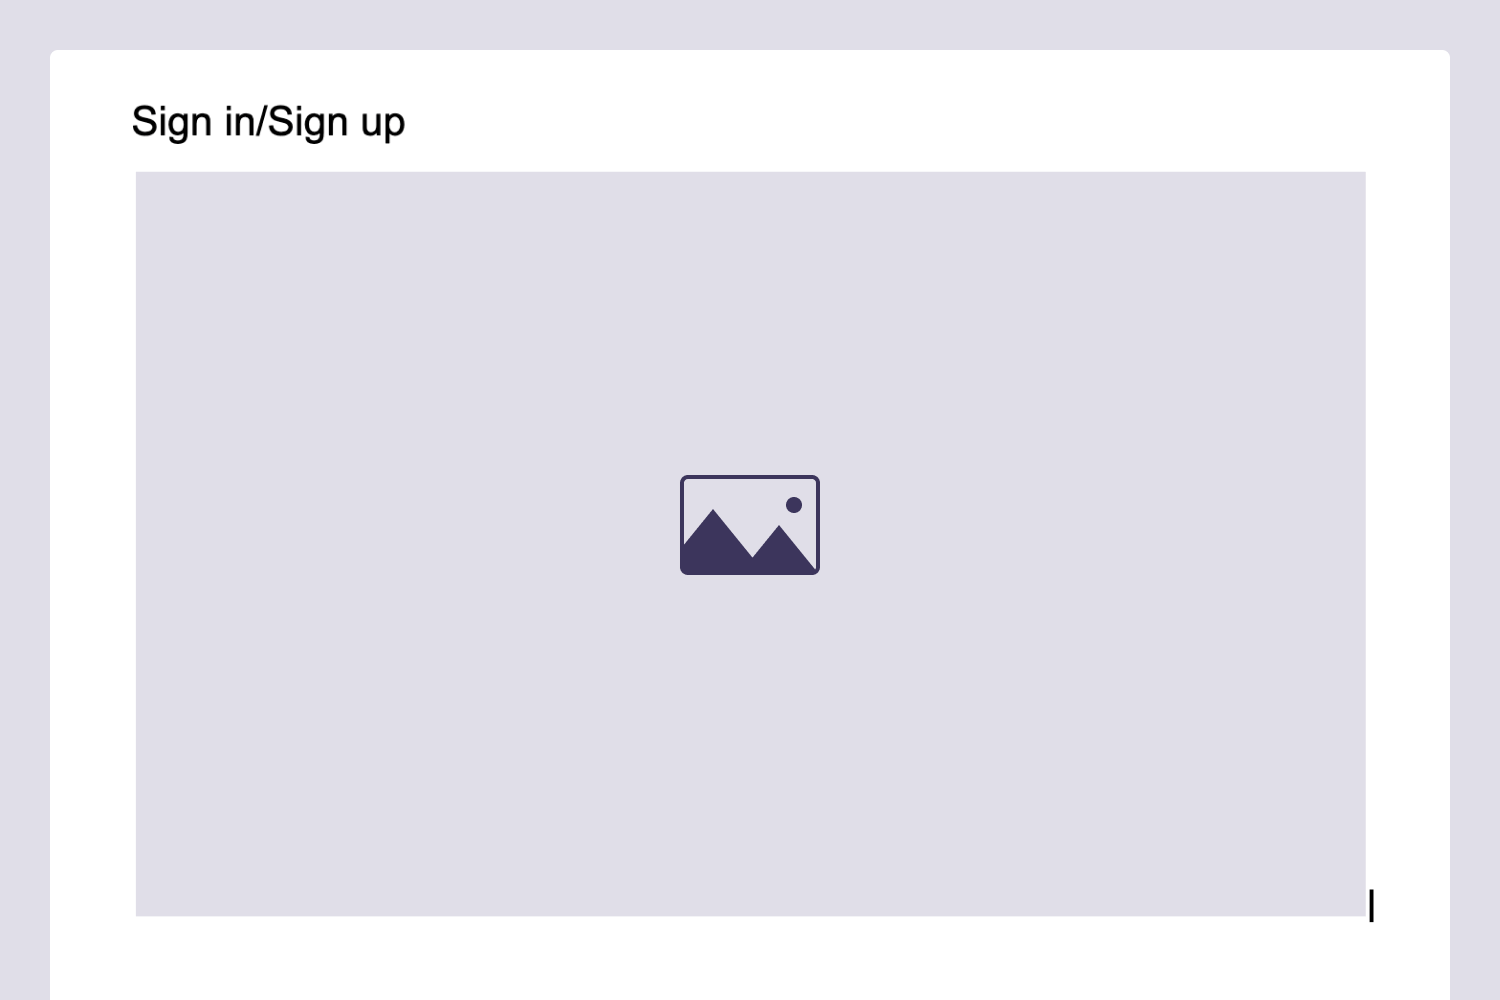
3. Add Screenshots
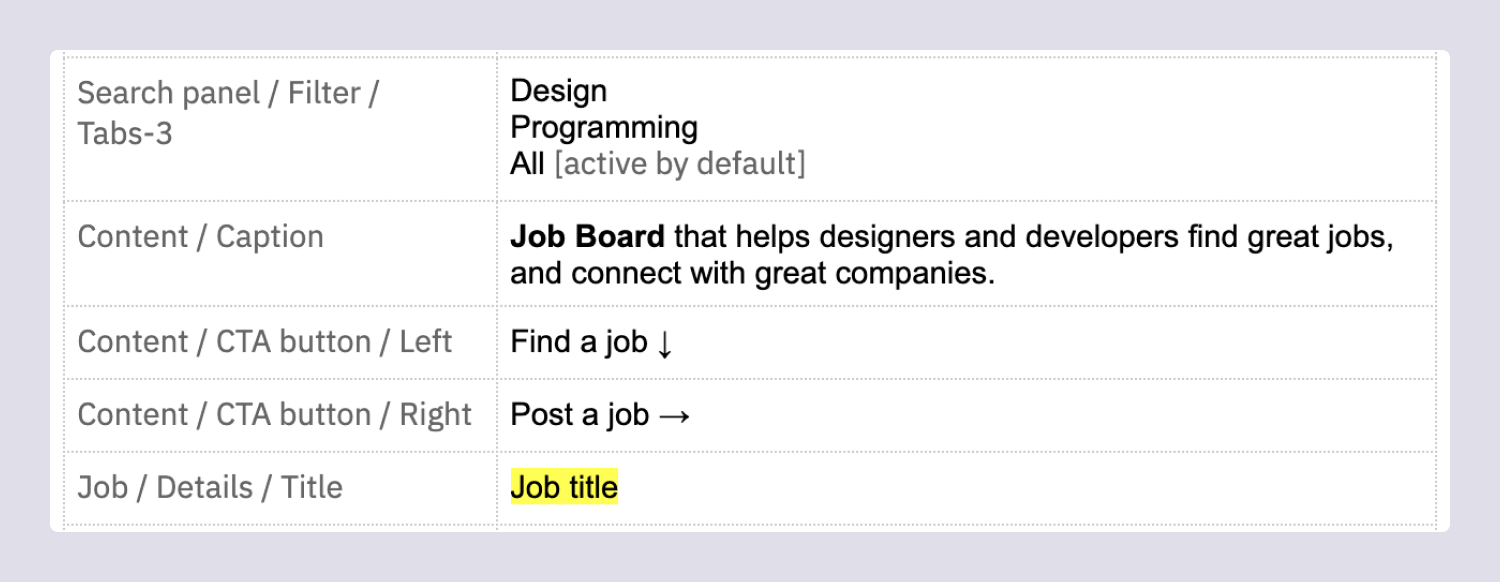
Follow a "Heading + Screenshot + Table" pattern for each screen unit.
4. Set Up Tables
Create a styled empty table beneath every screenshot. Fill one table as a template, then copy-paste it, clear the content, and repeat across all remaining screens.
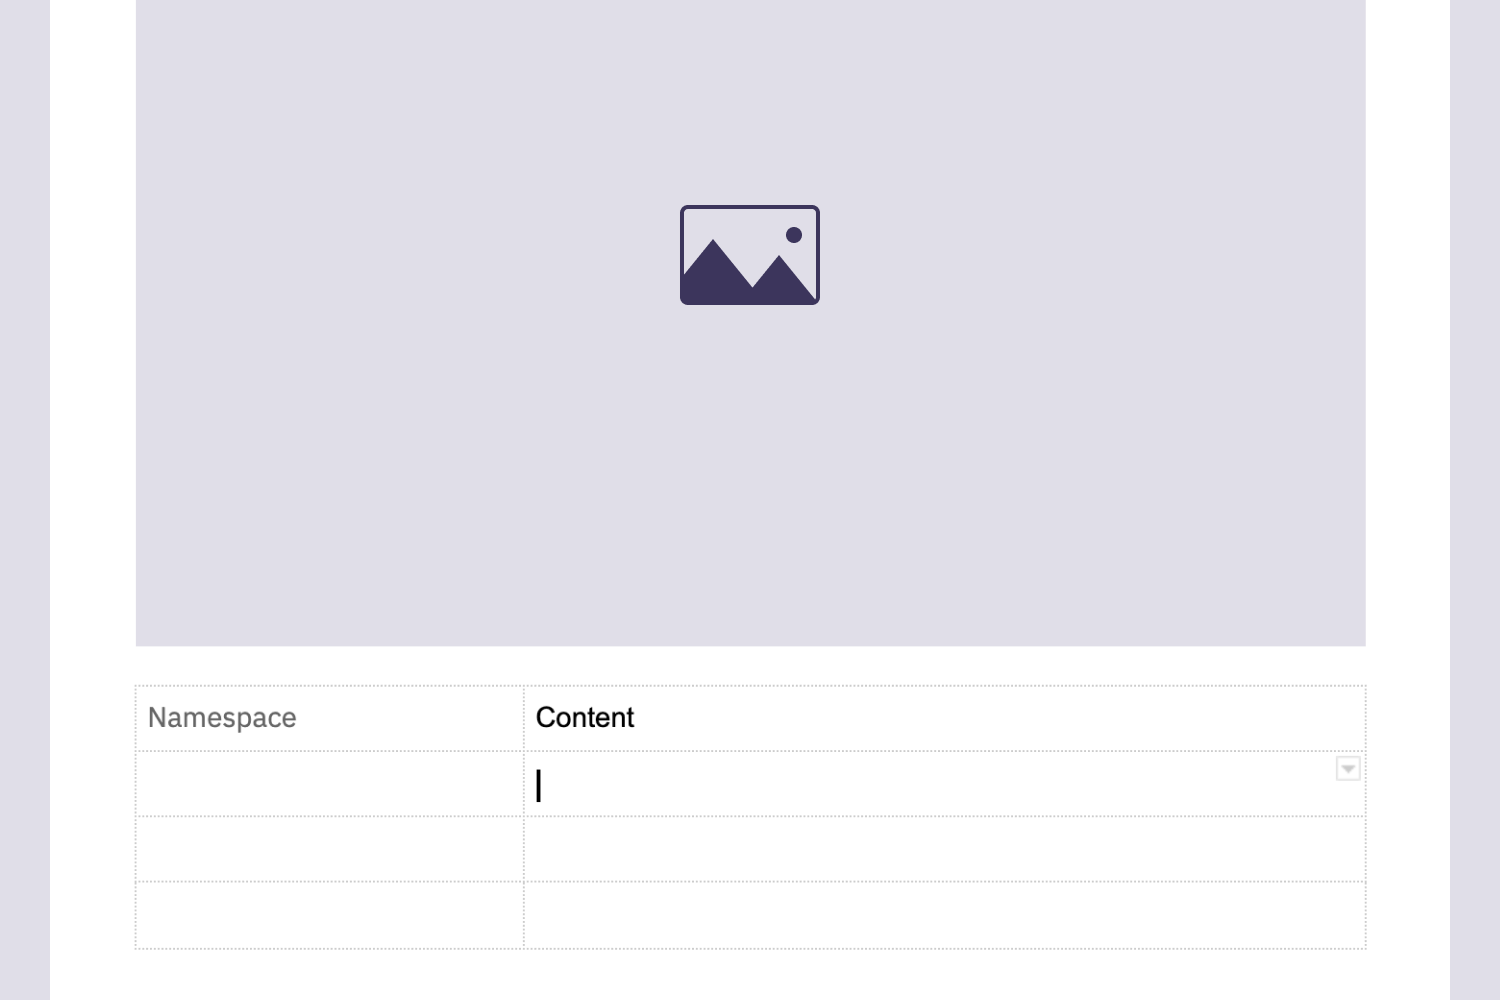
5. Fill It In
Work through the screens one at a time, starting with namespaces and then content items, keeping the common pitfalls below in mind.
6. Maintain It
A copy doc is only useful if it's current. Update it immediately whenever copy changes. Screenshots don't need refresh unless the screen changes dramatically. Your design files become second priority — update copy in the doc first, then align the visuals later.
Practical Tips and Pitfalls
Namespaces Matter
A common content item namespace looks like:
Section / Subsection / Group / … / Item
Table / Head / 1st column
Names should match the UI components in your design tool, and those, in turn, should match your development framework. When unsure what to call something, ask the developers.
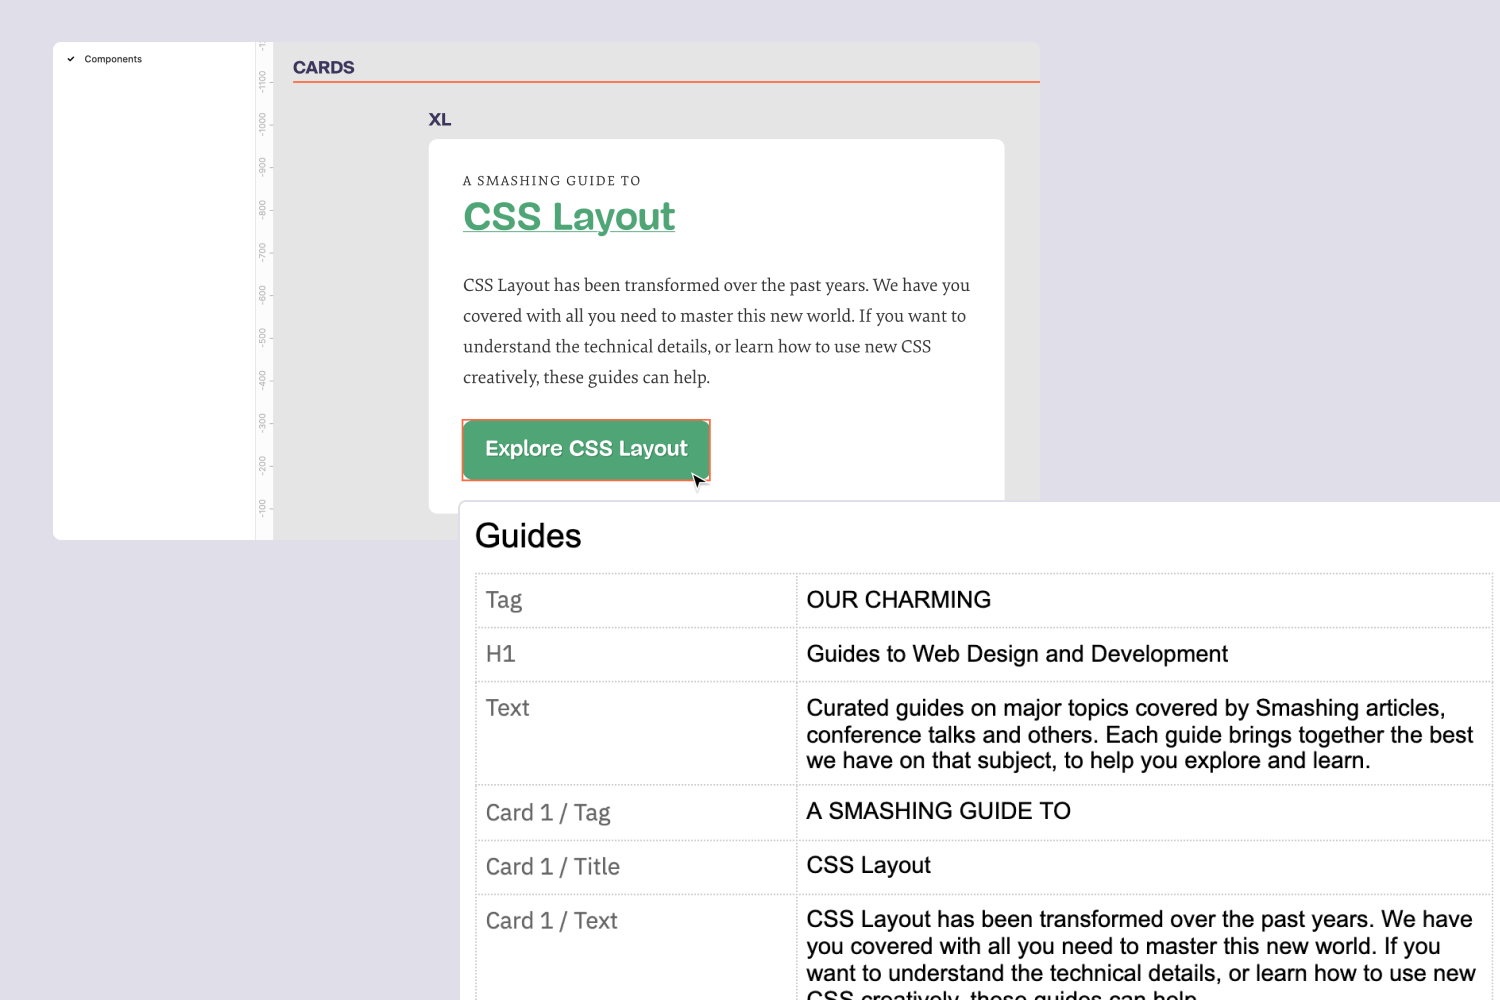
Establish a Legend
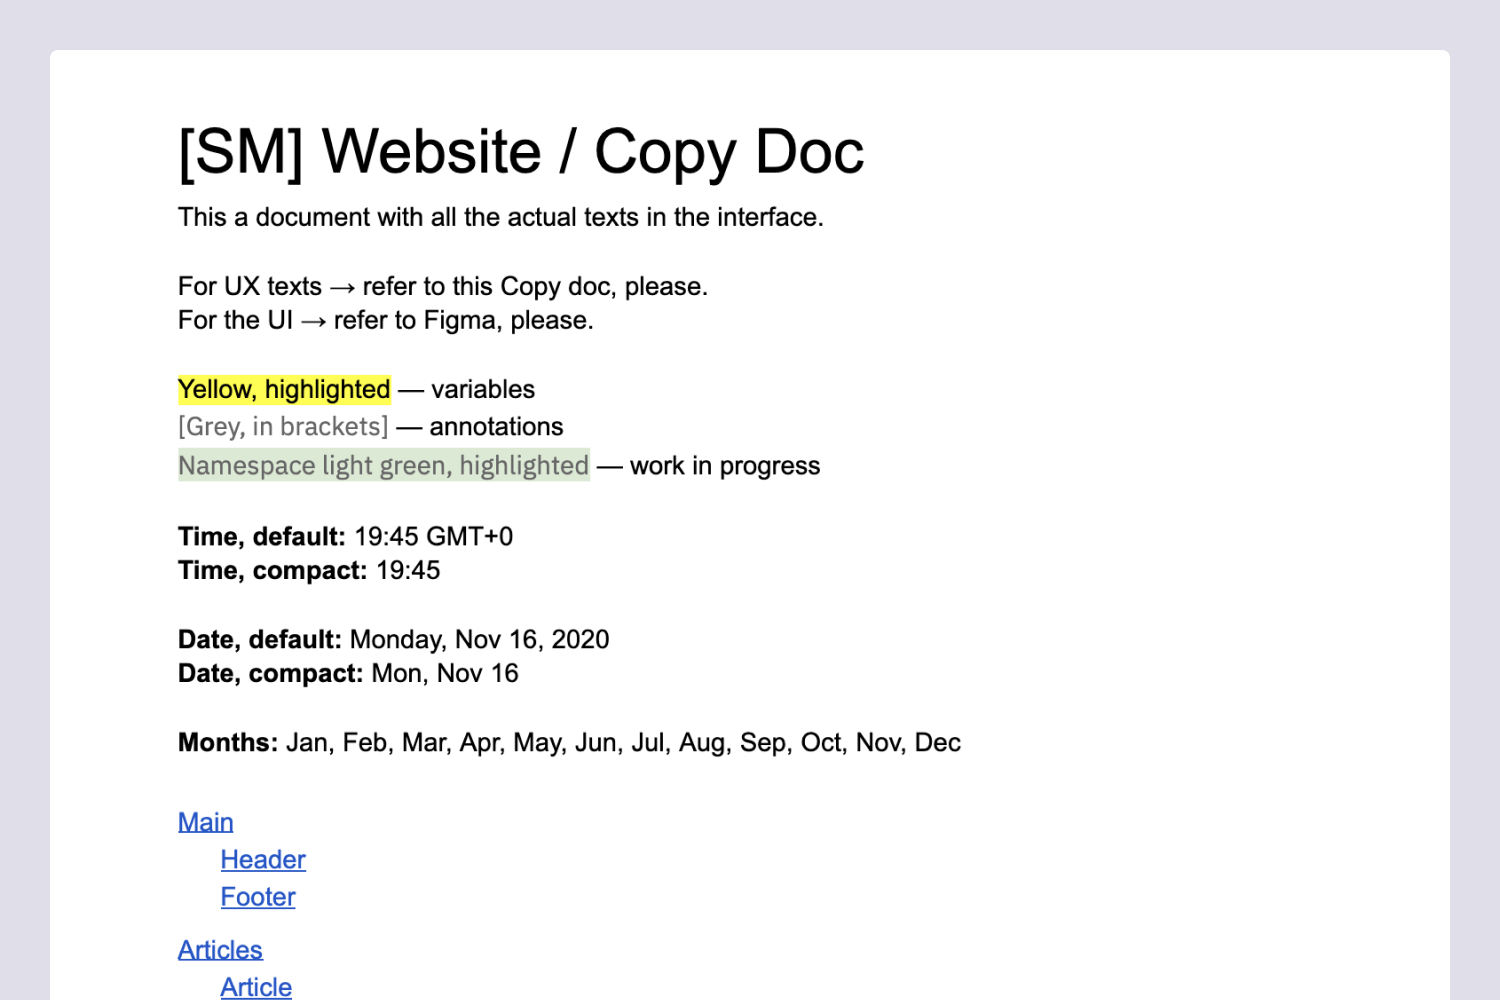
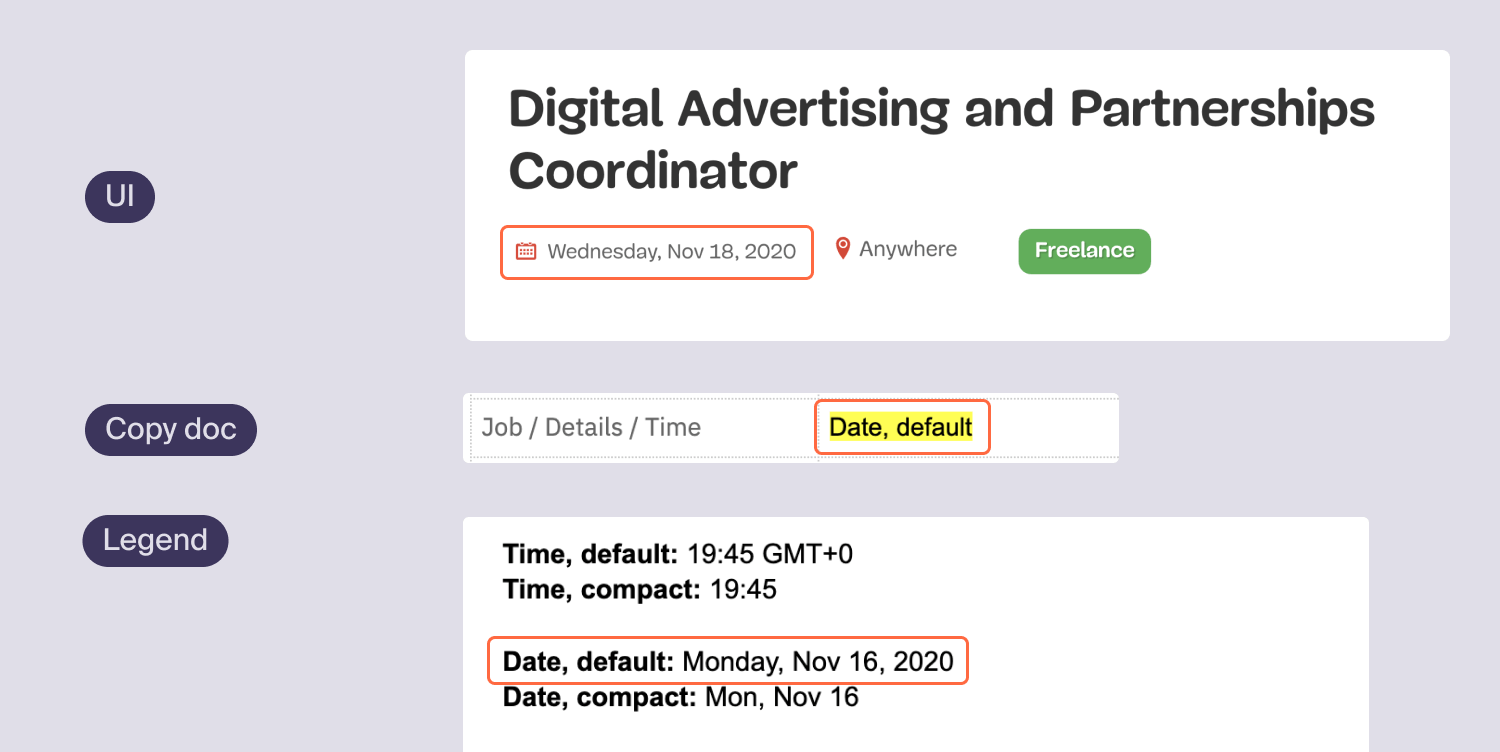
Outside the constraints of a design tool you can use graphics to explain things rather than just decorate. Be consistent:
- Use highlights for variables.
- Use brackets for annotations.
- Use emoji or Unicode symbols for states.
Consistent styling matters — avoid using different colors for the same meaning. And remember accessibility: different categories should differ in more than one visual parameter.
Don't Repeat What Doesn't Change
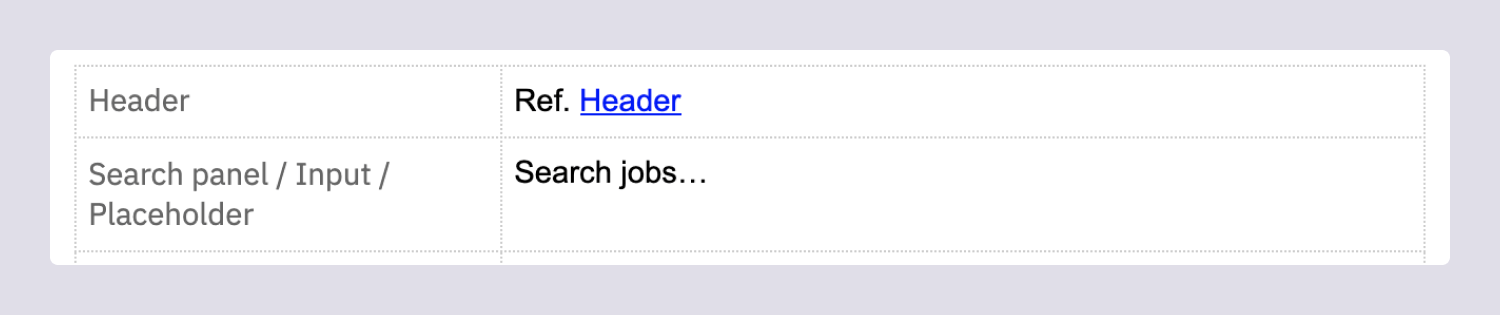
Avoid redundant strings. If a page has a common title and tabs, document these on the first associated unit. Later units should only note deviations from that baseline.
Document States
Consider every change your elements go through. Common ones to plan for:
Feedback — messages, alerts, notifications:
- Info
- Success
- Warning
- Error
Inputs and similar field types:
- Placeholder
- Typing
- Filled
- Null
- Various errors
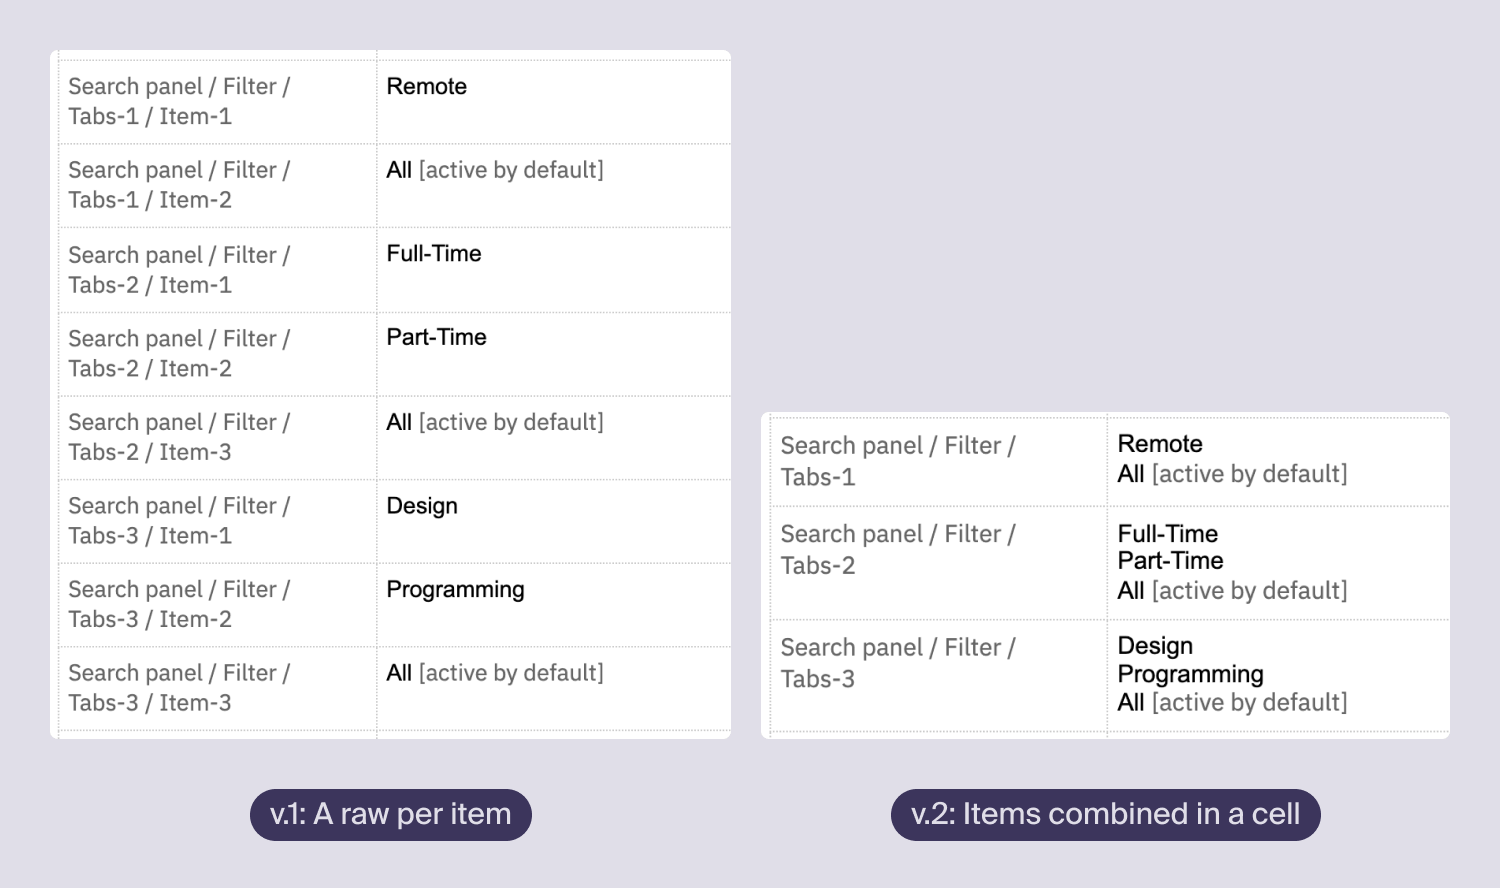
Treat such lists as checklists so no state instance is missed. You can either list each state in its own table row or group several annotated states inside a single cell.
Handle Variables Deliberately
Variables are any copy that changes with context — dates, user names, numbers. The copy doc is the right spot to define which content is fixed and which adjusts, and how. State a variable's form once near the top of the doc, then refer back to it throughout, and highlight those occurrences. Also note min and max values for each variable where they affect the UI.
Bonus: Get Started Fast
A ready-made [Template] Copy doc is available to copy and adapt to your own workflow.



