

Getting files into a GitHub repository
Once you’ve created a repository, the next step is getting your code into it. You can do this through the GitHub web interface or from a local terminal. Both approaches work, but they suit different situations: the web interface is fine for a few small files, while the terminal is better for folders, projects, and larger file sets.
Adding a file through GitHub.com
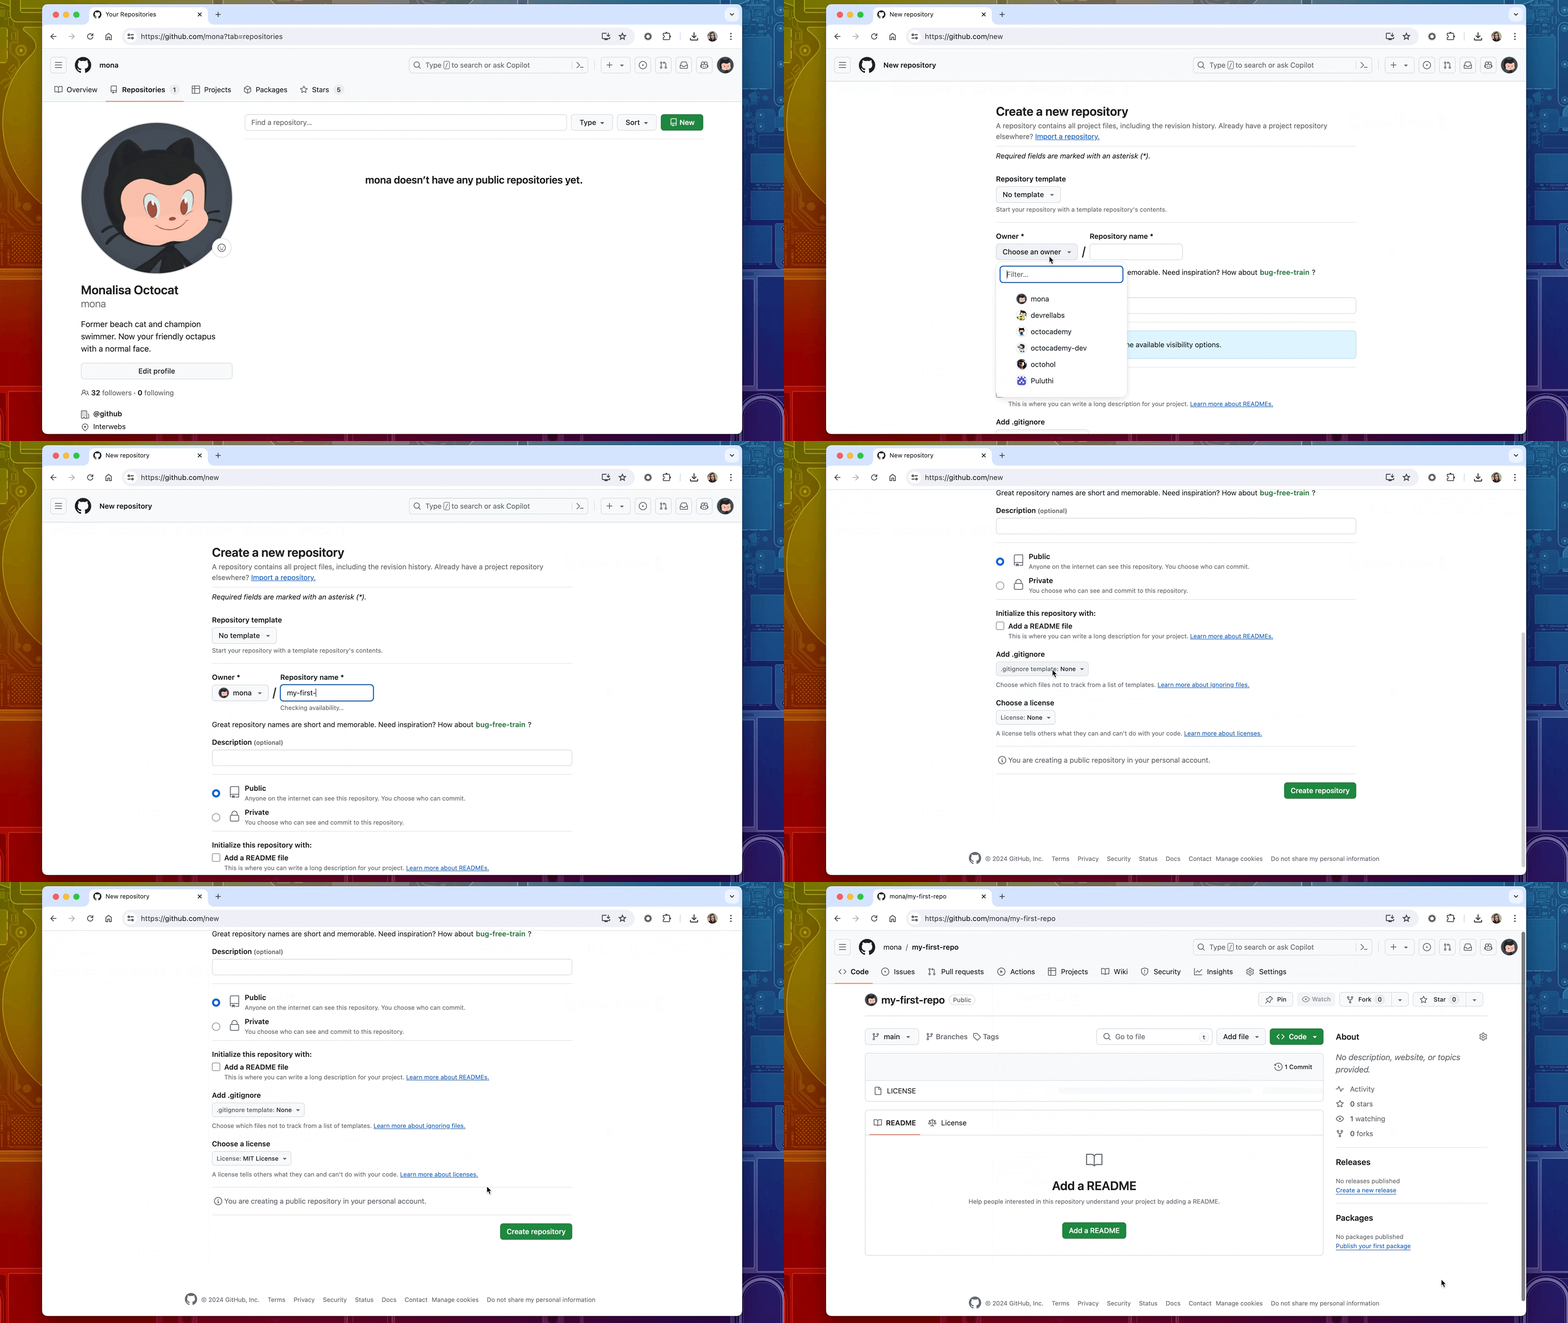
You’ll need an existing repository to add files to. If you haven’t created one yet, use the “New repository” button, pick an owner, give it a name, choose public or private visibility, and initialize it with a README.md file.
Inside the repository, click the plus button next to the green “Code” button and select “Upload files.” On the following screen, click “choose your files” and select what you want to upload from your file browser.

You’ll see the selected files listed on the commit screen. Keep in mind that they aren’t in the repository yet. Add a commit message in the provided box (the default is acceptable, though a brief description is more informative for collaborators), then click the green “Commit changes” button. The files are now part of your repository.
Pushing files from the terminal
For larger file sets, folders, or entire projects, the command line is the more practical route. Start by creating a new, empty repository on GitHub — enter only a name and description this time, and skip the README initialization so the directory is blank.

After creation, GitHub shows a set of terminal commands that mirror the steps below.


On your local machine, open a terminal and change into the project directory you want to upload:
- Run
git initto turn the folder into a Git repository. - Create a README with
touch README.mdand add a brief description. - Run
git add .to stage all files in the current directory. - Run
git commit -m "initial commit"to record a snapshot of the current state. - Run
git statusto confirm everything is staged and the working tree is clean. - Run
git branch -M mainto set the default branch name. - Run
git remote add origin <repository-URL>, using the URL from the GitHub instructions page, to link your local repository to the remote one. - Run
git push -u origin mainto upload the files.
Refresh the repository page in your browser, and the files should now be there.
If you already ran git init in a previous session, skip that first step and simply proceed from staging your files onward.


