

Get Code Into a Repository With the GitHub Flow
Once you've created a repository, the next step is getting code into it. That means following the GitHub flow: cloning a repository, making changes on a separate branch, committing them, pushing to GitHub, and opening a pull request to merge your work back into main. This workflow isn't just for code — it works for any files you store in a GitHub repository and want to share with collaborators.
Clone the Repository Locally
Adding code starts with cloning the remote repository so you have a local copy to work in. Keeping that copy synchronized with the remote version lets you pull in the latest changes from others and push your own updates.
On the repository page on GitHub, click the green "<> Code" button. In the "Local" tab of the dropdown, you'll see the repository URL with a "Copy" button next to it. Copy the URL and open your terminal.
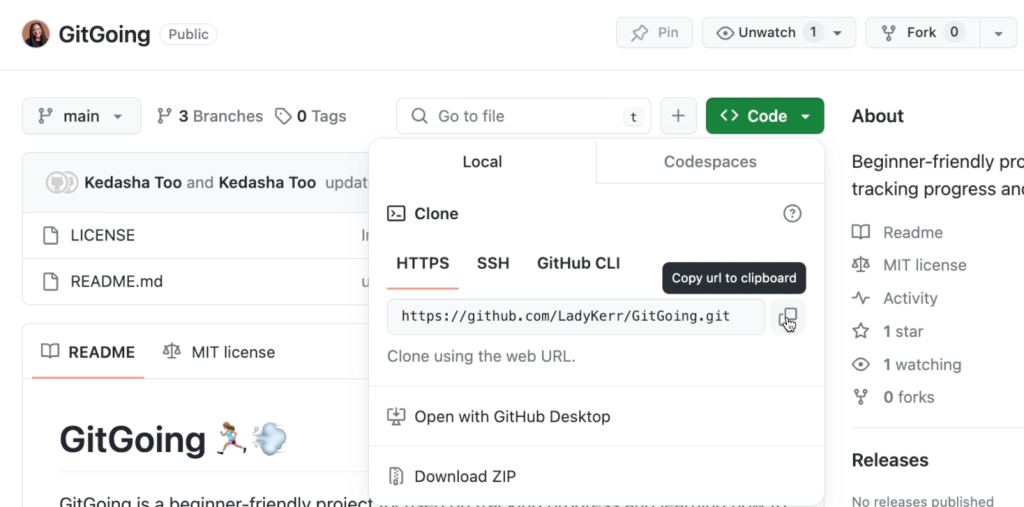
Run git clone, leave a space, paste the repository URL, and press Enter. Once the command finishes, move into the project directory with cd <repository-name>. You'll be on the main branch — verify with git status.
Create a Branch for Your Work
Before adding any code, create a new branch. This protects main by containing your work-in-progress in a separate history. Give the branch a descriptive name, such as version1 for the initial version of a project.
In the terminal, run:
git checkout -b version1
This creates and switches to a new branch called version1.
Add Code With GitHub Desktop
GitHub Desktop offers a visual alternative to the terminal for the same workflow. Start by cloning: open the app and choose "Clone a Repository from the Internet…" You can paste the full repository URL, or use the shorthand <username>/<repo> if you're signed in. Click "Clone."
Now create a branch. In the ribbon at the top, click "Current Branch," then "New Branch." Name it something like CSS and click "Create Branch."
With the branch active, add files to the project directory — for example, copy a style.css file into the local project folder through your file manager. GitHub Desktop will detect the change and list the file as a changed file. Enter a summary and optional description of your changes, then click "Commit to CSS." Your changes are saved to that branch but are not yet in the remote repository.
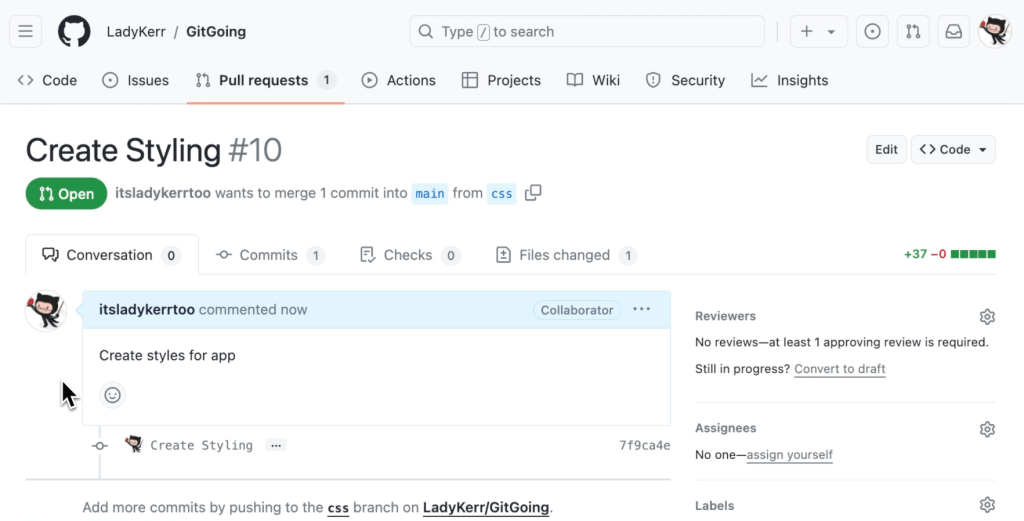
Once committed, push the branch to get a pull request going.
Add Code From the Terminal
Back in the terminal, first confirm you're in the project directory. Create empty files with touch index.html script.js, then open those files in your editor and write or paste the content you want to upload.
Run git status to see the new untracked files. Stage them together with git add . to add all untracked files in the project directory. Commit them with a message describing the change:
git commit -m "created initial project"
Run git status once more to confirm no untracked changes remain. Then push the branch to GitHub:
git push origin version1
Open a Pull Request
After pushing, go back to the repository on GitHub. A dialog near the top of the repository page will note recent changes on branches like CSS and version1. Click the green "Compare & pull request" button for the CSS branch.
Add a title and description summarizing your changes, then click "Create pull request." GitHub will run some checks; once they finish, the "Merge pull request" button becomes available. The dialog it opens will be pre-filled with your pull request title and description — click "Confirm merge."
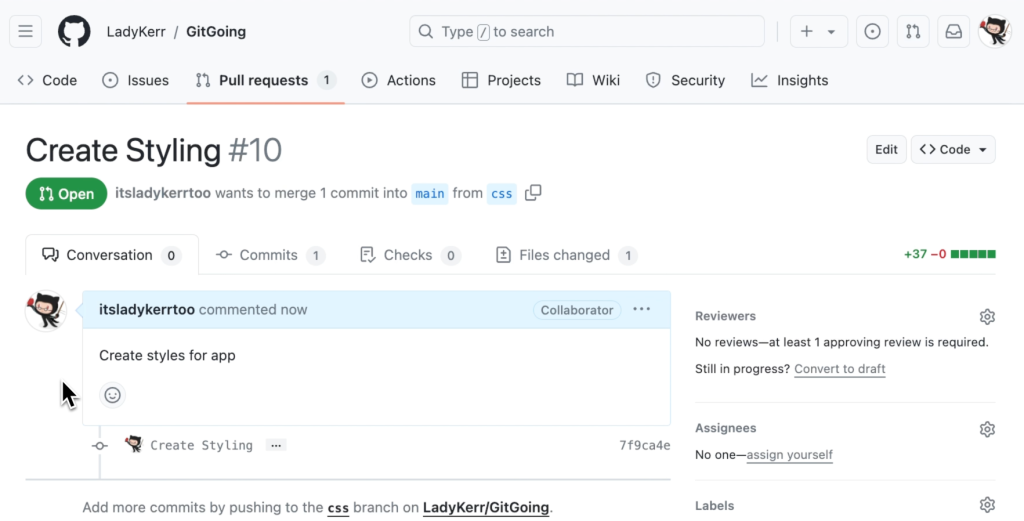
The CSS changes are now in main. Back on the repository page, a notification will still show recent changes on version1. Click "Compare & pull request" again and create a pull request — but do not merge it yet.
Merge Main Into Your Feature Branch
Notice that main now has changes that don't exist in your local version1 branch. That's because version1 was created from the older copy of main, before the CSS changes landed. The pull request may have warned that your branch was behind main.
To merge the changes into your feature branch safely, pull the latest main updates locally:
git switch mainto switch to themainbranch.git pullto fetch the remote CSS changes.git switch version1to return to your branch.git merge mainto bring those changes in. When the text editor opens with a merge message, type:wqand press Enter to save and exit.git push origin version1to push the updated branch.
Return to the browser and navigate to your pull request (via the "Pull requests" tab on the repository page if needed). Click "Merge pull request" and confirm. Your version1 changes are now safely merged into main.
Clean Up the Feature Branch
Once your changes are in main, the feature branch is expendable. Switch to main with git switch main, then delete the local branch:
git branch -d version1
Once you can clone, branch, commit, push, open pull requests, merge, and delete branches, you have the core of the GitHub flow. It's the start of building projects that multiple developers can contribute to without trampling each other's work.


