

DIY Filter Mounting for the Fujifilm X100/X100S
The official Fujifilm X100/X100S 49 mm adapter ring does one job: it spaces the lens far enough from any mounted filter or accessory that the lens can extend during focusing without physical interference. At roughly $40, that single purpose carries a steep price tag.
A much cheaper alternative takes a $4 49 mm UV filter and repurposes it as the spacer. The conversion requires only a few common tools and a few minutes of careful work.
What You Need
- One inexpensive 49 mm UV filter
- A heavy metal object (e.g., a hammer)
- The accessory you intend to mount on the lens
Step 1: Remove the Thread Cover
Start by taking off the thread cover that sits at the outer edge of the lens. A gentle counter-clockwise twist should release it, revealing the filter threading underneath.
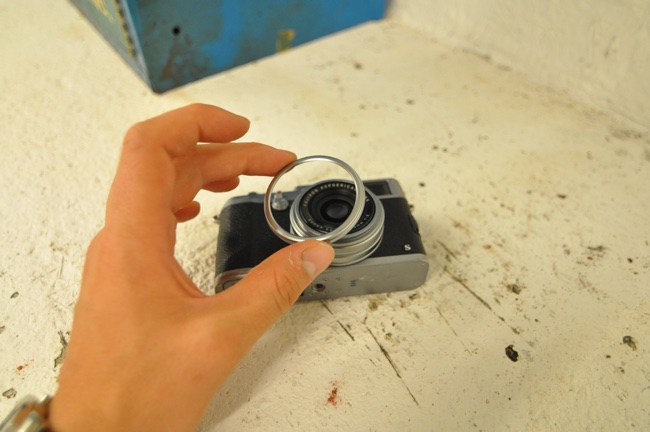
Why a Spacer Is Necessary
Mounting a filter directly on the lens is not an option. When focusing on a near subject, the lens extends far enough to make physical contact with a filter mounted too closely, which causes the camera to shut down. The adapter ring works by adding distance between the lens and the accessory, giving the lens room to move freely.
Step 2: Remove the Glass
Place the UV filter inside a plastic bag to contain debris, then carefully shatter and remove its glass using your metal implement. Take care to clear every shard from around the filter rim before mounting. The filter now functions purely as a hollow ring.
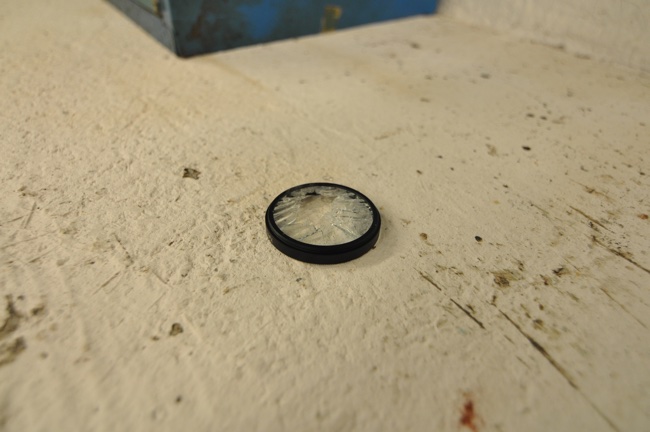
Step 3: Mount and Attach
Screw the emptied UV filter onto the X100S where the thread cover originally sat. The result gives the lens the clearance it needs.
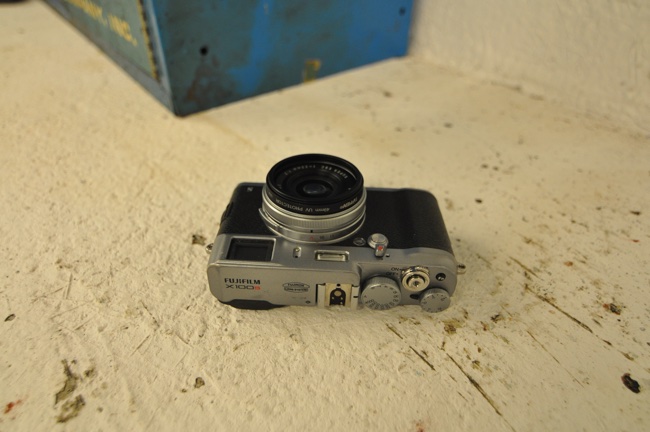
With the filter in place, your intended accessory can now be threaded on top of the UV filter—even a standard UV filter works if that is the goal. If you wish, you can also remount the original thread cover on the outermost position.
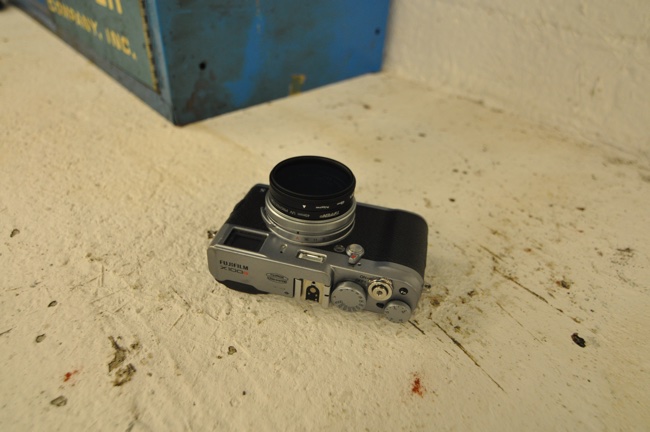
The entire process is quick, cheap, and yields the same functional result as the official adapter part.


