

From Learning Exercise to Open-Source Icon Library
In early 2021, I started learning 3D illustration with Blender. Like many beginners, my first project was the classic donut tutorial, but I quickly realized that the best way to learn was to pick individual icons and figure out how to construct each one in 3D space. Every icon demanded a different modeling approach, which made the process both challenging and educational.
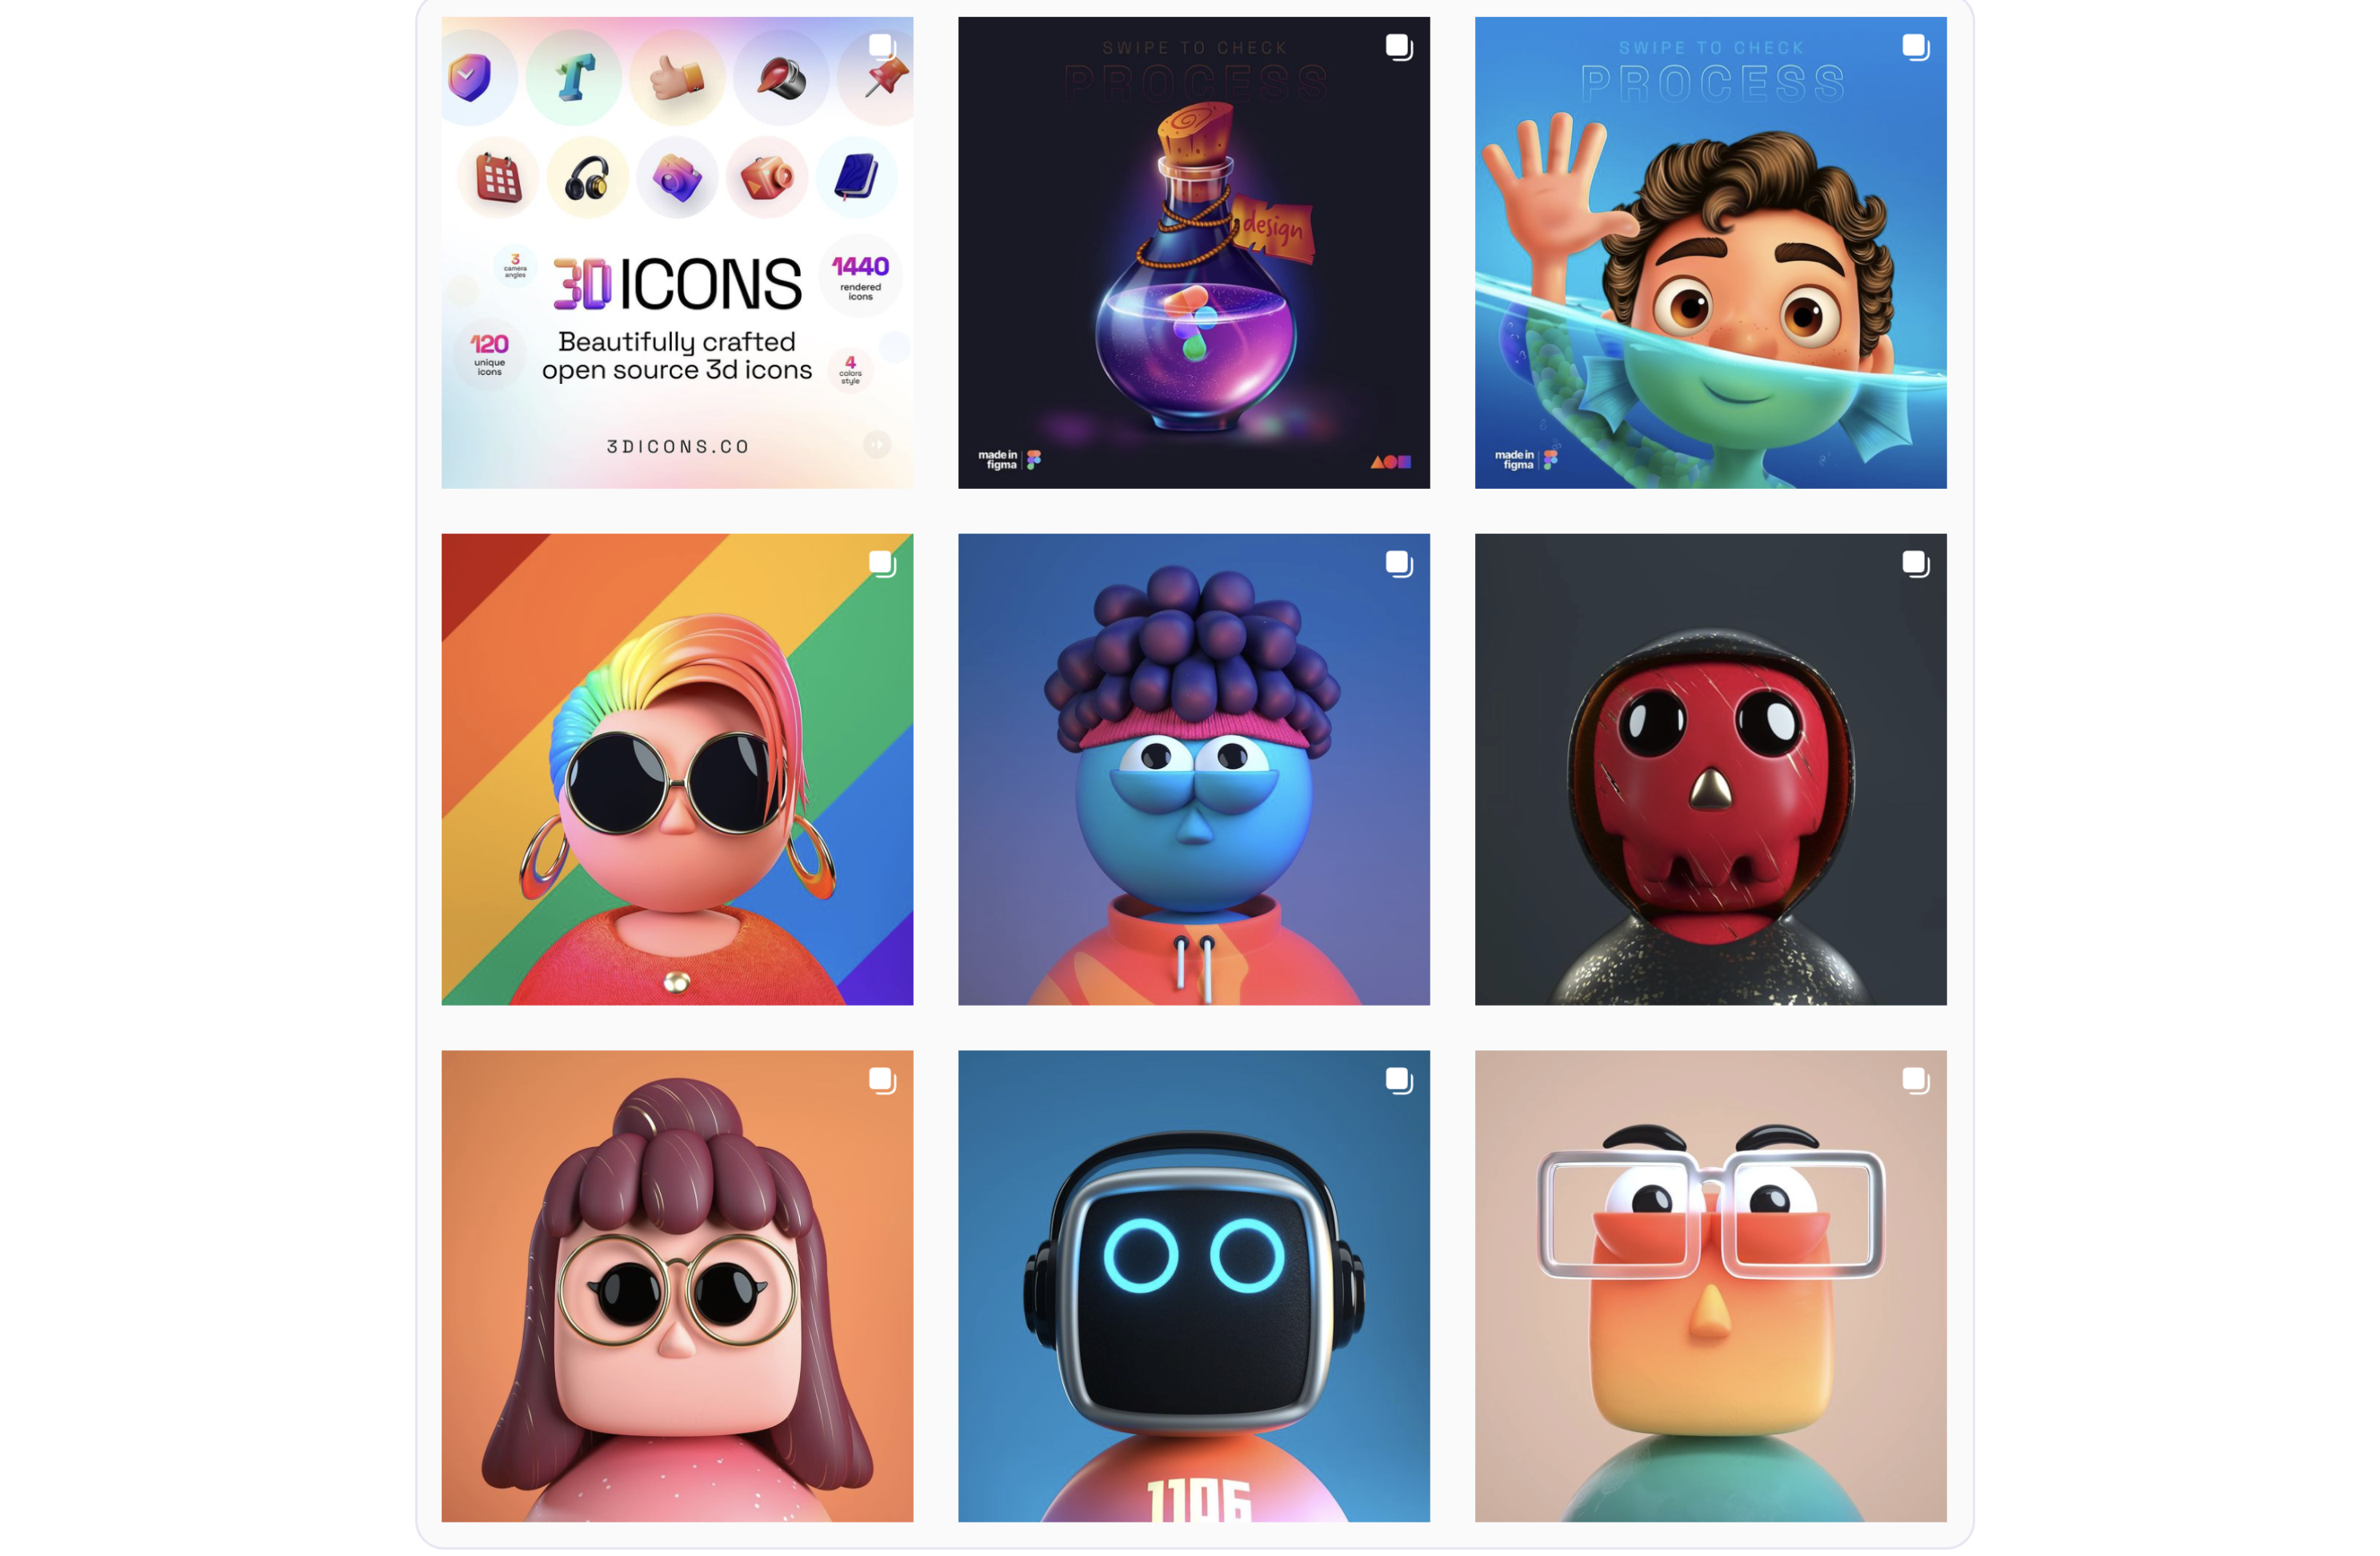
What began as a personal learning exercise soon grew into something larger. Within months, my project contained almost 30 icons, and I decided to release them under an open-source license. By the time I finished preparing icons for common use cases like product screens, presentations, and social media posts, the collection had grown to exactly 120 icons — rendered as production-ready assets, with editable source files included.
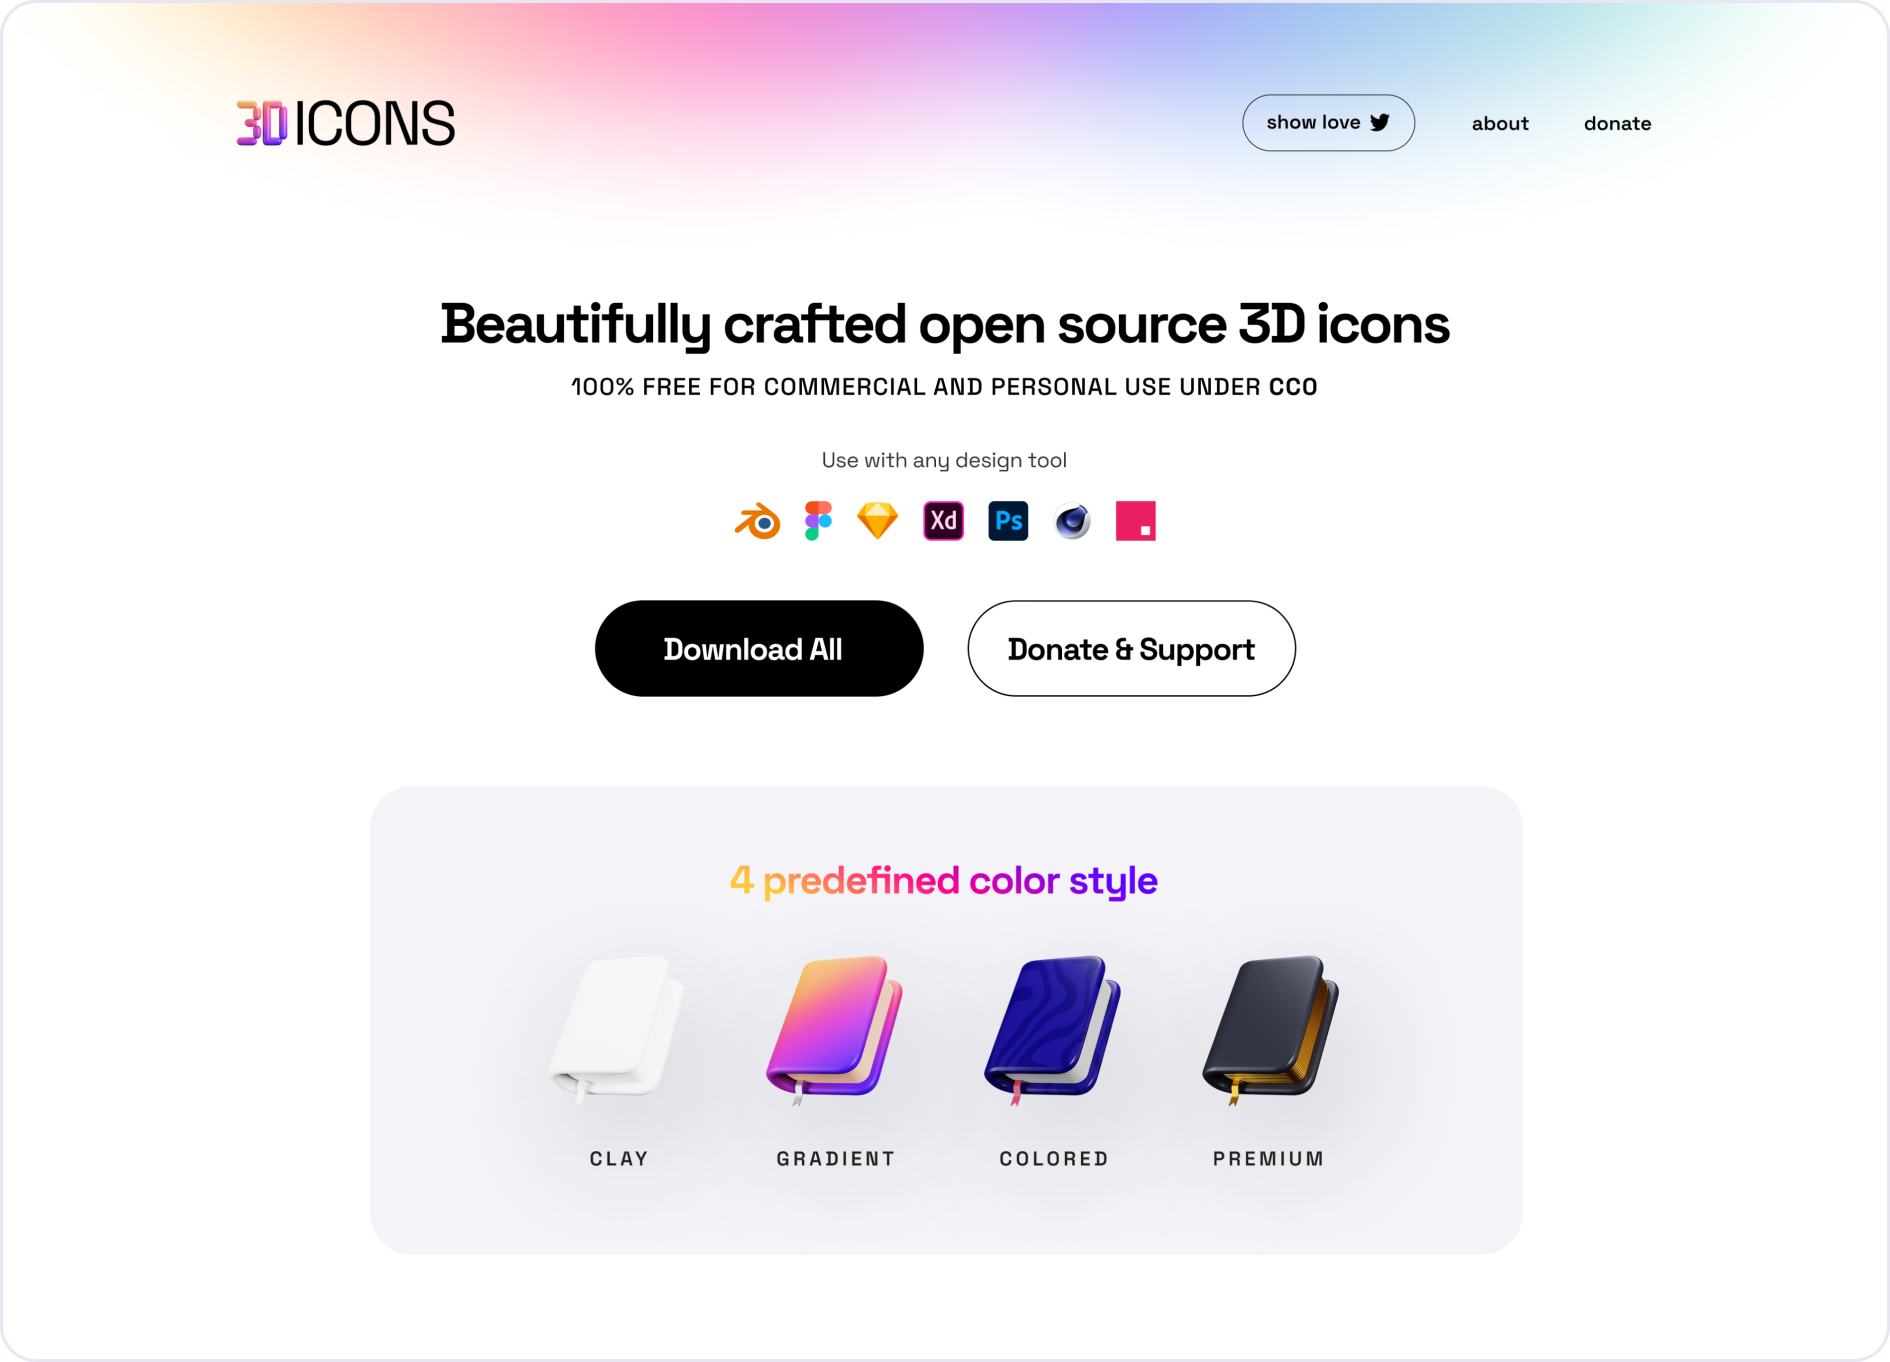
Managing a set of this size presented unique challenges, not least because the image files alone take up 3.8 GB. In this article, I'll share what I learned about open-source design, the tools I used, and the technical hurdles I faced when processing and releasing the library.
Why Release Design Files?
Designers frequently post their practice work on platforms like Dribbble and Behance, but rarely do they share the source files that show how the work was made. I believe strongly in open-source design: when we share not just final renders but also the underlying files, we help others understand the craft and elevate the entire community.
This wasn't my first experience sharing source files. In 2019, I released a collection of 100+ illustrations that had been sitting unused on my hard drive. The 3D icon project felt like a natural follow-up — another set of assets created with the sole purpose of learning, then made available for others to study and build upon.
There's an important distinction to make here: offering files for free doesn't diminish the value of paid work by other artists. Many free resources available online are essentially marketing tools that link back to a commercial product and don't allow modification. Designers just starting out need resources they can actually learn from and adapt — and distributing them freely helps close that gap.
Tools of the Trade
While I'm a long-time Apple product user, I found that learning 3D on a laptop wasn't sufficient. I built a dedicated PC for this project with an AMD Ryzen 7 3800X processor and an Nvidia GeForce RTX 2080 graphics card. Beyond hardware, the software stack included:
- Blender — all modeling, rendering, and compositing;
- PureRef — for collecting visual references for icons and colors;
- Figma — arrangement of icons and web page design;
- Procreate on iPad — sketching, doodling, and ideation;
- Notion — project management for the entire workflow.
The Production Pipeline
Planning
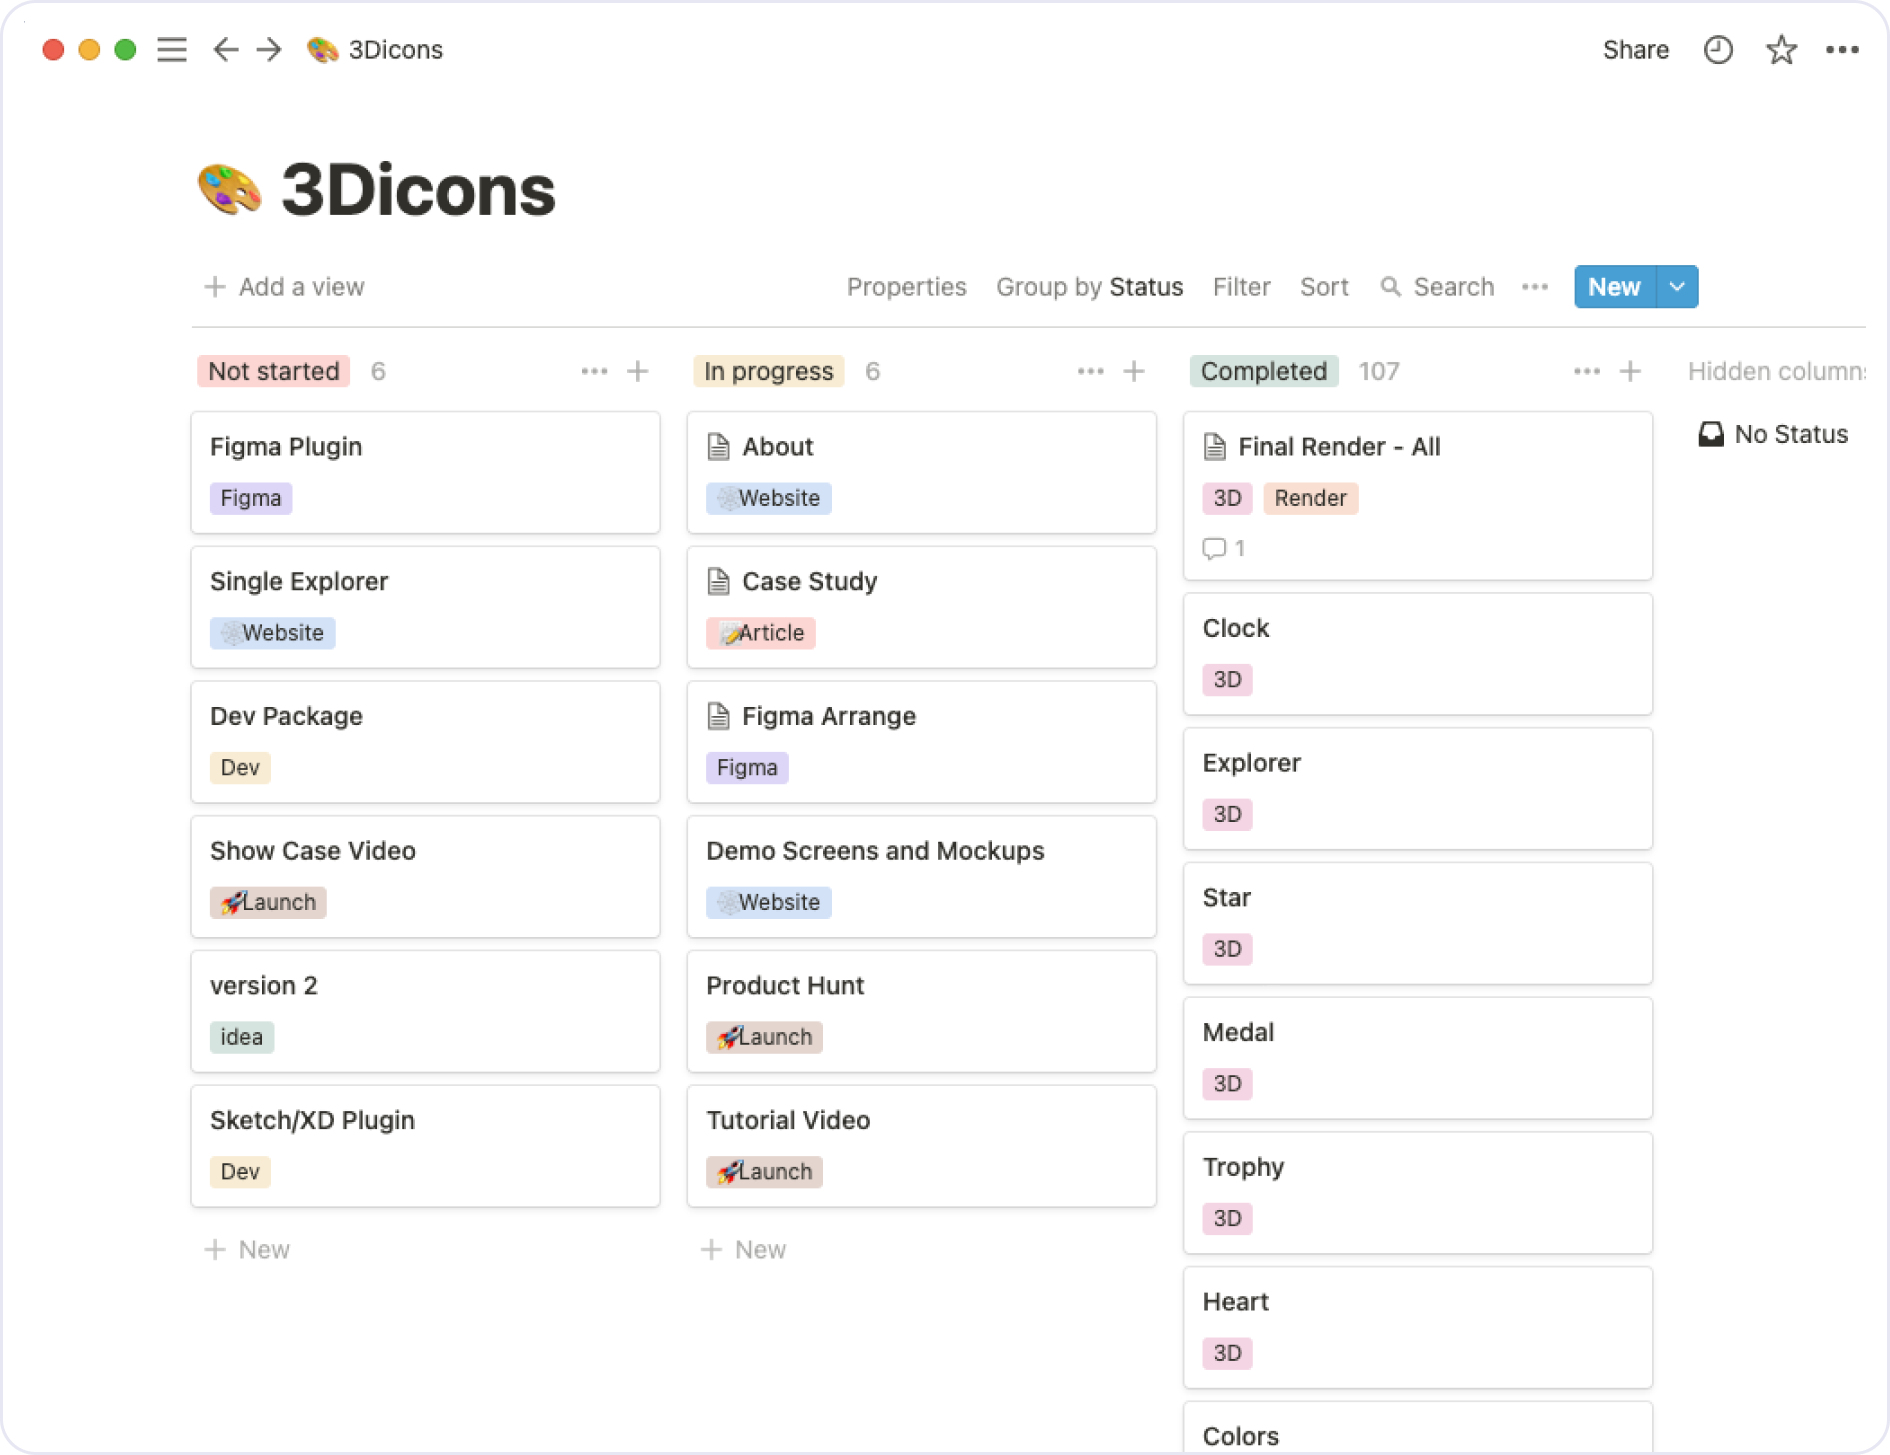
Every project benefits from organization. I managed this one using a Notion board where I tracked all initial requirements from the beginning.
Modeling Workflow
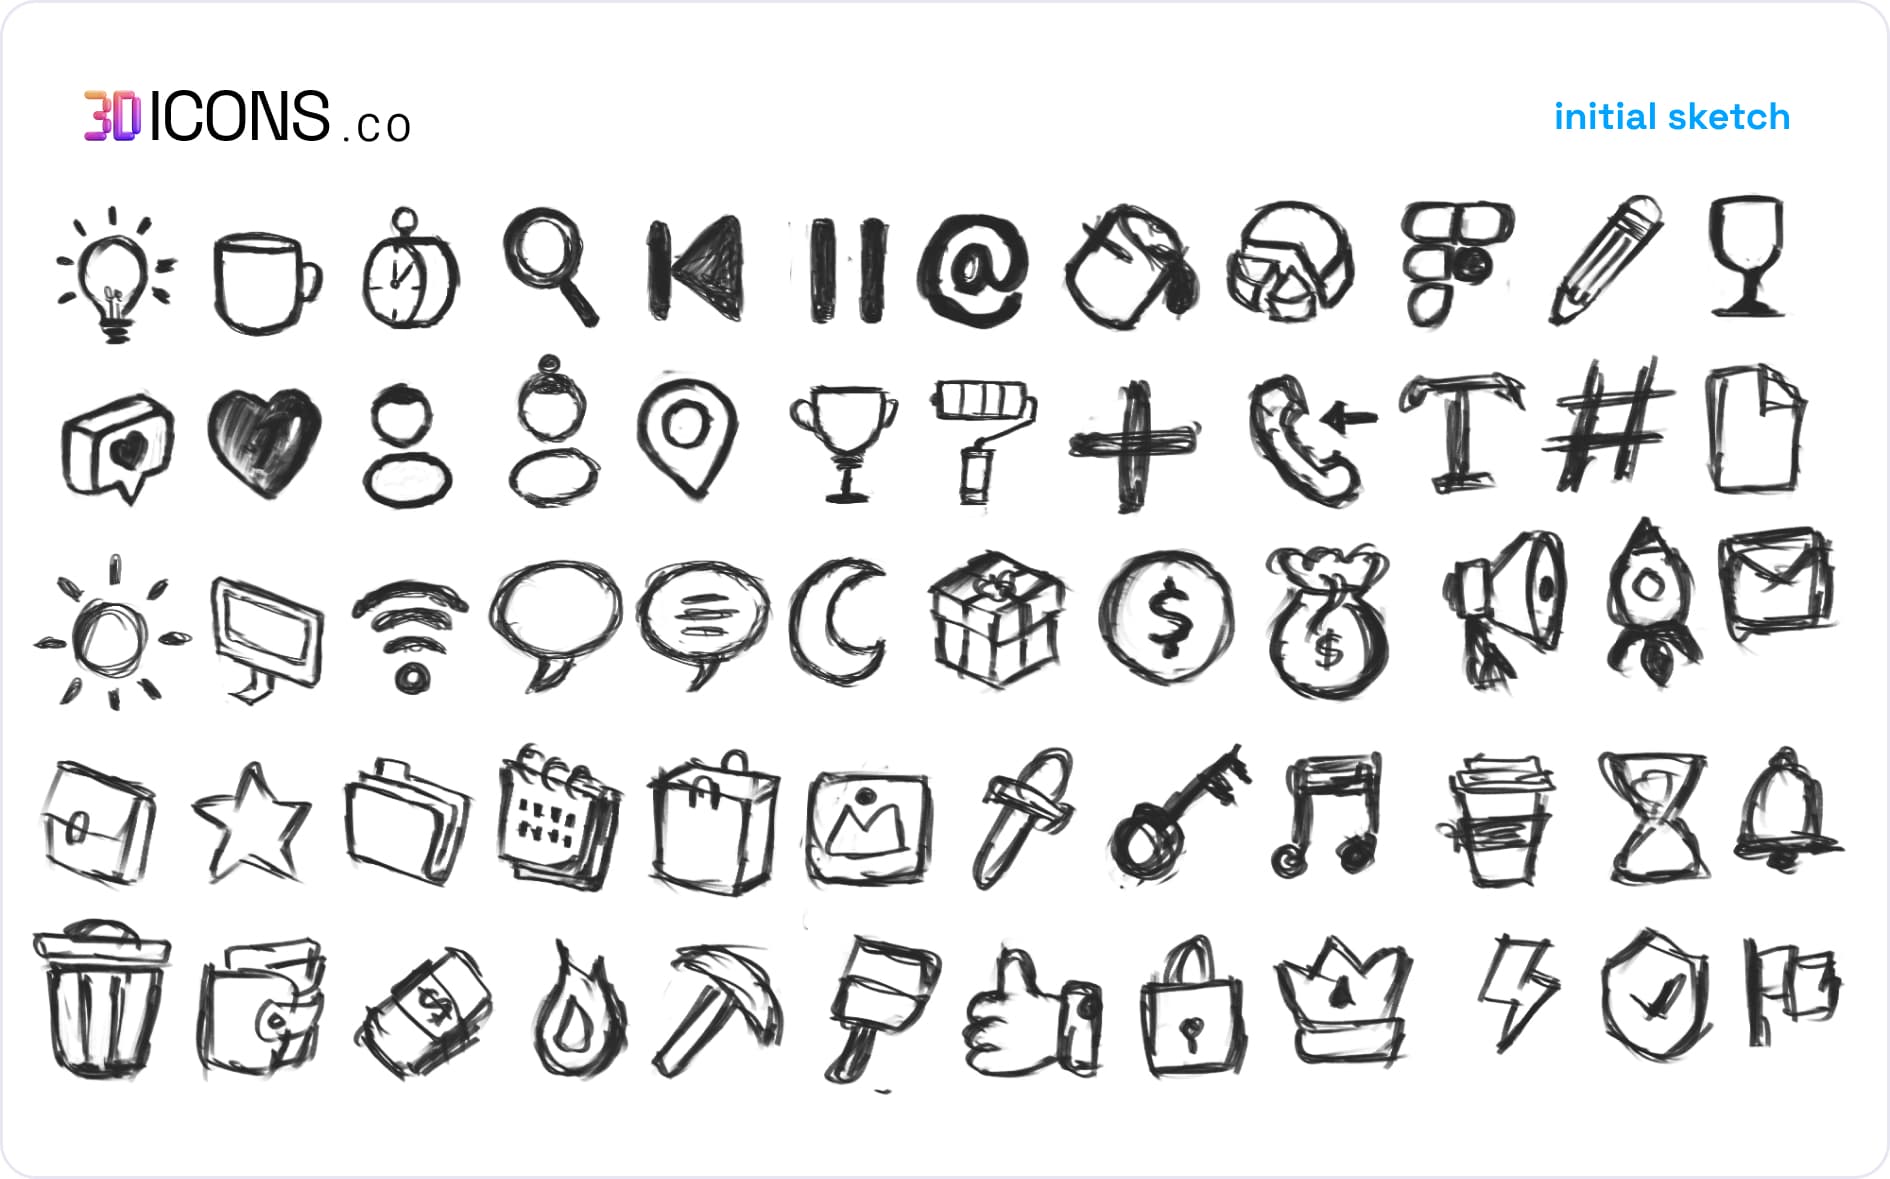
Some icons were straightforward to create directly from references; others started as doodles in Procreate on my iPad before being imported to my Windows machine for modeling. I set up a guide with two cubes — one marking the maximum boundaries and another marking the end edge of the active area — to guarantee consistent sizing and positioning across all icons. Every model was stored in a single file, and I applied subdivision surface modifiers to achieve smooth, high-quality geometry rather than low-poly results.
.obj and .fbx files, all modifiers needed to be applied before export — otherwise the shared files would lose the smoothing and appear low-poly.Lighting Each Angle
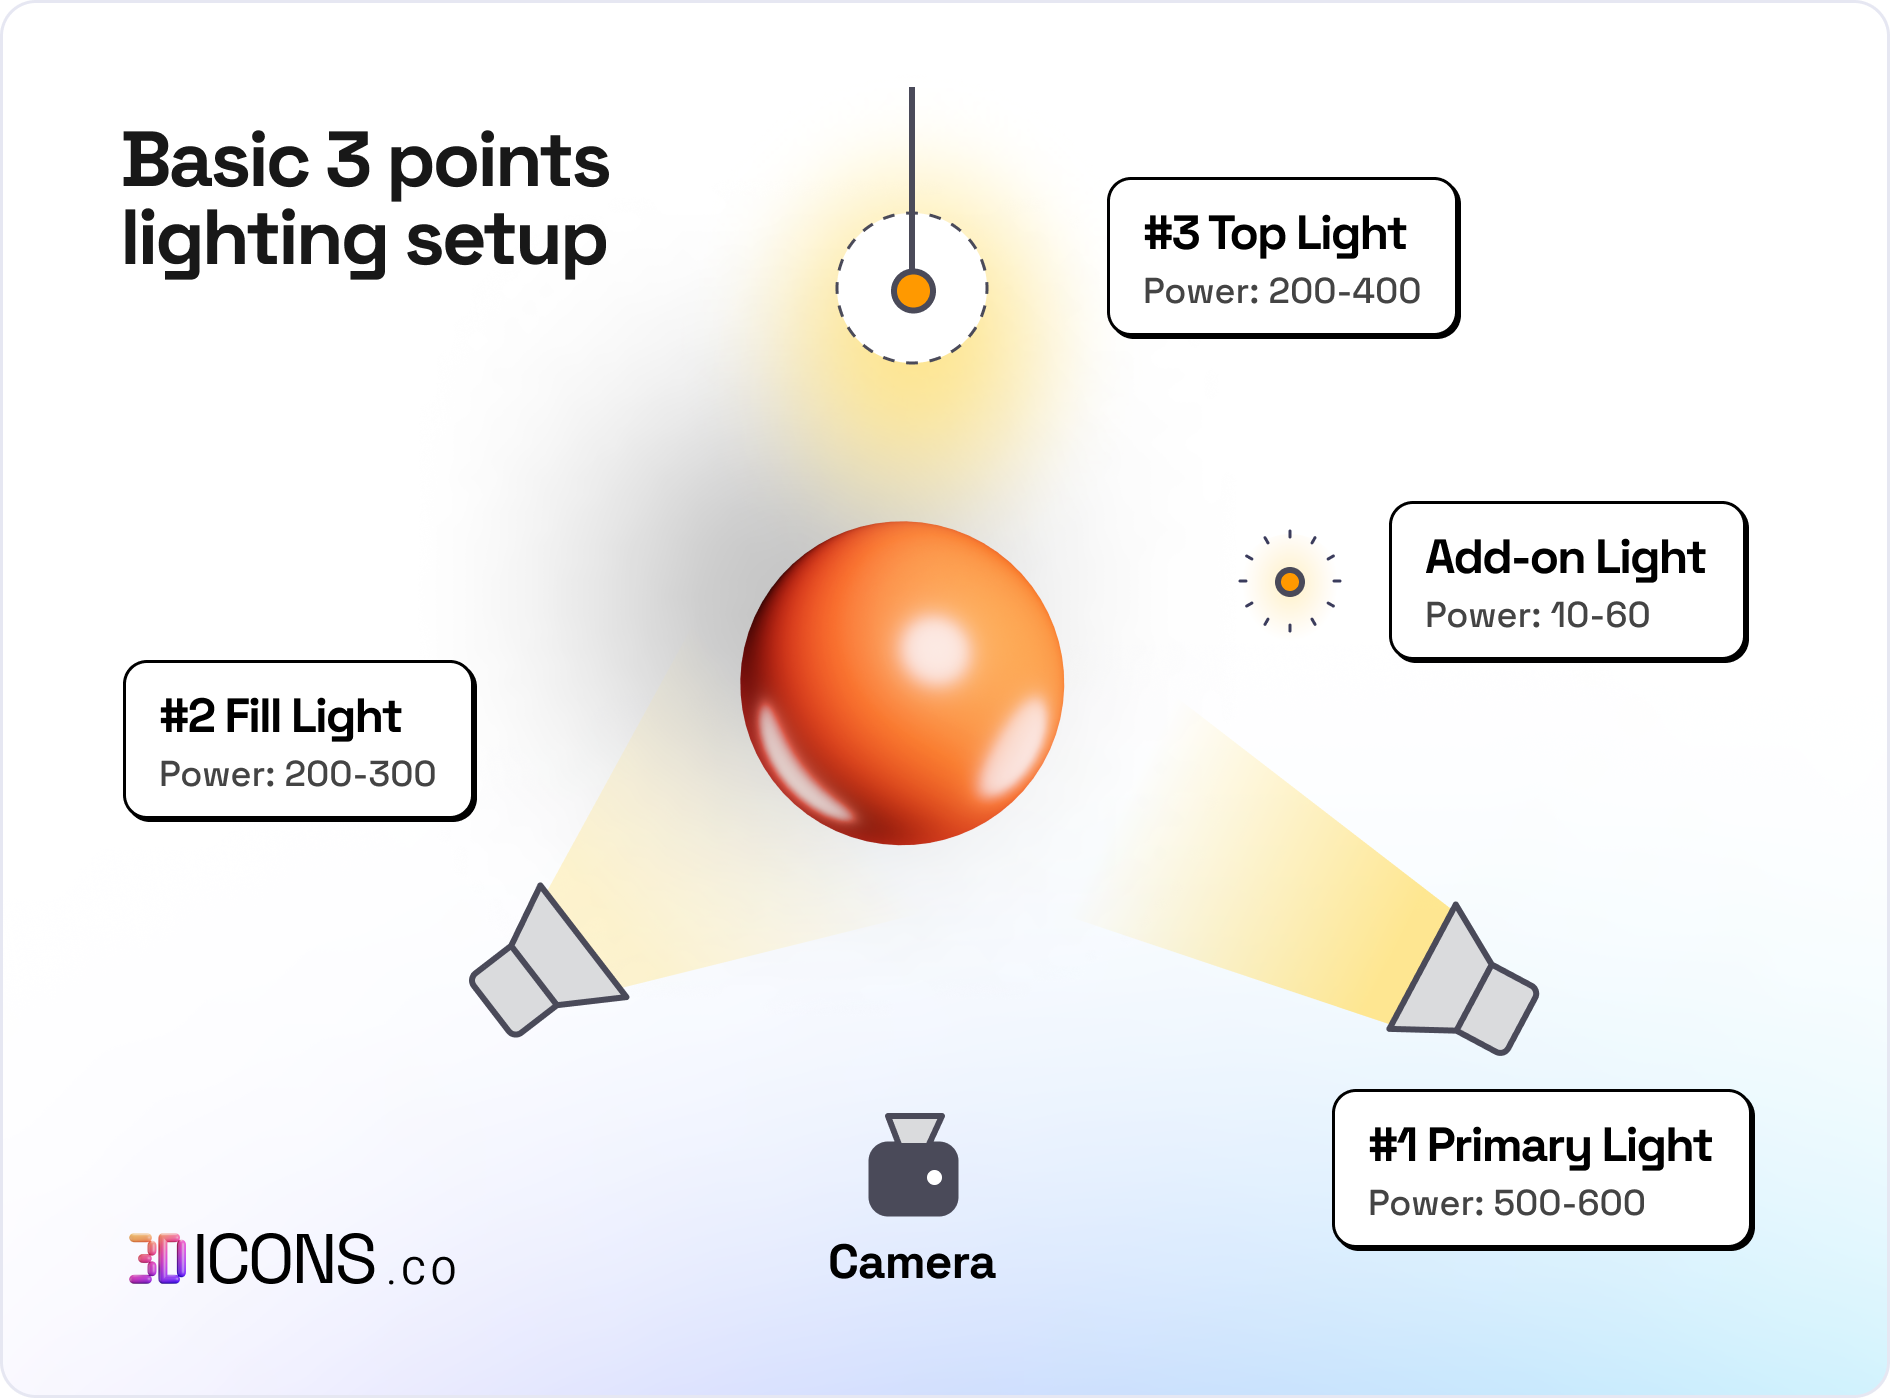
Proper lighting makes a model look good; poor lighting undermines even the most careful modeling. Every object's shape demands different light intensity, and because I rendered icons from three angles, each angle required its own light positions and settings. Manually adjusting the same lights for different models proved time-consuming and complex.
Color and Shading
I have a well-documented preference for vibrant colors, but 3D rendering introduces an extra complication: light sources affect color intensity. I usually applied gradients using light shades or complementary colors of the primary hue rather than flat, direct color values.
Rendering and Timelines
Rendering 120 icons in four styles at three angles is a substantial undertaking. Blender supports scripting, but adding a new programming skill to an already dense learning process wasn't practical. Even automated rendering has limitations — different icons need varying light amounts and intensities before they look correct. This was one reason the project's release took longer than originally planned.
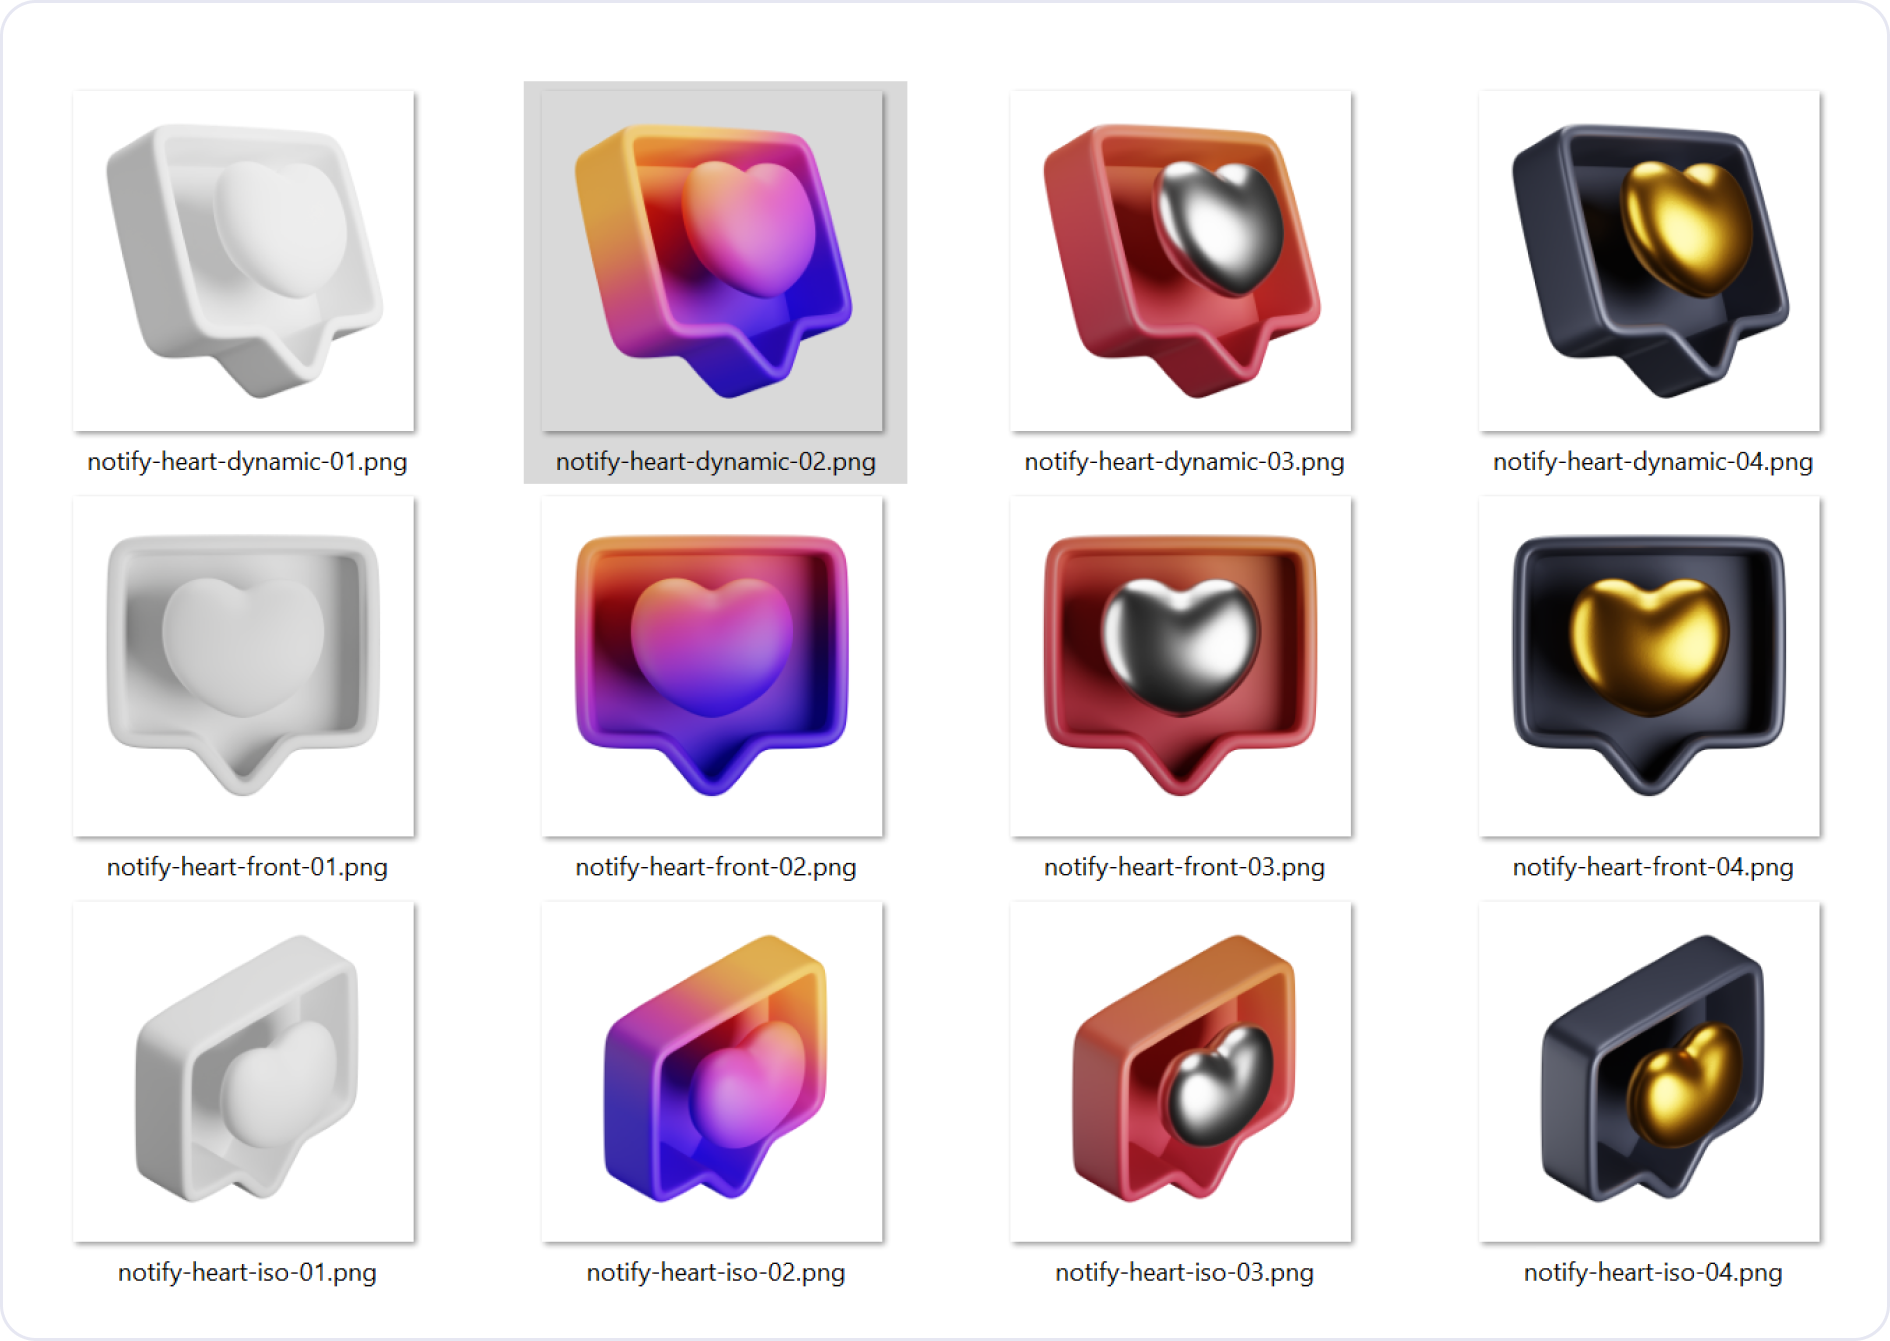
- Two cameras were required: a Normal camera for front and dynamic angles, and a TrueISO camera for isometric views.
- Rather than creating separate cameras per angle, I used timelines to control object rotation and position.
- All icons were rendered with 800 samples. Rendering a single 2400×2400 pixel image took 2-4 minutes.
Samples refer to the noise particles in a render — more samples produce a cleaner image but require proportionally longer render times.
File Size Optimization
My initial tests rendeded images at 3000×3000 px with 16-bit color depth, producing files around 15 MB each. For 1,200+ images across all variations, storage requirements would have exceeded 8 GB, and Figma couldn't handle that many large images in a single file.
- Post-processing every image in Photoshop would have added too much time to the workflow. Instead, I reduced resolution to 2400×2400 px, lowered color depth to 8-bit, and applied 100% compression directly in Blender. This brought single-file size to 4 MB or less — making the entire library a more manageable 4 GB.
- I initially planned to render separate channels for each icon and use Figma components to enable color and lighting changes. However, the Figma files became prohibitively heavy, and I had to abandon this approach.
Getting 3dicons Out the Door
The full project, from initial design through rendering and finally building the site and hosting infrastructure, took over two months of work. Much of that time was spent on the less glamorous parts: managing file sizes and finding a hosting setup that could stand up to real traffic.
Working Around Figma’s Limits
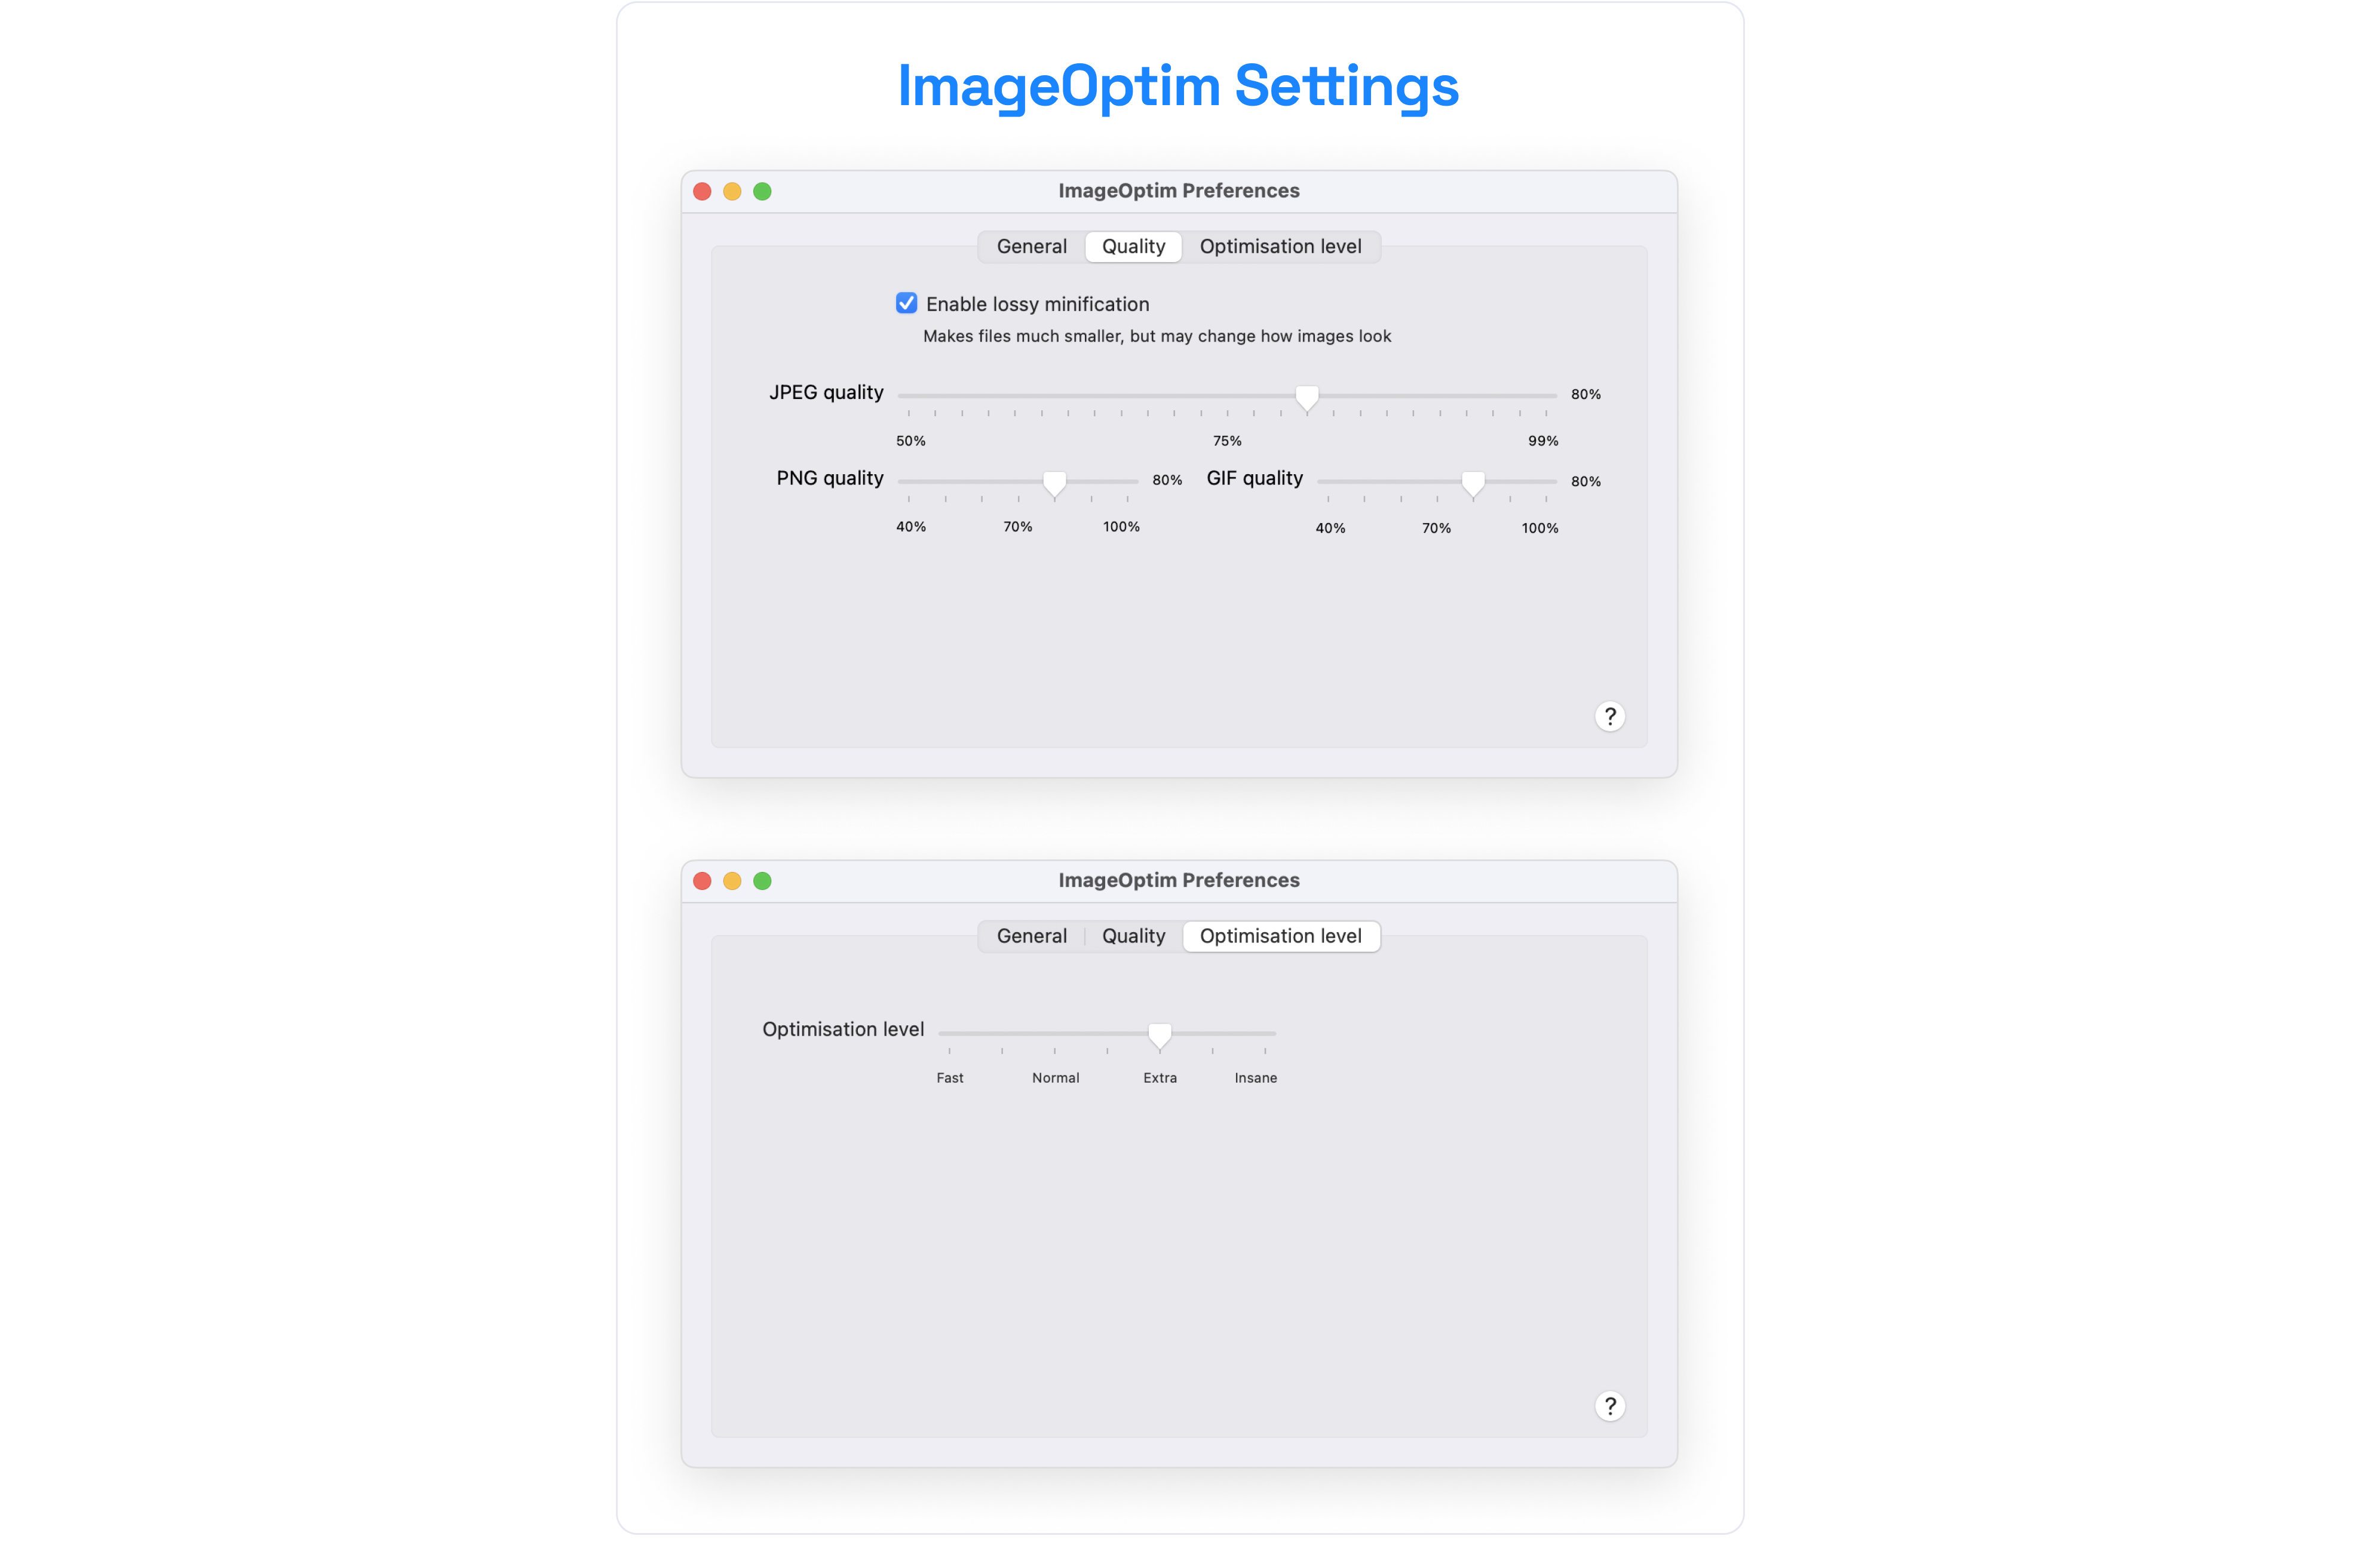
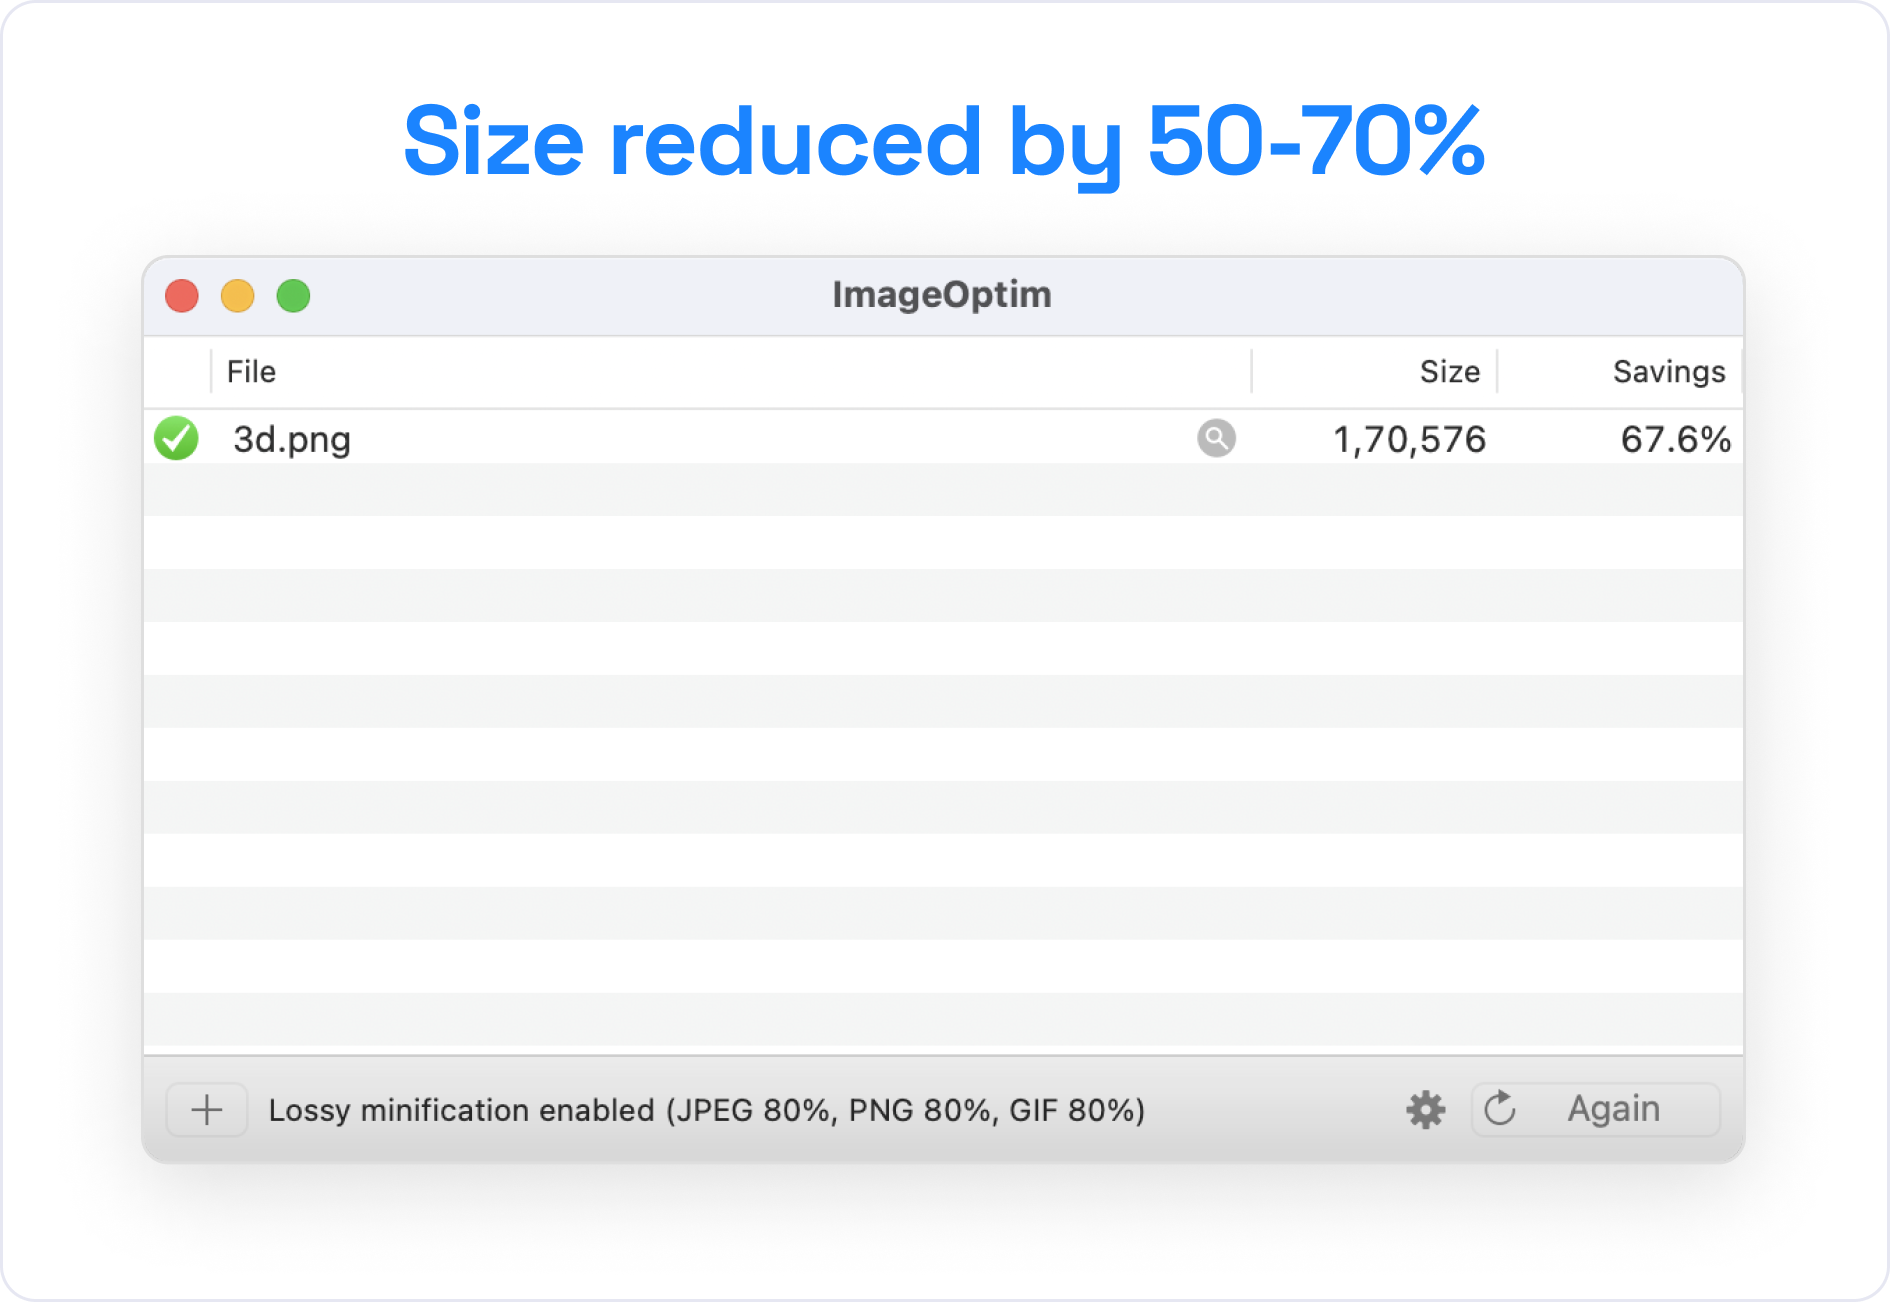
Figma became a bottleneck as the library swelled past 4 GB. Uploading more than 300 images at once caused the tool to hang. The fix was twofold: run every export through ImageOptim’s lossless compression (which typically trims PNGs by 60-90 percent) and abandon plans for dynamic variations in Figma, since the file simply became too unwieldy. The compressed 1000×1000 px renders were then published to the Figma community. A configurable variant or dedicated plugin for Figma is still on the roadmap.
The compression settings applied to every icon:
Choosing a Host
The core question was where to put more than 3 GB of files without making users pay or hitting bandwidth walls. Options considered:
- Gumroad: No free tier for downloads over 200 MB — a paid download would have been required.
- Google Drive and Dropbox: Functional, but both impose bandwidth limits once traffic grows.
- AWS: Reliable but overly complex to configure for this purpose.
- Webflow: Rejected for being a no-code platform with too little customization control.
- Digital Ocean: Chosen for its low entry price of about $5/month.
In practice, Digital Ocean proved hard to scale cost-efficiently. After a few months of 3dicons running, bandwidth charges climbed to $60-80 per month once traffic surpassed 7 TB. The hunt for a more affordable alternative continues, and suggestions are welcome via Twitter.
Domain and Frontend Stack
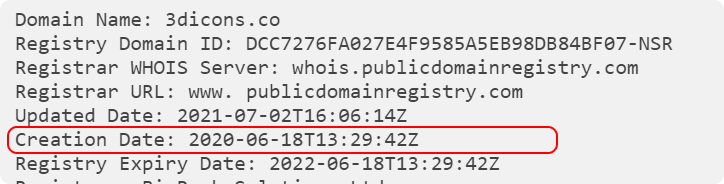
The 3dicons.co domain had been purchased back in 2020 with no particular project in mind — it turned out to be a fortunate match for this library.
For the site itself, the self-coded approach won out over Webflow and Wix, both of which were set aside for limiting flexibility. The final stack:
- Gatsby Framework: Chosen for generating lightweight static pages that deploy cleanly to GitHub Pages; combines React, GraphQL, and Webpack.
- GitHub Pages: Free static hosting with custom domain support and built-in SSL.
All design work, including social media assets for the project, was done in Figma.
Wrapping Up and Downloading the Set
The learning curve for 3D rendering was steep at the start, particularly around handling 3D source files and producing clean exports. After months of iteration, the guiding principle became simple: the finished icons should look good and be useful to the design community. That bet is already paying off — Morflax has built 3dicons into its web-based mesh tool, which lets users recolor icons and build scenes without touching 3D software. You can try that integration directly at Morflax’s site.
Downloads
The current versions are available from the official 3dicons site, where future additions to the set will also appear. A complete archive of the formats below is also available:
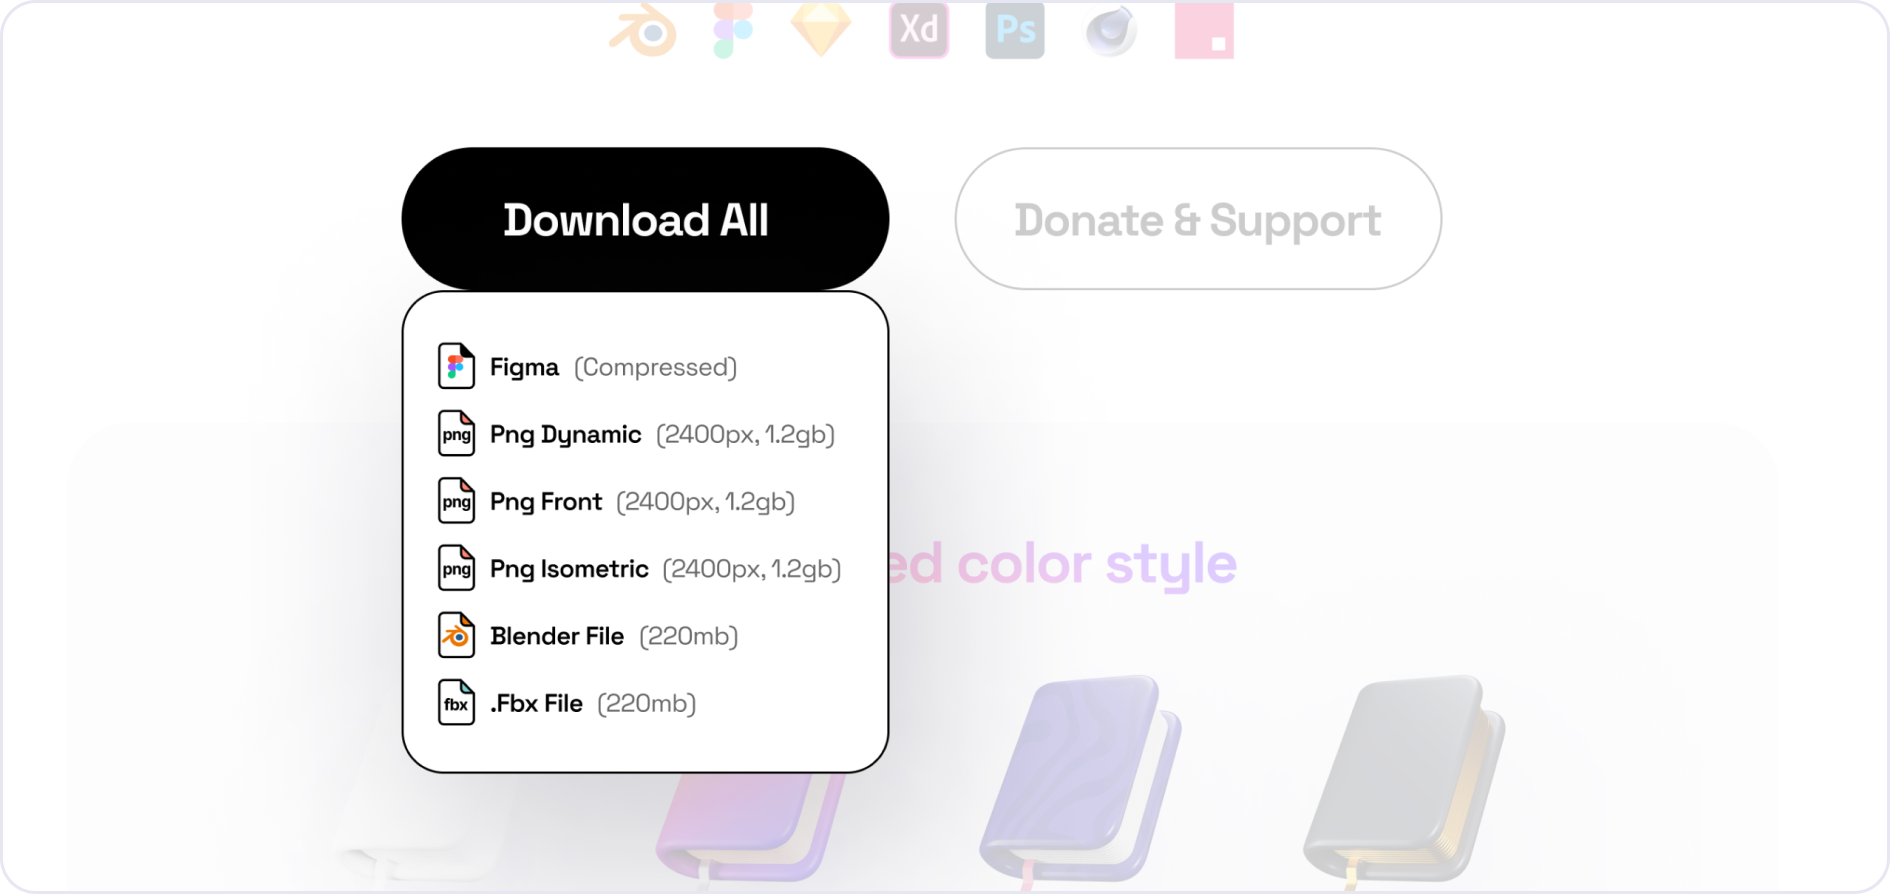
Direct downloads:
Archive current as of May 2022 — check the 3dicons site for the latest releases.
License and Support
The entire set is released under the CC0 license, meaning "No Rights Reserved" — use it without restriction.
A Notion FAQ board covers common questions, particularly for recoloring icons and working with Blender. Feedback and questions are also welcome directly on Twitter (@realvjy).



