
Cloud SQL For Reliable Data Storage
Returning a Python list from a Flask endpoint works only as a quick experiment. Every time the server restarts, any songs added during a session disappear. Real applications need a persistent database. Google Cloud SQL fills that gap.
Cloud SQL is Google's fully managed relational database service. According to Google, it makes it "easy to set-up, maintain, manage and administer" MySQL and PostgreSQL databases in the cloud. The key difference between Cloud SQL and running your own SQL instance on Compute Engine is operational overhead. With a self-managed instance on a virtual machine, you handle vertical scaling, replication, and configuration yourself. Cloud SQL provides these features out of the box, freeing you to focus on application code.
Creating A Cloud SQL Instance
To get started, sign up for Google Cloud, which offers $300 in free credit to new users. Then create a project directly from the Google Cloud console.
Once your project is ready, follow these steps:
- In the left panel of the console, scroll to the “SQL” tab and open it.
- Choose MySQL as your database engine.
- Click to create an instance. By default, it lives in the US, with the zone selected automatically.
- Set a root password and give the instance a name (e.g.
flask-demo), then click “Create.”
You can expand “Show configuration options” to tune settings like instance size, storage capacity, security, and backups, but the default settings work for this project. The instance takes a few minutes to provision. When a green checkmark appears, click the instance name to open its details page.
You'll then need to perform three setup tasks:
- Create a database.
- Create a new user.
- Whitelist your IP address.
Set Up Database, User, And Access
Navigate to the “Database” tab to create your database. In this example, the database is named db_demo. Next, go to the “Users” tab to create a new user. When setting the host name, choose “% (any host)” so the user can connect from anywhere.
Cloud SQL instances can accept connections via a private IP or a public IP. A private IP requires a virtual private cloud (VPC) — Google will create and manage it for you. This tutorial uses the default public IP option. The name is a bit misleading: the instance is public in the sense that only IP addresses you explicitly whitelist can connect. To allow your local machine access, search my ip in Google to find your current IP address, then navigate to the “Connections” tab, click “Add Network,” and paste it in.
Connect To The Instance Via Cloud Shell
To set up the schema, connect to the instance through the cloud shell. From the “Overview” panel, click the cloud shell icon; the connection command will already be typed in the console.
You can authenticate as either the root user or the user you created earlier. Running the connection command prompts you for that user's password:
gcloud sql connect flask-demo --user=USERNAME
If you see an error about a missing project ID, retrieve it with:
gcloud projects list
Then paste the returned value into the following command, replacing PROJECT_ID with your actual project ID:
gcloud config set project PROJECT_ID
After establishing the connection, list the databases that exist:
> show databases;
Typical output includes the MySQL system tables such as information_schema and performance_schema, along with your own db_demo database. Select your database with:
> use db_demo;
Now create a table to match the data structure of the Flask app. Paste the following SQL into the shell:
create table songs(
song_id INT NOT NULL AUTO_INCREMENT,
title VARCHAR(255),
artist VARCHAR(255),
genre VARCHAR(255),
PRIMARY KEY(song_id)
);
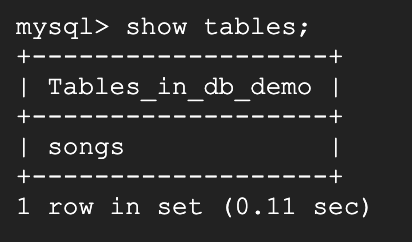
This command defines a songs table with four columns: song_id, title, artist, and genre. The song_id column is the primary key and auto-increments from 1. Verify that the table exists by running show tables;.
Hosting on App Engine
Google App Engine is a fully managed platform for hosting web applications, with automatic scaling based on incoming traffic. Instead of configuring the environment through the Cloud Console UI, you can use the Google Cloud SDK to deploy, manage, and monitor your instance directly from your local machine.
After installing the SDK for Mac or Windows and initializing it with your Google Cloud project, update your Python script to work with Cloud SQL and App Engine.
Local Configuration Files
Add an app.yaml file to your root directory. App Engine uses this configuration file to determine the runtime and any required environment variables. For this app, the database credentials need to be included so App Engine can locate your Cloud SQL instance. Replace the values with the username, password, database name, and connection name you set during the Cloud SQL setup.
#app.yaml
runtime: python37

env_variables:
  CLOUD_SQL_USERNAME: YOUR-DB-USERNAME
  CLOUD_SQL_PASSWORD: YOUR-DB-PASSWORD
  CLOUD_SQL_DATABASE_NAME: YOUR-DB-NAME
  CLOUD_SQL_CONNECTION_NAME: YOUR-CONN-NAME
Next, install PyMySQL, a Python MySQL package that connects to and queries MySQL databases:
pip install pymysql
Database Connection Layer
Create a db.py file in the root folder and add the code shown below. This file retrieves database credentials from environment variables (made available by App Engine from app.yaml), establishes a connection through an open_connection function, and provides two main operations: get_songs queries the songs table for all rows (returning “No Songs in DB” if empty), while add_songs inserts a new record.
#db.py
import os
import pymysql
from flask import jsonify

db_user = os.environ.get('CLOUD_SQL_USERNAME')
db_password = os.environ.get('CLOUD_SQL_PASSWORD')
db_name = os.environ.get('CLOUD_SQL_DATABASE_NAME')
db_connection_name = os.environ.get('CLOUD_SQL_CONNECTION_NAME')

def open_connection():
    unix_socket = '/cloudsql/{}'.format(db_connection_name)
    try:
        if os.environ.get('GAE_ENV') == 'standard':
            conn = pymysql.connect(user=db_user, password=db_password,
                                unix_socket=unix_socket, db=db_name,
                                cursorclass=pymysql.cursors.DictCursor
                                )
    except pymysql.MySQLError as e:
        print(e)

    return conn

def get_songs():
    conn = open_connection()
    with conn.cursor() as cursor:
        result = cursor.execute('SELECT * FROM songs;')
        songs = cursor.fetchall()
        if result > 0:
            got_songs = jsonify(songs)
        else:
            got_songs = 'No Songs in DB'
    conn.close()
    return got_songs

def add_songs(song):
    conn = open_connection()
    with conn.cursor() as cursor:
        cursor.execute('INSERT INTO songs (title, artist, genre) VALUES(%s, %s, %s)', (song["title"], song["artist"], song["genre"]))
    conn.commit()
    conn.close()
Refactoring the Flask Routes
Return to main.py and update the songs() view function. Instead of reading from an in-memory object, it now imports and invokes the get_songs and add_songs functions — calling add_songs on a post request and get_songs on a get request.
#main.py
from flask import Flask, jsonify, request
from db import get_songs, add_songs

app = Flask(__name__)

@app.route('/', methods=['POST', 'GET'])
def songs():
    if request.method == 'POST':
        if not request.is_json:
            return jsonify({"msg": "Missing JSON in request"}), 400

        add_songs(request.get_json())
        return 'Song Added'

    return get_songs()

if __name__ == '__main__':
    app.run()
Finally, add a requirements.txt file listing the packages needed to run the app. App Engine reads this file and installs the dependencies automatically:
pip freeze | grep "Flask\|PyMySQL" > requirements.txt
This captures the two packages in use (Flask and PyMySQL) along with their versions. At this point, you have added three new files: db.py, app.yaml, and requirements.txt.
Deploying
Run the following command to deploy your application:
gcloud app deploy
A successful deployment prints output similar to the following:
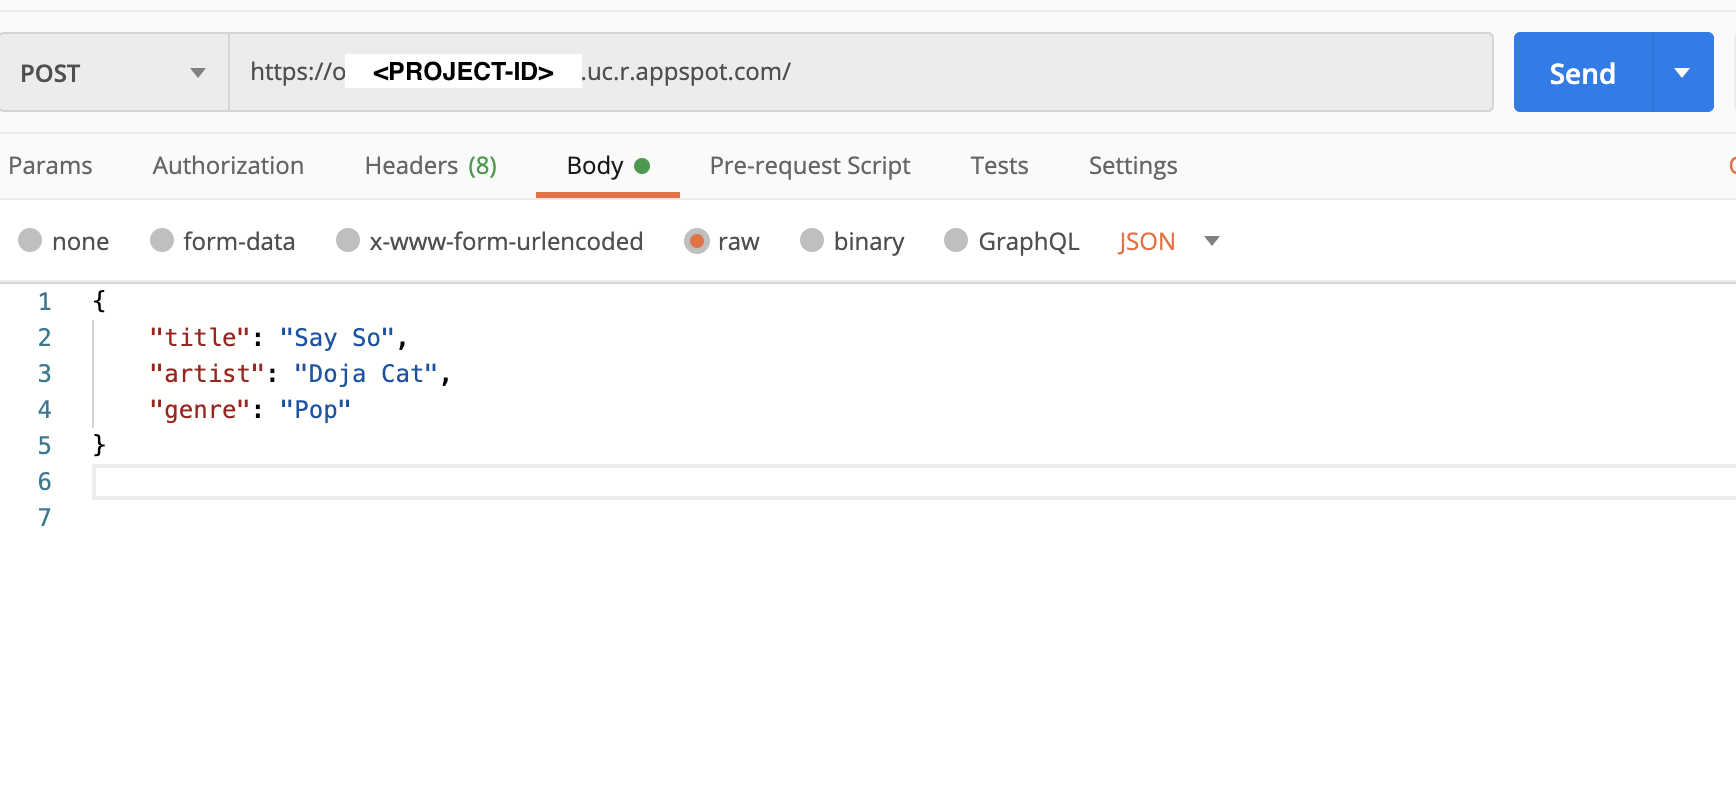
Your app is now running on App Engine. Open it in a browser with gcloud app browse, then test your post and get endpoints using Postman.
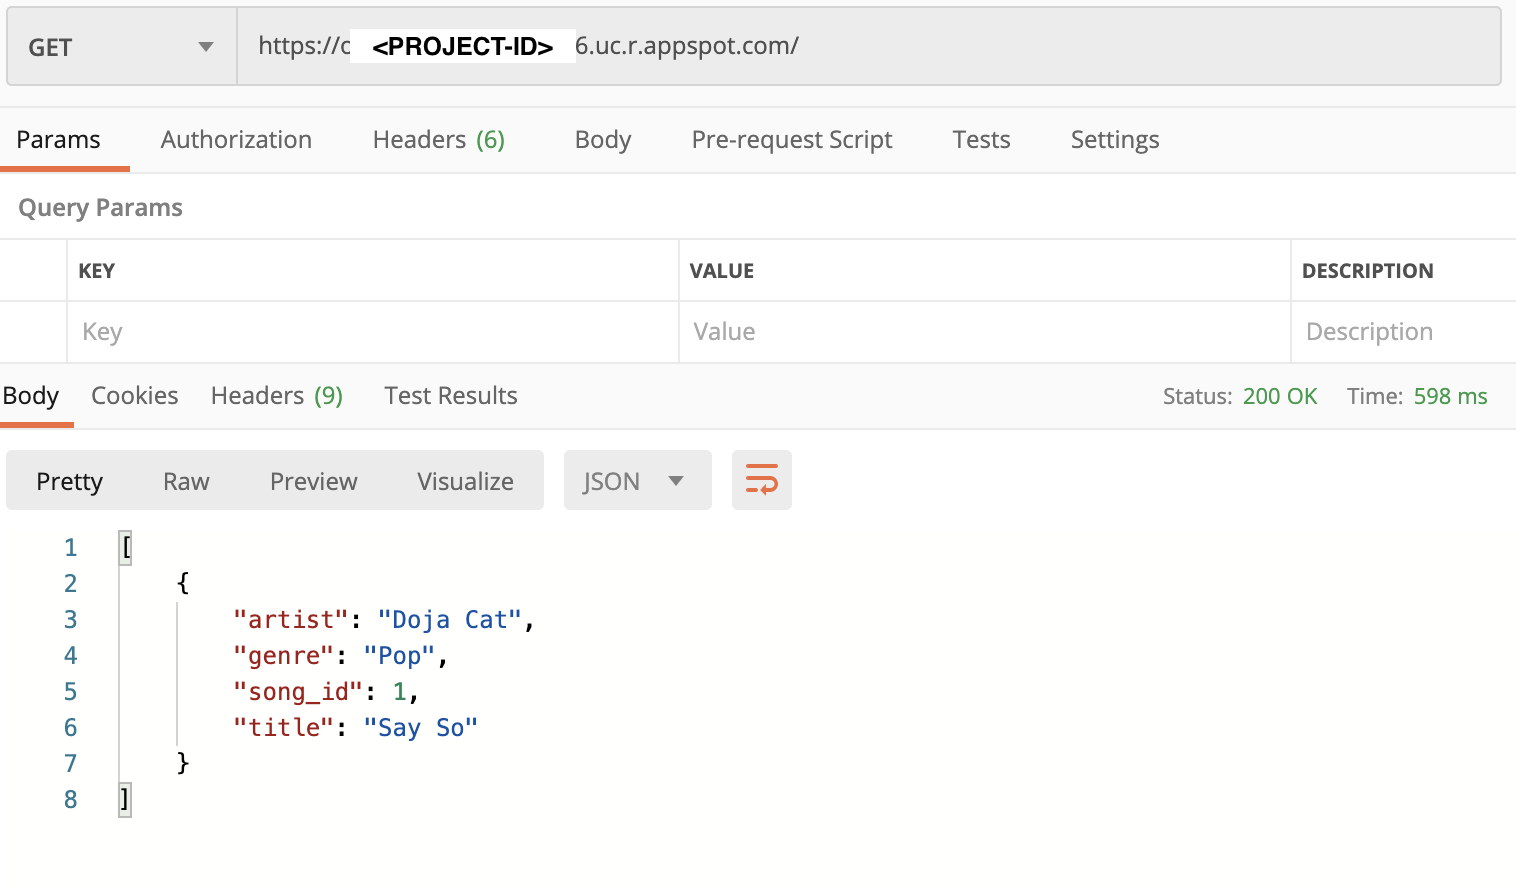
get request (Large preview)Closing Thoughts
A platform-as-a-service setup with App Engine and Cloud SQL abstracts infrastructure management — configuration, backups, operating system patches, auto-scaling, and firewalls are handled for you. This speeds up development considerably. If you need finer control over those underlying components, a custom-built service may be a better fit.
Further Reading
- App Engine, Google Cloud
- Cloud SQL, Google Cloud
- Google Cloud Free Tier
- Creating and Managing Projects, Google Cloud
- VPC Overview, Google Cloud
- PyMySQL Documentation
- venv — Creation of Virtual Environments, Python
- Download Postman