

Setting Up Sanity For MDX
Sanity doesn't support Markdown out of the box, but a community plugin adds it with a single install command. After that, you define a custom schema so each document has a title, slug, and a content field that accepts Markdown input.
The schema file at sanity/schemas/page.js declares the document type and its fields. Each field needs a name, title, and type; validation rules are optional. For the slug field, you can enforce a maximum length and configure it to auto-generate from the title.
Register the new schema by importing it into sanity/schemas/schema.js and adding it to the types array passed to createSchema. That makes the Page document type available in the Studio UI once you start the local dev server.
Launch Sanity Studio locally with the CLI, then open https://localhost:3333. After authenticating with a preferred account, you'll see the Studio dashboard with the newly registered Page content type.
To create a page, click "Page" and then the pencil icon. Fill in the title and slug, then write Markdown in the content area. MDX components can be mixed into the Markdown, but note that an empty line between the component and its containing Markdown is mandatory; otherwise the parser fails. This constraint is scheduled for removal in MDX v2.
Publish the document to store it. For production use, deploy the Studio with the Sanity CLI and choose a hostname — this gives editors a live URL to manage content from anywhere.
Exposing Content Via GraphQL
Sanity includes built-in GraphQL support. Deploy the GraphQL API with the CLI; you'll be prompted to enable a browser-based Playground for testing queries. The API is read-only for published content, and since it only returns what's already public, no secret keys are required.
The GraphQL endpoint URL needs to be saved — the Next.js frontend will use it to fetch page data. In the Playground, you can reference the schema tab to build a query that retrieves the title, current slug, and content for every published page:
{page: allPage { title, slug {current}, content }}Running that query returns your MDX content along with the page metadata, ready to be consumed by the Next.js application.
From Sanity to Next.js: Rendering MDX Pages Dynamically
To get started, initialize a new directory with a package.json file, then install Next.js, React, and next-mdx-remote.
# create a new package.json with the default options
npm init -y

# install the packages we need for this project
npm i next react react-dom next-mdx-remote
Add a script to run the development server:
  {
    "name": "sanity-next-mdx",
    "version": "1.0.0",
    "scripts": {
+     "dev": "next dev"
    },
    "author": "Jason Lengstorf <[email protected]>",
    "license": "ISC",
    "dependencies": {
      "next": "^10.0.2",
      "next-mdx-remote": "^1.0.0",
      "react": "^17.0.1",
      "react-dom": "^17.0.1"
    }
Define the Components MDX Will Reference
MDX lets you embed React components directly into Markdown content. For this to work, the components referenced in the MDX must be defined in the Next.js project. In the page content we set up earlier, a <Callout> component wraps a section of Markdown.
Create this component at src/components/callout.js:
export default function Callout({ children }) {
  return (
    <div
      style={{
        padding: '0 1rem',
        background: 'lightblue',
        border: '1px solid blue',
        borderRadius: '0.5rem',
      }}
    >
      {children}
    </div>
  );
}
It renders a blue box to highlight the wrapped content.
Query Sanity with the Fetch API
You don’t need a GraphQL client library to talk to Sanity’s GraphQL API. The browser’s built-in Fetch API is sufficient. To avoid duplicating logic, create a small utility function that wraps the GraphQL request.
Add src/utils/sanity.js with the following:
export async function getSanityContent({ query, variables = {} }) {
  const { data } = await fetch(
    'https://sqqecrvt.api.sanity.io/v1/graphql/production/default',
    {
      method: 'POST',
      headers: {
        'Content-Type': 'application/json',
      },
      body: JSON.stringify({
        query,
        variables,
      }),
    },
  ).then((response) => response.json());

  return data;
}
The function receives the Sanity GraphQL URL as its first argument—the one Sanity provided when the GraphQL API was deployed.
GraphQL requests require the POST HTTP method and an application/json content type. The request body is a stringified JSON object with two fields: query, containing the GraphQL query, and variables, holding any query variables. The response is JSON, so parse it and destructure the result to access the data. For a production app, error handling would be prudent; this example skips it for brevity.
Note the Fetch API is fine for simple cases, but for more complex applications you may want to consider a dedicated tool like Apollo or urql.
List All Pages from Sanity
First, create a page that lists every document in Sanity, linking to each item’s slug—even though those links won’t resolve yet.
Create src/pages/index.js with this code:
import Link from 'next/link';
import { getSanityContent } from '../utils/sanity';

export default function Index({ pages }) {
  return (
    <div>
      <h1>This Site Loads MDX From Sanity.io</h1>
      <p>View any of these pages to see it in action:</p>
      <ul>
        {pages.map(({ title, slug }) => (
          <li key={slug}>
            <Link href={`/${slug}`}>
              <a>{title}</a>
            </Link>
          </li>
        ))}
      </ul>
    </div>
  );
}

export async function getStaticProps() {
  const data = await getSanityContent({
    query: `
      query AllPages {
        allPage {
          title
          slug {
            current
          }
        }
      }
    `,
  });

  const pages = data.allPage.map((page) => ({
    title: page.title,
    slug: page.slug.current,
  }));

  return {
    props: { pages },
  };
}
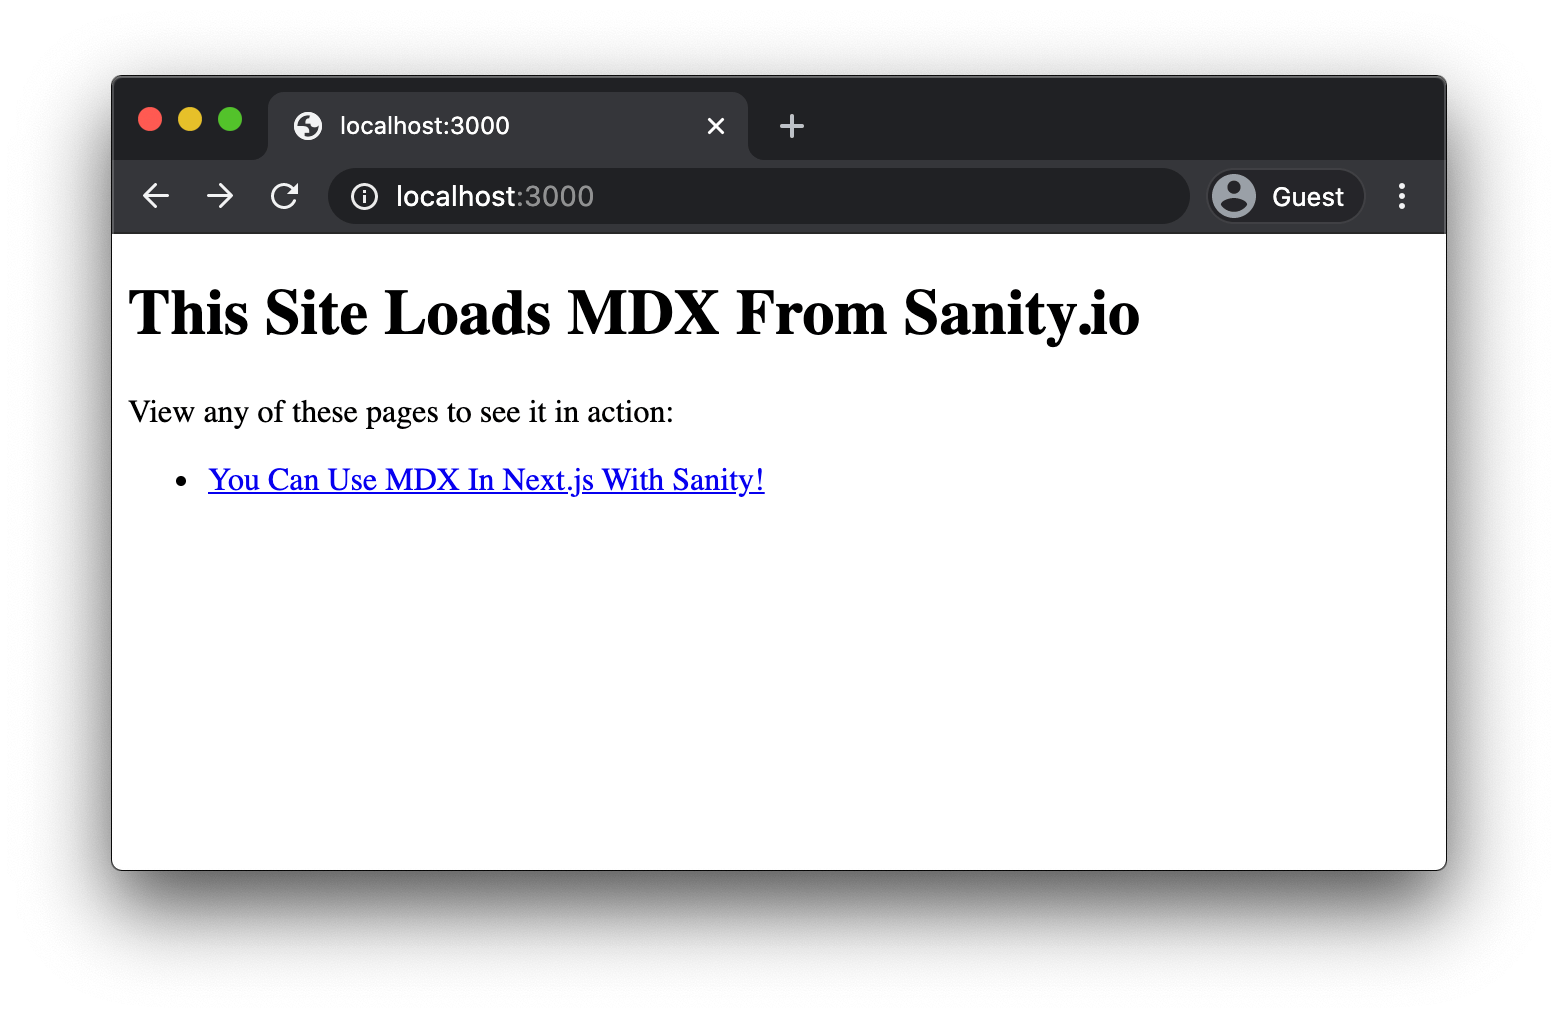
In getStaticProps, call getSanityContent with a query that fetches the title and slug of all pages. Map the results into a simplified object and pass it as a pages prop to the component, which renders them as an unordered list of links.
Run npm run dev and visit https://localhost:3000 to see the list. Clicking a link will produce a 404 for now.
Generate Pages Programmatically in Next.js
Next.js dynamic routing allows you to generate pages from CMS data. Create a file at src/pages/[page].js to catch all routes except the home page.
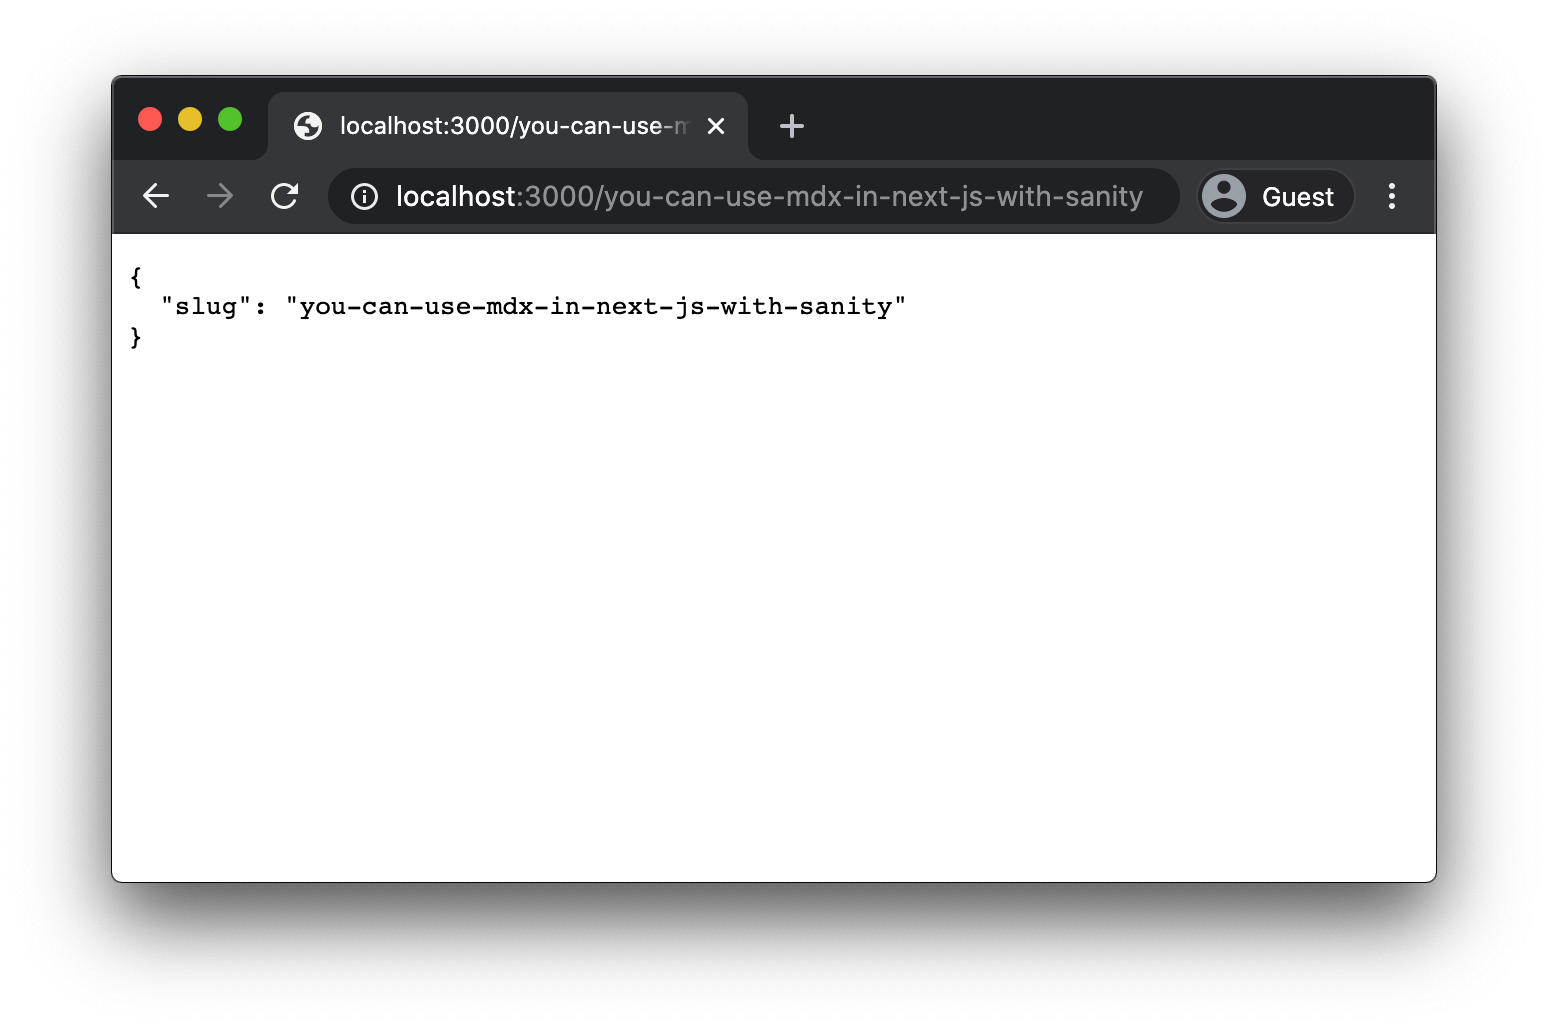
In that file, use getStaticPaths to tell Next.js which slugs it must generate. For each slug, getStaticProps receives the slug in the params object as params.page.
To visualize the flow, start by passing the slug through to the page component and logging its props:
import { getSanityContent } from '../utils/sanity';

export default function Page(props) {
  return <pre>{JSON.stringify(props, null, 2)}</pre>;
}

export async function getStaticProps({ params }) {
  return {
    props: {
      slug: params.page,
    },
  };
}

export async function getStaticPaths() {
  const data = await getSanityContent({
    query: `
      query AllPages {
        allPage {
          slug {
            current
          }
        }
      }
    `,
  });

  const pages = data.allPage;

  return {
    paths: pages.map((p) => `/${p.slug.current}`),
    fallback: false,
  };
}
If the development server is running, it will reload automatically. If not, run npm run dev, then click a page link to see the dynamic route in action.
Fetch Page Content for the Current Slug
Now that the slug is available, request the page’s content from Sanity.
Use the getSanityContent utility to query for the page matching the slug, extract the page data, and return it in the props:
  export async function getStaticProps({ params }) {
+   const data = await getSanityContent({
+     query: `
+       query PageBySlug($slug: String!) {
+         allPage(where: { slug: { current: { eq: $slug } } }) {
+           title
+           content
+         }
+       }
+     `,
+     variables: {
+       slug: params.page,
+     },
+   });
+
+   const [pageData] = data.allPage;

    return {
      props: {
-       slug: params.page,
+       pageData,
      },
    };
  }
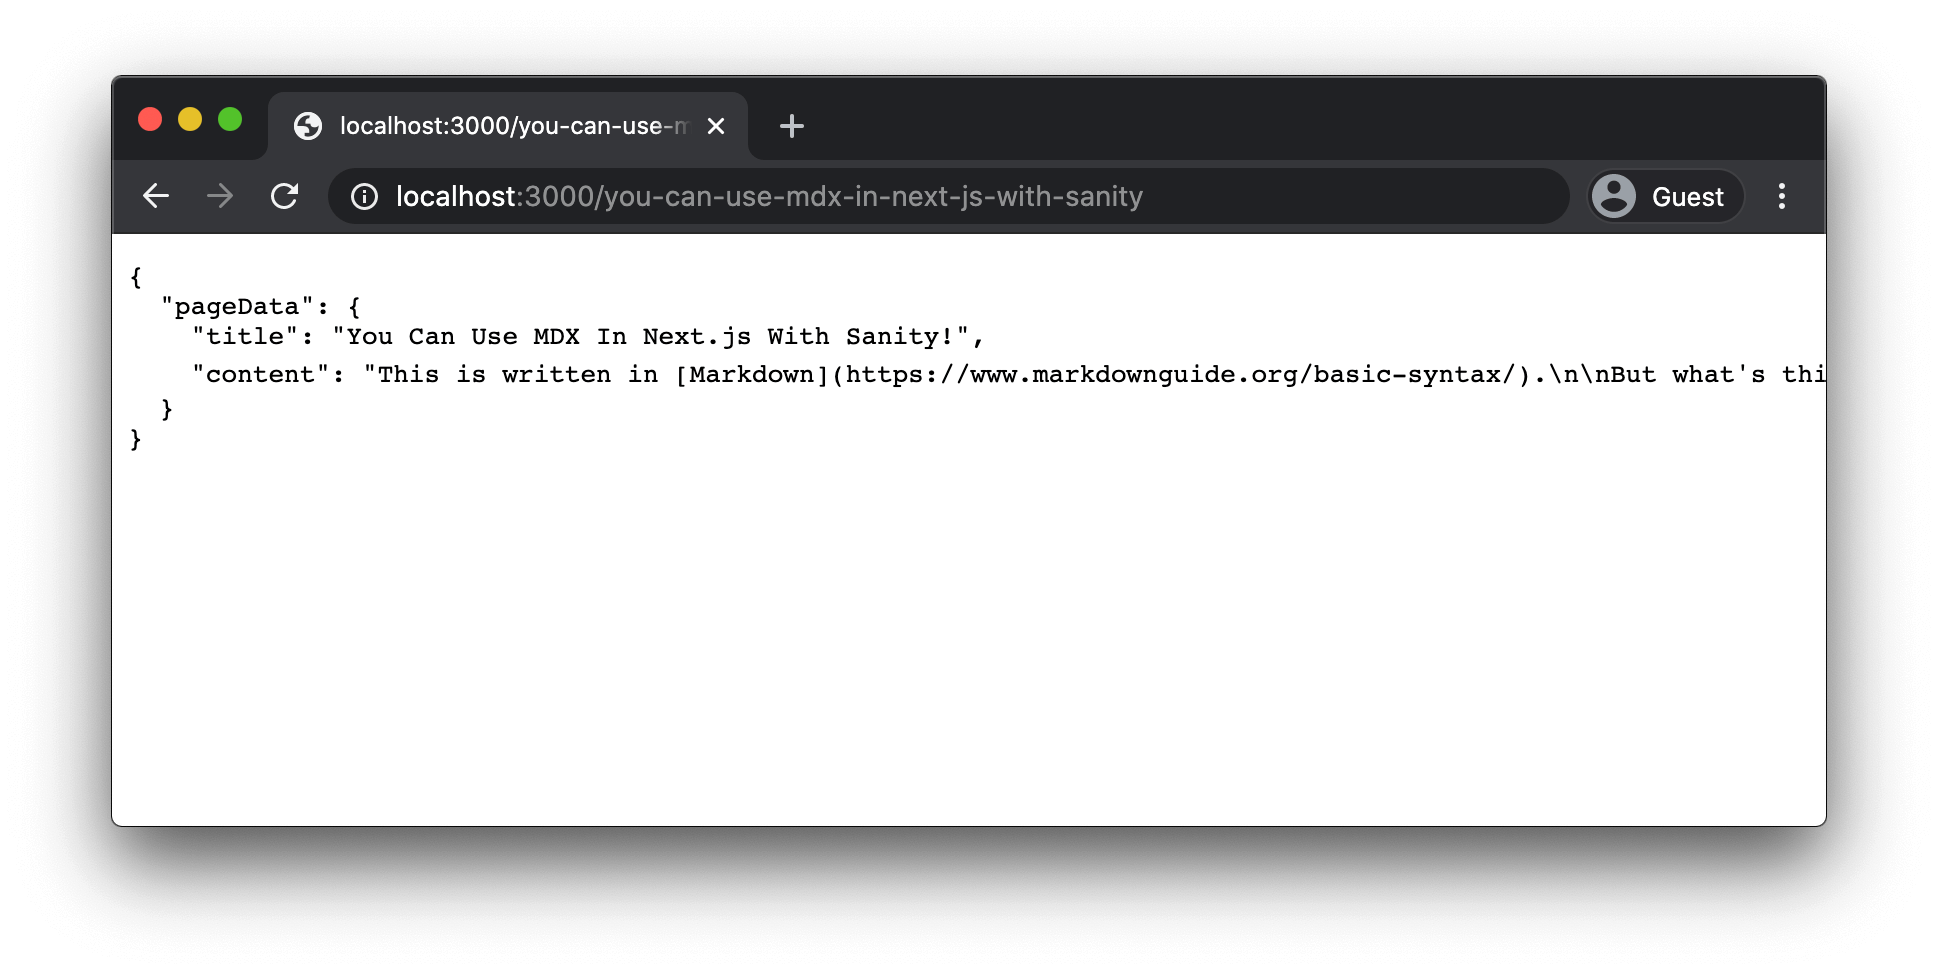
After the page reloads, the MDX content appears but is not yet processed—it’s still raw text.
Render and Hydrate MDX with next-mdx-remote
Rendering MDX requires two steps:
- Build-time processing: Use
renderToStringwith the MDX string and an object listing available React components. This converts Markdown to HTML and makes the React components executable. - Client-side hydration: Pass the rendered string and the component map to
hydrate, which enables interactivity and full React features in the browser.
These steps run at different stages: the first produces static HTML that works without JavaScript; the second adds dynamic behavior on the client. Update src/pages/[page].js accordingly:
+ import hydrate from 'next-mdx-remote/hydrate';
+ import renderToString from 'next-mdx-remote/render-to-string';
  import { getSanityContent } from '../utils/sanity';
+ import Callout from '../components/callout';

- export default function Page(props) {
-   return <pre>{JSON.stringify(props, null, 2)}</pre>;
+ export default function Page({ title, content }) {
+   const renderedContent = hydrate(content, {
+     components: {
+       Callout,
+     },
+   });
+
+   return (
+     <div>
+       <h1>{title}</h1>
+       {renderedContent}
+     </div>
+   );
  }

  export async function getStaticProps({ params }) {
    const data = await getSanityContent({
      query: `
          query PageBySlug($slug: String!) {
            allPage(where: { slug: { current: { eq: $slug } } }) {
              title
              content
            }
          }
        `,
      variables: {
        slug: params.page,
      },
    });

    const [pageData] = data.allPage;

+   const content = await renderToString(pageData.content, {
+     components: { Callout },
+   });

    return {
      props: {
-       pageData,
+       title: pageData.title,
+       content,
      },
    };
  }

  export async function getStaticPaths() {
    const data = await getSanityContent({
      query: `
          query AllPages {
            allPage {
              slug {
                current
              }
            }
          }
        `,
    });

    const pages = data.allPage;

    return {
      paths: pages.map((p) => `/${p.slug.current}`),
      fallback: false,
    };
  }
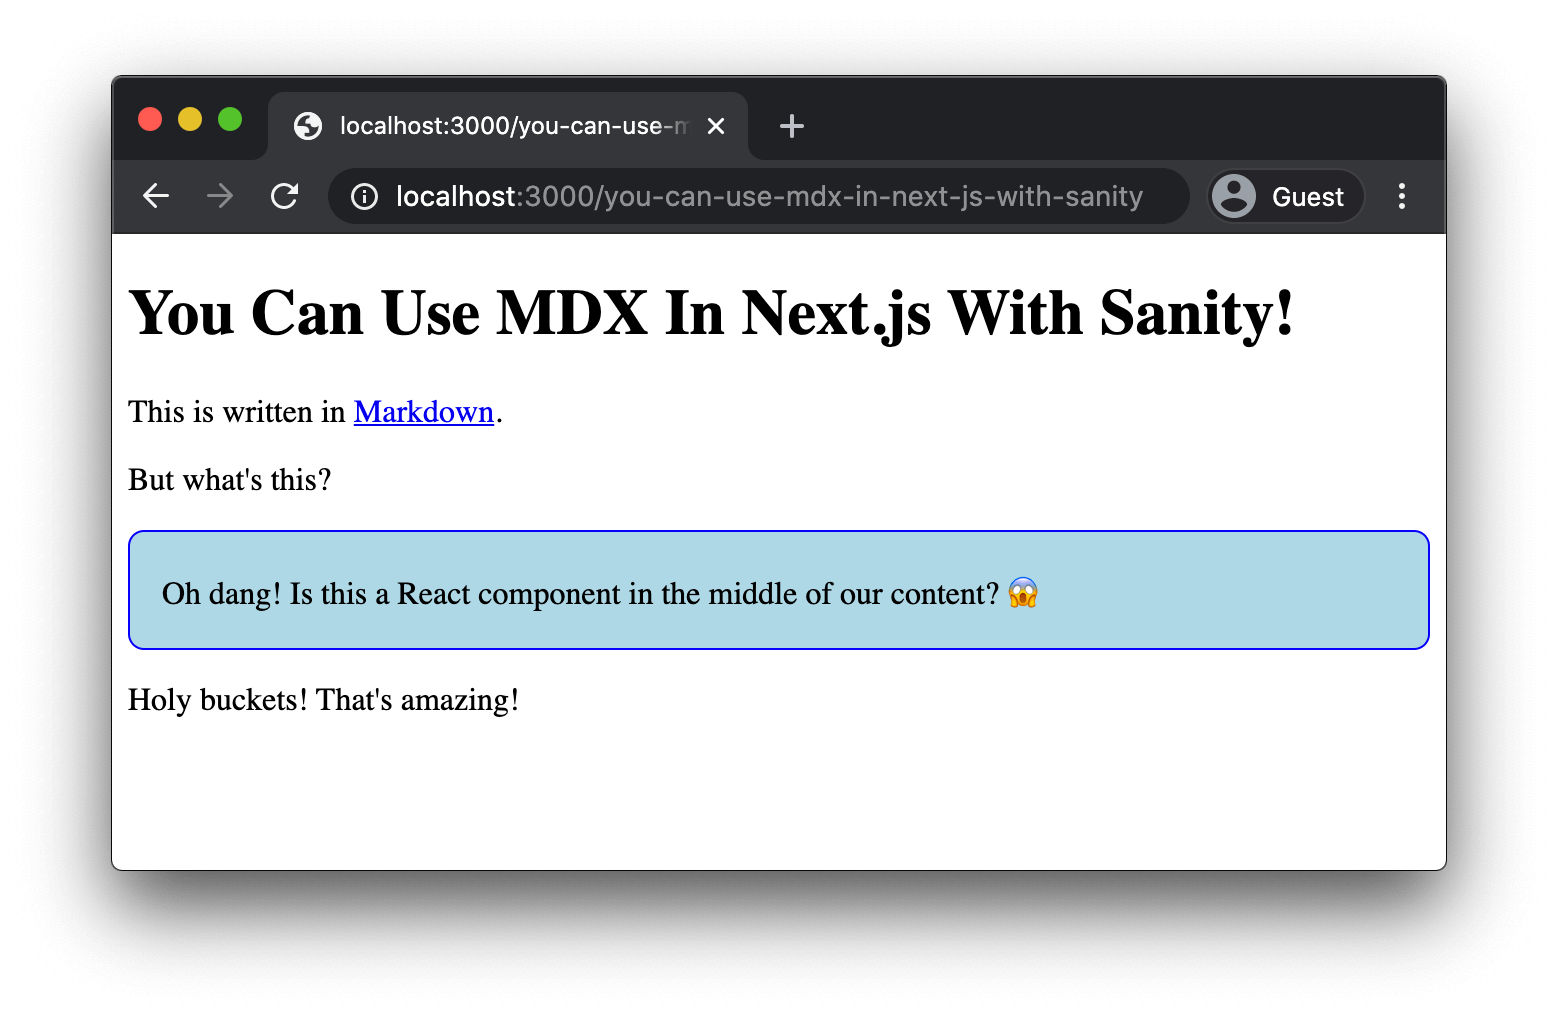
After saving, reload the browser—the page content renders with the custom React components intact.
A Flexible Content Workflow with MDX, Sanity, and Next.js
With this setup, editors can author content using Markdown’s speed and embed React components for extra flexibility—all without leaving Sanity. The Next.js site automatically generates pages for every document Sanity publishes; new pages go live without touching the application code, unless a new custom component is introduced.
This approach combines the best of multiple tools: Markdown’s simplicity for writing, React’s power for building interfaces, and Sanity’s structured content management instead of managing content in Git. It also taps into the extensive customization ecosystems of both Sanity and React.
Next Steps and Additional Resources
- Refer to the example repository used here.
- Deploy the Next.js site to Netlify.
- See this pattern in production on Jamstack Explorers.
- Browse the Jamstack Explorers repository for a full production example.
- Learn Next.js from Cassidy Williams’ tutorials.
- Review the Sanity documentation.



