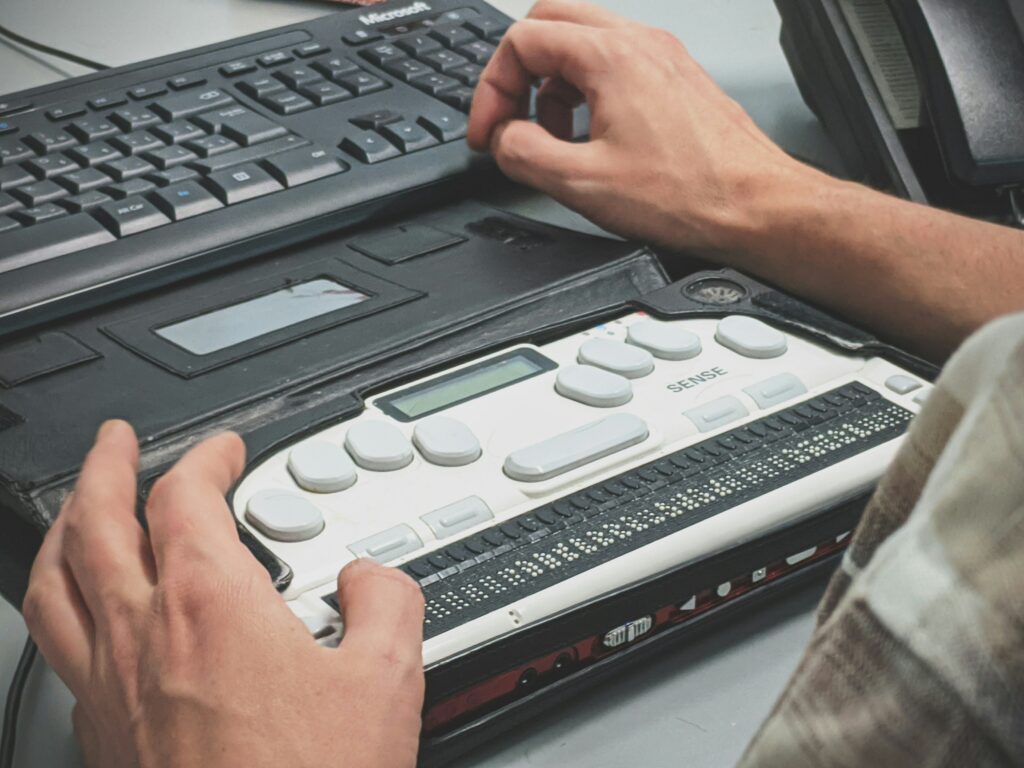
A screen reader is a form of assistive technology (AT) that converts digital text into synthesized speech or Braille output, usually delivered through a Braille reader. Many developers already rely on one for manual accessibility testing of the interfaces they build.
VoiceOver Basics on macOS
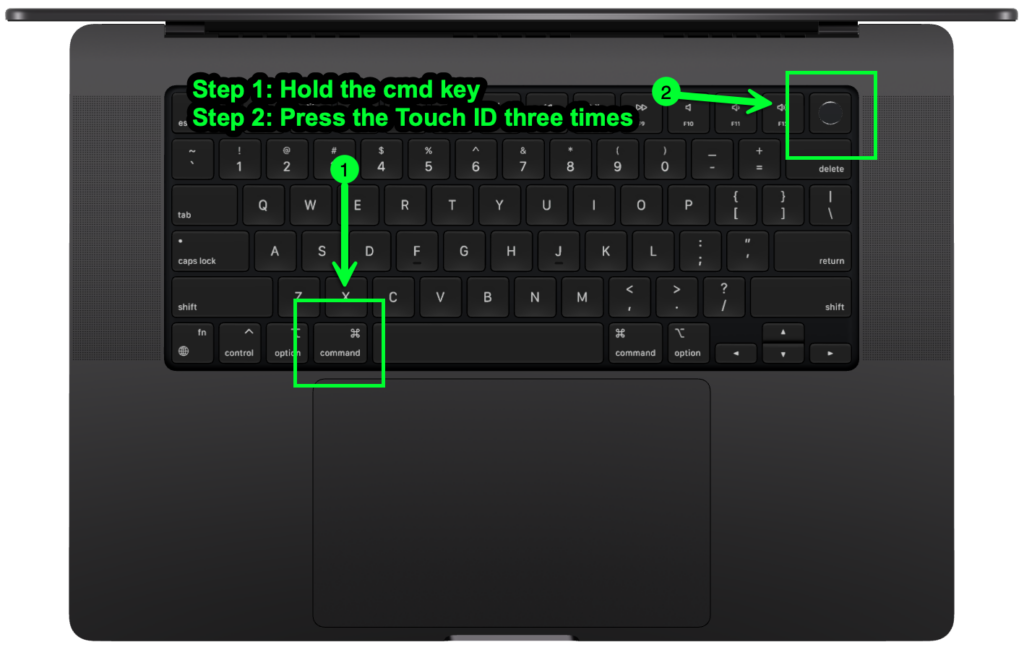
The walkthrough here uses Mac VoiceOver (VO), which ships built into macOS, iOS, and iPadOS. The activation shortcut depends on the hardware. On a recent MacBook Pro keyboard, hold cmd and press Touch ID three times quickly.
On a MacBook Pro with a Touch Bar, the combination is cmd+fn+f5. Desktop and laptop users on a traditional keyboard generally use the same keys, or they can enable VO through the Accessibility settings. Once enabled, VO presents a dialog and a spoken introduction.
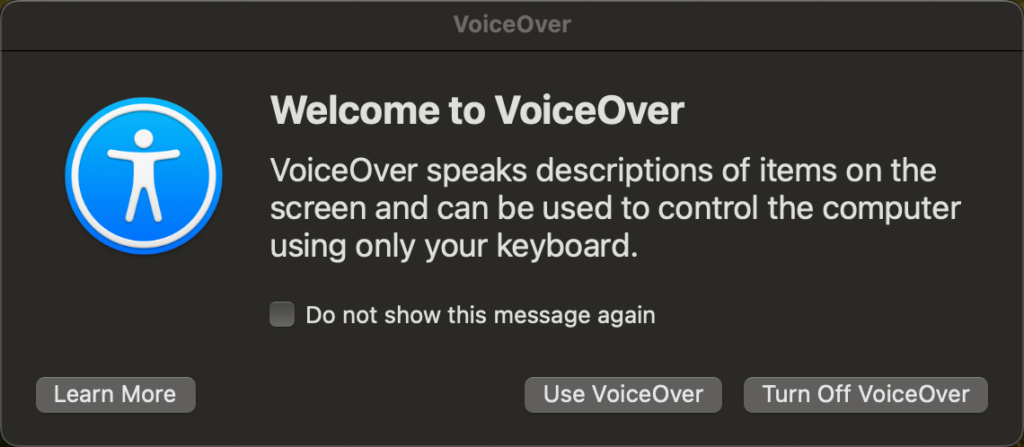
Selecting “Use VoiceOver” starts the session. Note that VO is optimized for Safari, so keep Safari as your browser during screen reader testing — on iPhone and iPad as well as on the Mac.
Control Keys and the Rotor
There are two broad ways to move through an experience. The first combines tab, control, option, shift, and the arrow keys. The second uses the VoiceOver Rotor, which jumps directly to the destination you want instead of traversing the entire page — closer to a “Choose Your Own Adventure” than a linear walk.
Modifier keys drive VO's features. The default VO modifier is control + option, but it can be reassigned to caps lock or set to accept both interchangeably.
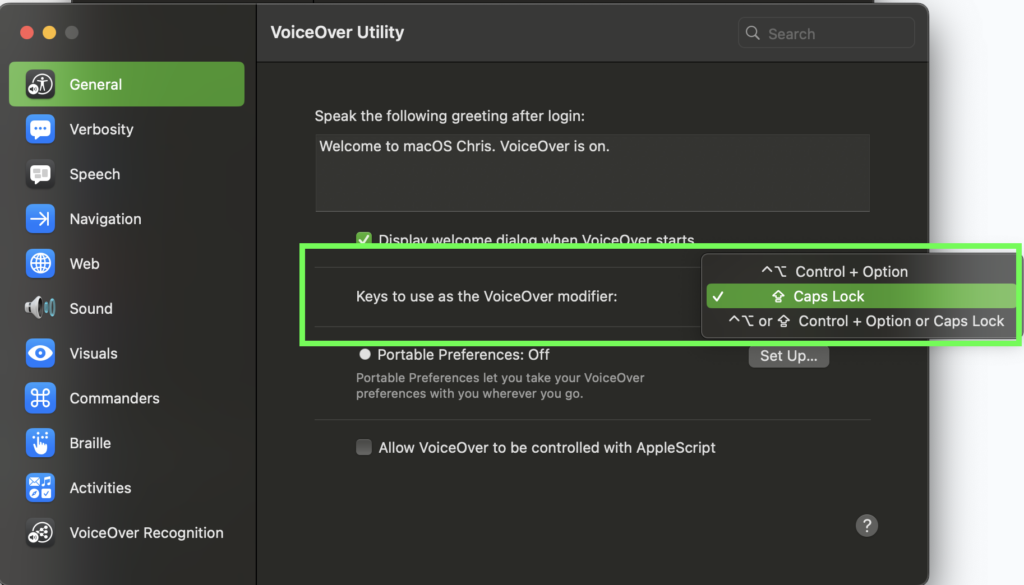
To spin up the Rotor, press your modifier key(s) plus the letter “U”. With caps lock as the modifier, that is caps lock + U; the left and right arrows then move between destinations.
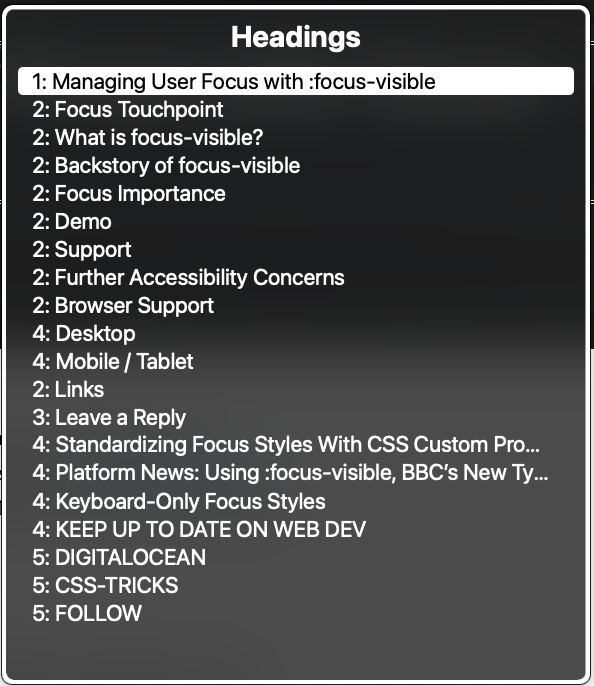
Heading levels offer another navigation route. Modifier keys + cmd + H steps through the document by heading level, and adding shift — modifier keys + shift + cmd + H — moves back up the document.
Form Markup Practices
Forms are among the most powerful native elements HTML offers, whether the task is searching a page, buying something, or completing a survey. They are a cornerstone of the web and the catalyst that first brought interactivity to our experiences. The web form dates to September 1995, when it appeared in the HTML 2.0 spec.
- Implicit labelling is entirely acceptable. When a form author does not know the
id, a label can be associated implicitly; the writer's personal preference is the explicit approach.
<!-- Implicit Label -->

<label>
  First Name:
  <input type="text" name="firstname">
</label>
<!-- Explicit Label -->
<label for="name">Name:</label>
<input type="text" id="name" name="name" required/>- When a field is required for the form to be complete, use the
requiredattribute — and pair it with a visual required indicator, since non-screen-reader users also need to know the field is mandatory.
<input type="text" id="name" name="name" required />- A
buttoninvokes an action such as submitting a form, so use it. Do not build buttons out ofdivelements; adivis a container with no semantic meaning on its own.
Demo and Screen Reader Options
The demo code lives in the VoiceOver Demo GitHub repo, and the demo itself can be tried with a screen reader of your choice.
Screen readers exist for every major platform:
- NVDA — from NV Access, currently supported only on PCs running Windows 7 SP1 and later; see the NVDA 2024.1 download page.
- JAWS — see the Freedom Scientific product page.
“We need a better screen reader”
— Anonymous
“JAWS, Job Access With Speech, is the world’s most popular screen reader, developed for computer users whose vision loss prevents them from seeing screen content or navigating with a mouse. JAWS provides speech and Braille output for the most popular computer applications on your PC. You will be able to navigate the Internet, write a document, read an email and create presentations from your office, remote desktop, or from home.”
— JAWS website
- Narrator — built into Windows 11; Microsoft's Complete guide to Narrator covers its use.
- Orca — runs on Linux distributions using GNOME.
“Orca is a free, open source, flexible, and extensible screen reader that provides access to the graphical desktop via speech and refreshable braille.
— Orca Website
Orca works with applications and toolkits that support the Assistive Technology Service Provider Interface (AT-SPI), which is the primary assistive technology infrastructure for Linux and Solaris. Applications and toolkits supporting the AT-SPI include the GNOME Gtk+ toolkit, the Java platform’s Swing toolkit, LibreOffice, Gecko, and WebKitGtk. AT-SPI support for the KDE Qt toolkit is being pursued.”
- TalkBack — Google's screen reader for Android devices, documented on the Android Accessibility Support Site.
For HTML element and ARIA (Accessible Rich Internet Application) attribute support, consult caniuse.com for HTML and Accessibility Support for ARIA. If the browser does not support the technology, the screen reader most likely won't either. DigitalA11Y's article “Screen Readers and Browsers! Which is the Best Combination for Accessibility Testing?” summarizes browser and screen reader pairings.