
Why a structured UX workflow matters
Most product teams jump straight from an idea to a design, skipping the research and validation that separate a useful feature from a solution searching for a problem. This guide lays out a step-by-step workflow, borrowed heavily from the Design Sprint methodology used across Google teams working on projects such as the Self Driving Car and Project Loon, that can help any team build a more meaningful user experience. Each step works independently, but the process is strongest when followed as a sequence.
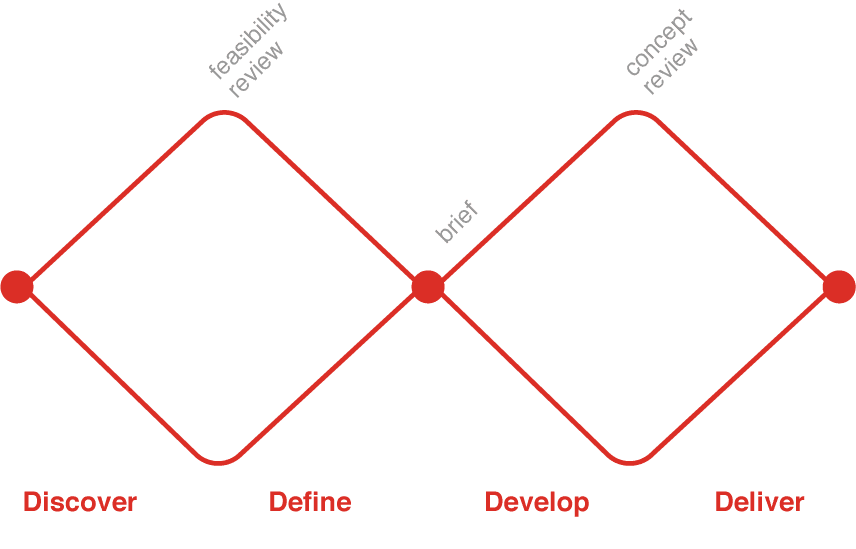
The workflow is based on the double diamond model popularized by the British Design Council: your team first diverges to understand the problem through research, then converges to define the challenge. From there you diverge again to sketch individual ideas, converge to choose the best path forward, and finally test and validate the result.
Defining the challenge
Start by writing out the underlying problem you are trying to solve as a proposal. Ask yourself: "What is the problem I'm actually trying to solve?" The resulting challenge statement is your project brief and should include your goal. It can apply to refining an existing feature or building a brand-new product; just adjust the language to fit the task. A good statement is tied to team goals, focused on the audience, inspiring, and concise.
Real examples of challenge statements from products in development:
- Design a system to manage the treatment and follow-up care of patients with clubfoot.
- Create an app that simplifies complex financial systems and pares them down to the essentials.
- Design a consistent mobile app across different platforms without sacrificing the brand.
Once you have a few variations, present them to your team for consensus. Adding a deadline helps everyone focus on the problem, so those statements might become:
- Design a system to manage the treatment and follow-up care of children under the age of 2 with clubfoot for launch in Q1 this year.
- Create a simple financial app that allows you to buy and sell shares at the tap of a button without prior knowledge of the financial world, with initial launch on July 2017.
- Produce a design guide that is flexible across multiple platforms and positions the company's brand effectively on each platform by the end of this year.
When the statement is finalized, display it where the team can see it while working. You will refer back to it constantly and may need to update it as the project evolves.
Researching and validating the problem
Before designing anything, you need to learn whether your team's understanding of the problem is correct. Most people in tech are power users, a vocal minority, which can easily make a team fixate on issues that most users never face. Research methods vary depending on team size and access to users, but the objective is the same: a deeper understanding of the actual problem.
Internal interviews with stakeholders
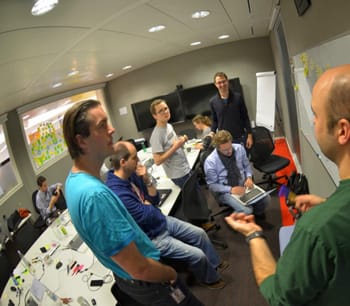
Interview each team member and stakeholder at the company, from marketing to accounts, to learn what they see as the real challenges and the best-case end goal for the product. For example, "having our clubfoot software in 80% of medical facilities by the end of the year" would be a strong company goal to aim for.
One caveat: internal interviews are the least favored method because they prevent team discussion and collaboration, potentially creating silos in an organization. Still, they can surface information about clients and the design challenge that you would otherwise miss.
Lightning talks
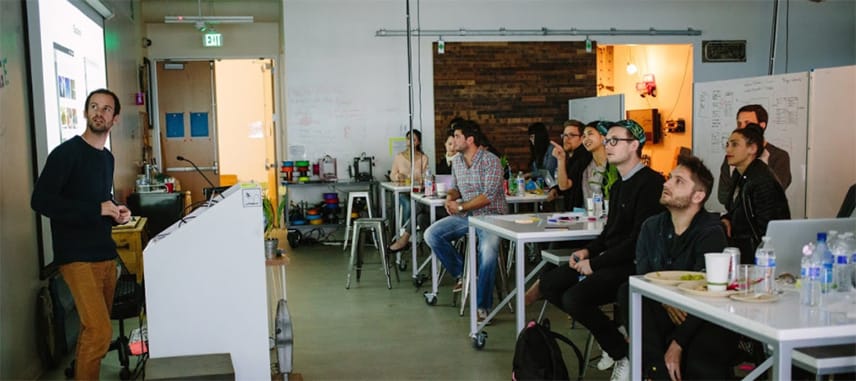
This method avoids the silo problem by bringing every stakeholder into one room. Elect five or six stakeholders, from marketing, sales, design, accounts, and research, to give a talk for a maximum of 10 minutes each, focused on the challenge from their perspective. Each presentation must cover the goals of the business, the challenges of the project from their point of view, whether technical, research-related, or in design creation, and any user research currently available. Leave 5 minutes for questions and have someone take notes throughout. Afterwards, update the challenge statement to reflect new learnings and compile bullet points that can drive a feature or flow supporting the product goal.
User interviews
User interviews are the best way to learn about the user's journey, pain points, and flow. Arrange at least five interviews, more if possible. Questions should explore how users complete an existing task, what they like, what they dislike, and what similar products they currently use and why. A useful closing question: "If they had a magic wand and could change one thing about this process, what would it be?"
The point of interviewing is to get the user to speak about their challenges. Keep quiet throughout, even when a user pauses, as they may be gathering their thoughts. People often continue speaking after a few seconds of silence. Take notes and record the conversation to capture anything missed. When done, compare the challenge statement against user insights. Do they align? Did you learn something worth updating?
Ethnographic field research

In field research you observe users in their own environment as they perform real tasks, such as shopping, commuting, or sending messages. People often tell you what they think you want to hear, but watching them act on their own is far more revealing. Observe without interfering, noting what is easy, difficult, or missed entirely. This approach requires a researcher to lead longer-term work but gives the deepest insight because you see the group you are studying in their natural environment.
Synthesizing the research
After the learnings phase, take one final look at the challenge statement. Are you on the right path? Write down everything you have learnt, group it into categories, and consider how those insights might become the basis of a feature or flow or prompt a revision of the challenge itself.
Building a project map
Most problems involve different types of people, each with a stake in the project's flow. From your learnings, list the possible players: user types such as "a doctor who treats clubfoot," "a patient who has clubfoot," or "a caregiver who looks after the patient." Write each player on the left side of a sheet of paper or whiteboard and that player's goals on the right.
For each player, write the number of steps they need to reach their goal. For a doctor treating clubfoot with the goal to "cure a patient with clubfoot," the steps might be to register the patient in the system, start them on a medical plan, create a review cycle of their health, and perform the medical procedure.
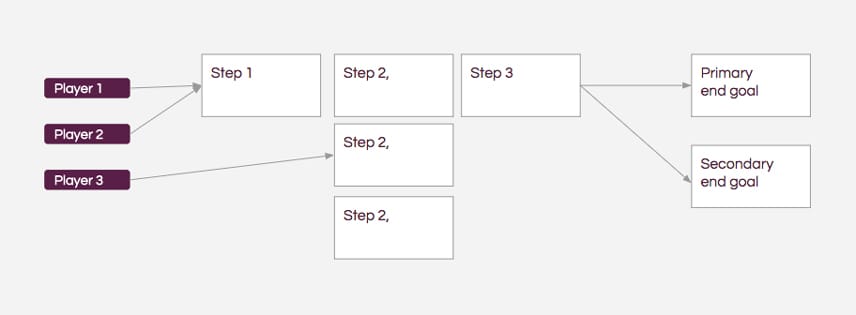
The result is a high-level map of the main steps in the process, without too much detail. It lets the team judge whether the map matches the challenge statement. Details will be added later, when each step is broken down, but for now this map gives an overview of what a user will do to complete their goal.
From ideation to storyboard
Crazy 8s sketching
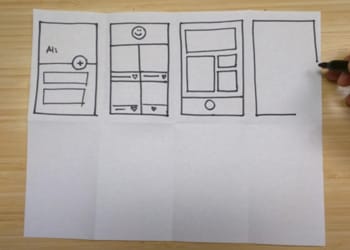
A method called crazy 8s helps generate ideas quickly. Fold a piece of paper twice so you have eight panels, then draw an idea in each panel based on everything you have learnt so far. Limit yourself to ten minutes: any longer risks procrastination as the brain starts looking for distractions. Creating a sense of urgency forces quick and effective work.
If working in a team, have everyone sketch their own set of eight. Most sketches will be interface wireframes. Each person then presents all eight ideas, explaining why they chose each direction and justifying the choice using learnings from the research. Afterwards, vote: each member gets two sticky dots to place on any ideas, with the option to put both on one they feel strongly about.
Refining the chosen design
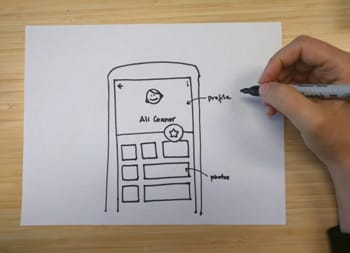
Take the idea with the most votes and sketch a final version, borrowing elements from other presentations if helpful. Give yourself ten more minutes, then present again and vote as before.
Storyboarding the flow
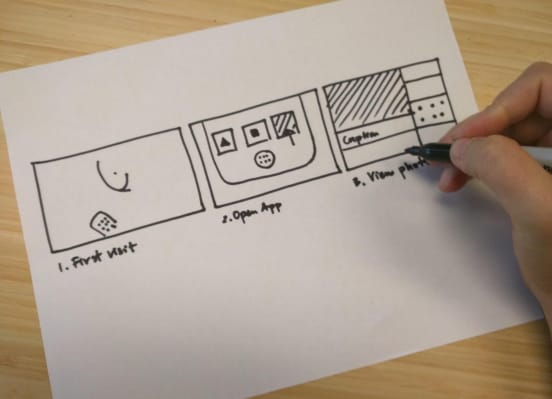
With the design in hand, storyboard its engagement with the user, step by step. You will already have considered the steps a user takes, and it is common to incorporate a colleague's design into the flow. Include points where the user might diverge and refer back to the project map to check the design against the stated goal.
Building a believable prototype
The goal of a prototype is not perfect code but something believable enough for someone to use and react to. Tools vary by preference. Keynote or Powerpoint forces attention on the flow rather than design details, while tools like Balsamiq, Marvel, or Framer give more behavioral control. Whatever you choose, make sure it keeps the focus on flow while looking real enough for testing with actual users, without consuming weeks of effort.
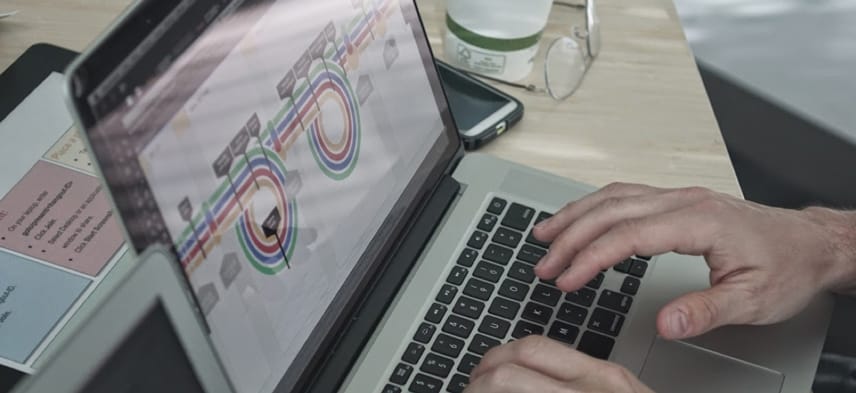
Prototyping is a balance between time spent and realism. Swaying too far in either direction is a waste of effort, so keep both in check throughout.
Running a usability test without a lab
A dedicated testing lab makes things easier, but a simple, distraction-free room with a user and two team members—one note-taker, one interviewer—works just as well. Recording the session with a tool like Hangouts lets the rest of the team observe remotely and keeps a record of the user's actions. Watching your design fail in real time is uncomfortable, but it is the most direct way to learn how people actually interact with what you have built.

What to ask during the session
Ask users to complete specific tasks while narrating their thoughts and actions out loud. As odd as it feels, this verbalization reveals their reasoning process. Resist the urge to step in when they get stuck. Only after the task is finished (or abandoned) should you ask why they chose a particular path.
Focus the post-session discussion on these points:
- What do they like about the prototype?
- What do they dislike about the prototype?
- What are the pain points?
- Why did a flow work?
- Why did a flow not work?
- What would they like to improve?
- Does the overall design/flow meet their needs?
Iterate on feedback and test again
With feedback in hand, analyze what worked and what didn’t. The best move is often to scrap the current wireframes entirely and start a fresh storyboard rather than rearranging elements in an already-flawed prototype. Don't get attached to the draft; it is a learning tool, not a final product.
When the revised design feels right, run another round of testing and continue refining. If a prototype completely misses the mark, it is tempting to call the project a failure—but it usually is the opposite. Because you tested early, you have spent far less time and money than you would have building the full product, and you now have concrete data on what users actually want. In a design sprint framework, you either win or you learn.
Build the final product
Once the design has passed testing and stakeholders are on board, you have the clarity needed to start development. The priorities for the user experience should be well defined by now. Continue to introduce usability tests at major milestones to validate your work and keep the project aligned with user needs.
The central lesson is to validate your ideas before investing significant time and energy in a solution. UX is not the isolated responsibility of a designer or researcher; it belongs to everyone on the project team. Look for opportunities to be involved in user research at every stage of your work.


