
Keeping serverless data access behind an API
Static sites are fast and secure, but they cannot hold data that only exists at request time. React can manage that dynamic data on the client, and Netlify Functions can expose server-side code as API endpoints. Fauna — a distributed, strongly consistent, ACID-compliant OLTP NoSQL serverless database with a multi-model interface — is a natural fit for React applications because data is modeled as documents, and document, relational, graph, and temporal data sets can all be queried from a single call. While a JavaScript driver can reach Fauna directly, doing so means a custom implementation for every client; putting the database behind an API lets any authorized client connect, whatever its language.
Preparing the Fauna database
Start in the Fauna console: open the Database tab and click Create Database, then select the database, go to the Collections tab, and click Create Collection.


{
  "ref": Ref(Collection("avengers"), "299221087899615749"),
  "ts": 1623215668240000,
  "data": {
    "id": "db7bd11d-29c5-4877-b30d-dfc4dfb2b90e",
    "name": "Captain America",
    "power": "High Strength",
    "description": "Shield"
  }
}
Fauna persists each record with a ref column (a unique document identifier), a ts timestamp recording when the record was created, and a data attribute that holds the payload. For the avengers collection, create two indexes, either from the Index tab or from the Shell tab, which provides a console for running scripts. Fauna supports two querying techniques — FQL (Fauna's Query Language) and GraphQL — and FQL operates on Fauna's schema of documents, collections, indexes, sets, and databases.
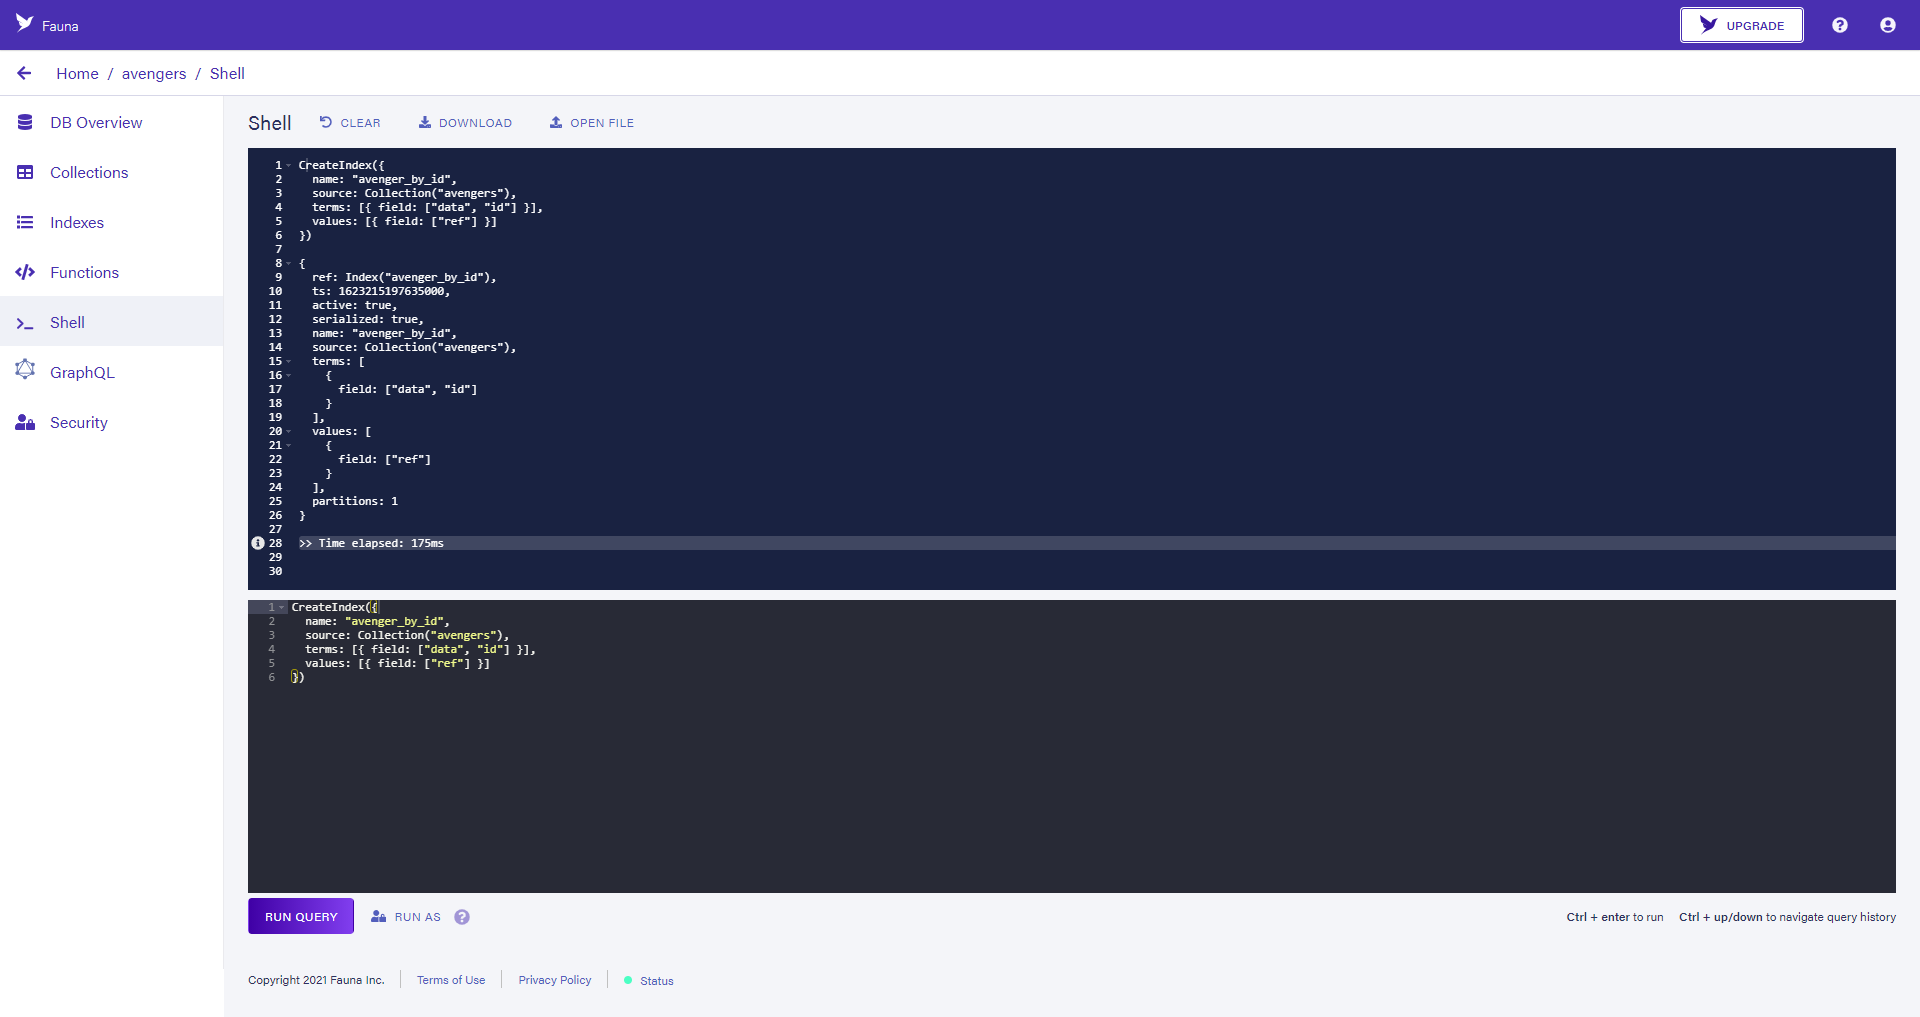
That command indexes the collection by the id field inside the data object and returns a ref of the data object. The second index covers the name attribute:

Issuing a server key
Open the Security tab, click New Key, and choose the database and the user role the key is issued for.

Wiring up Netlify Functions in a React project
Scaffold the client with create-react-app and install the Fauna and Netlify dependencies.
npx create-react-app avengers-faunadbyarn add axios bootstrap node-sass uuid faunadb react-netlify-identity react-netlify-identity-widgetNetlify Functions are created through the Netlify CLI, so install it globally first.
npm install netlify-cli -gAdd a .env file at the project root:
FAUNADB_SERVER_SECRET= <FaunaDB secret key>
REACT_APP_NETLIFY= <Netlify app url>
Then create a directory named functions in the project root and a netlify.toml file that holds the project configuration — function directory, build directory, and commands to execute.
[build]
command = "npm run build"
functions = "functions/"
publish = "build"

[[redirects]]
  from = "/api/*"
  to = "/.netlify/functions/:splat"
  status = 200
  force = true
The redirect section changes the default /.netlify/** function path to /api/, mainly to improve the look of the API URL. Functions can then be called at:
https://domain.com/api/getPokemons…instead of:
https://domain.com/.netlify/getPokemonsTwo shared modules come first. util/connections.js returns a Fauna connection object:
const faunadb = require('faunadb');
const q = faunadb.query

const clientQuery = new faunadb.Client({
  secret: process.env.FAUNADB_SERVER_SECRET,
});

module.exports = { clientQuery, q };
And util/helper.js provides helpers that check references and handle CORS, plus the stringifying and parsing of JSON data:
const responseObj = (statusCode, data) => {
  return {
    statusCode: statusCode,
    headers: {
     /* Required for CORS support to work */
      "Access-Control-Allow-Origin": "*",
      "Access-Control-Allow-Headers": "*",
      "Access-Control-Allow-Methods": "GET, POST, OPTIONS",
    },
   body: JSON.stringify(data)
  };
};

const requestObj = (data) => {
  return JSON.parse(data);
}

module.exports = { responseObj: responseObj, requestObj: requestObj }
Function endpoints and their FQL
The first endpoint, getAvengers, returns all records:
const { responseObj } = require('./util/helper');
const { q, clientQuery } = require('./util/connection');

exports.handler = async (event, context) => {
  try {
   let avengers = await clientQuery.query(
     q.Map(
       q.Paginate(q.Documents(q.Collection('avengers'))),
       q.Lambda(x => q.Get(x))
      )
    )
    return responseObj(200, avengers)
  } catch (error) {
    console.log(error)
    return responseObj(500, error);
  }
};
It relies on several FQL commands: Map iterates an array and takes two arguments, an array and a Lambda; the Paginate call passed as the first argument checks for a reference and returns a page of results as an array; the Lambda is an anonymous function similar to an ES6 arrow function.
AddAvenger inserts data into the collection:
const { requestObj, responseObj } = require('./util/helper');
const { q, clientQuery } = require('./util/connection');

exports.handler = async (event, context) => {
  let data = requestObj(event.body);

  try {
    let avenger = await clientQuery.query(
      q.Create(
        q.Collection('avengers'),
        {
          data: {
            id: data.id,
            name: data.name,
            power: data.power,
            description: data.description
          }
        }
      )
    );

    return responseObj(200, avenger)
  } catch (error) {
    console.log(error)
    return responseObj(500, error);
  }

};
Data for the collection is passed to the data:{} object, then handed to the Create function along with the target collection. Run everything locally with the netlify dev command:

GetAvengers can be triggered in the browser at http://localhost:8888/api/GetAvengers:
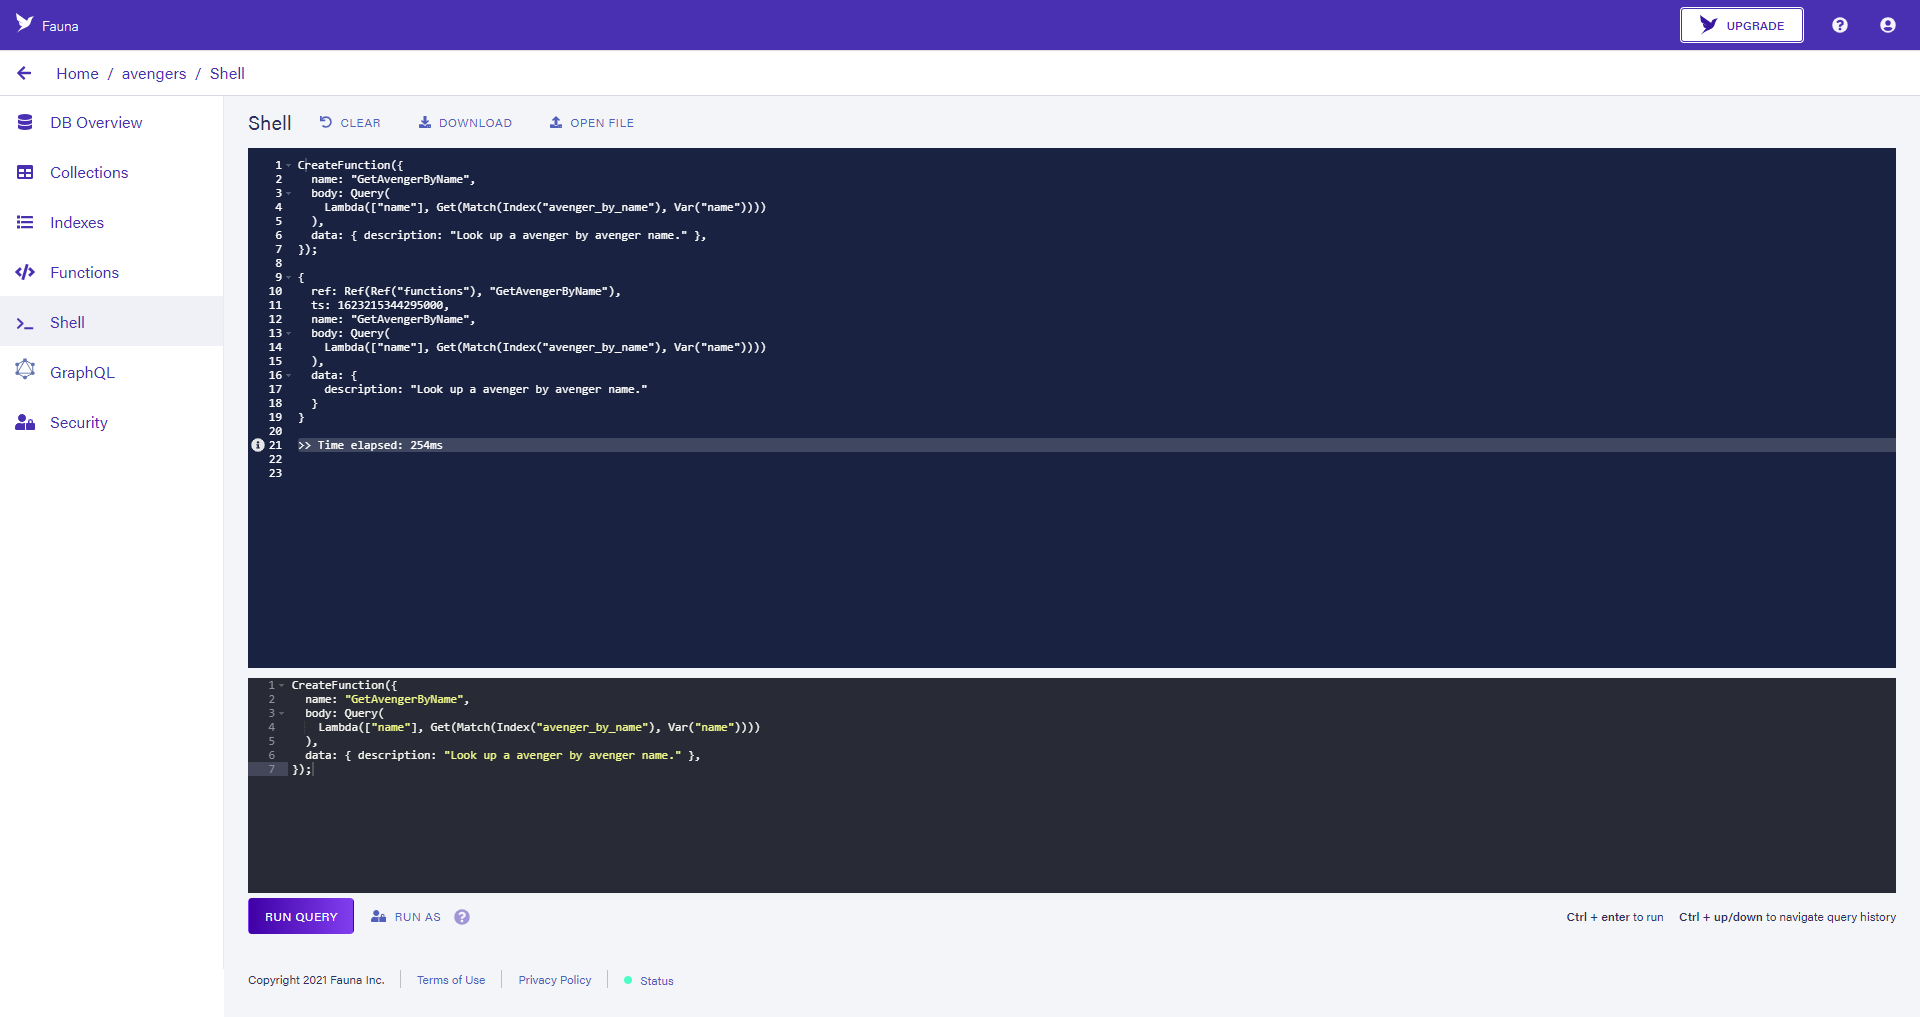
A single record is fetched by the name property through the avenger_by_name index. That is done by GetAvengerByName, exposed through a Netlify function named SearchAvenger:
const { responseObj } = require('./util/helper');
const { q, clientQuery } = require('./util/connection');

exports.handler = async (event, context) => {
  const {
    queryStringParameters: { name },
  } = event;

  try {
    let avenger = await clientQuery.query(
      q.Call(q.Function("GetAvengerByName"), [name])
    );
    return responseObj(200, avenger)
  } catch (error) {
    console.log(error)
    return responseObj(500, error);
  }
};
The Call function takes two arguments: the reference to the FQL function and the data passed to it.
Consuming the endpoints from React
The functions are REST APIs, so the client consumes them with Axios, with React's Context API handling state. The context lives in AppContext.js:
import { createContext, useReducer } from "react";
import AppReducer from "./AppReducer"

const initialState = {
    isEditing: false,
    avenger: { name: '', description: '', power: '' },
    avengers: [],
    user: null,
    isLoggedIn: false
};

export const AppContext = createContext(initialState);

export const AppContextProvider = ({ children }) => {
    const [state, dispatch] = useReducer(AppReducer, initialState);

    const login = (data) => { dispatch({ type: 'LOGIN', payload: data }) }
    const logout = (data) => { dispatch({ type: 'LOGOUT', payload: data }) }
    const getAvenger = (data) => { dispatch({ type: 'GET_AVENGER', payload: data }) }
    const updateAvenger = (data) => { dispatch({ type: 'UPDATE_AVENGER', payload: data }) }
    const clearAvenger = (data) => { dispatch({ type: 'CLEAR_AVENGER', payload: data }) }
    const selectAvenger = (data) => { dispatch({ type: 'SELECT_AVENGER', payload: data }) }
    const getAvengers = (data) => { dispatch({ type: 'GET_AVENGERS', payload: data }) }
    const createAvenger = (data) => { dispatch({ type: 'CREATE_AVENGER', payload: data }) }
    const deleteAvengers = (data) => { dispatch({ type: 'DELETE_AVENGER', payload: data }) }

    return <AppContext.Provider value={{
        ...state,
        login,
        logout,
        selectAvenger,
        updateAvenger,
        clearAvenger,
        getAvenger,
        getAvengers,
        createAvenger,
        deleteAvengers
    }}>{children}</AppContext.Provider>
}

export default AppContextProvider;
Its reducer function for each operation is defined in AppReducer.js:
const updateItem = (avengers, data) => {
    let avenger = avengers.find((avenger) => avenger.id === data.id);
    let updatedAvenger = { ...avenger, ...data };
    let avengerIndex = avengers.findIndex((avenger) => avenger.id === data.id);
    return [
        ...avengers.slice(0, avengerIndex),
        updatedAvenger,
        ...avengers.slice(++avengerIndex),
    ];
}

const deleteItem = (avengers, id) => {
    return avengers.filter((avenger) => avenger.data.id !== id)
}

const AppReducer = (state, action) => {
    switch (action.type) {
        case 'SELECT_AVENGER':
            return {
                ...state,
                isEditing: true,
                avenger: action.payload
            }
        case 'CLEAR_AVENGER':
            return {
                ...state,
                isEditing: false,
                avenger: { name: '', description: '', power: '' }
            }
        case 'UPDATE_AVENGER':
            return {
                ...state,
                isEditing: false,
                avengers: updateItem(state.avengers, action.payload)
            }
        case 'GET_AVENGER':
            return {
                ...state,
                avenger: action.payload.data
            }
        case 'GET_AVENGERS':
            return {
                ...state,
                avengers: Array.isArray(action.payload && action.payload.data) ? action.payload.data : [{ ...action.payload }]
            };
        case 'CREATE_AVENGER':
            return {
                ...state,
                avengers: [{ data: action.payload }, ...state.avengers]
            };
        case 'DELETE_AVENGER':
            return {
                ...state,
                avengers: deleteItem(state.avengers, action.payload)
            };
        case 'LOGIN':
            return {
                ...state,
                user: action.payload,
                isLoggedIn: true
            };
        case 'LOGOUT':
            return {
                ...state,
                user: null,
                isLoggedIn: false
            };
        default:
            return state
    }
}

export default AppReducer;
With the context in place, data fetched from the Netlify functions is persisted there:
const { avengers, getAvengers } = useContext(AppContext);

const GetAvengers = async () => {
  let { data } = await axios.get('/api/GetAvengers);
  getAvengers(data)
}
Import getAvengers from the application context and pass it the data fetched by the GET call; the function invokes the reducer, which keeps the data in context, where it is reachable through the avengers attribute. Saving works the same way:
const { createAvenger } = useContext(AppContext);

const CreateAvenger = async (e) => {
  e.preventDefault();
  let new_avenger = { id: uuid(), ...newAvenger }
  await axios.post('/api/AddAvenger', new_avenger);
  clear();
  createAvenger(new_avenger)
}
Here newAvenger is the state object holding form data, and each document gets a new id of type uuid. Once Fauna has stored the record, the createAvenger function saves it in context. Every other CRUD operation is invoked through Axios the same way.
Deployment
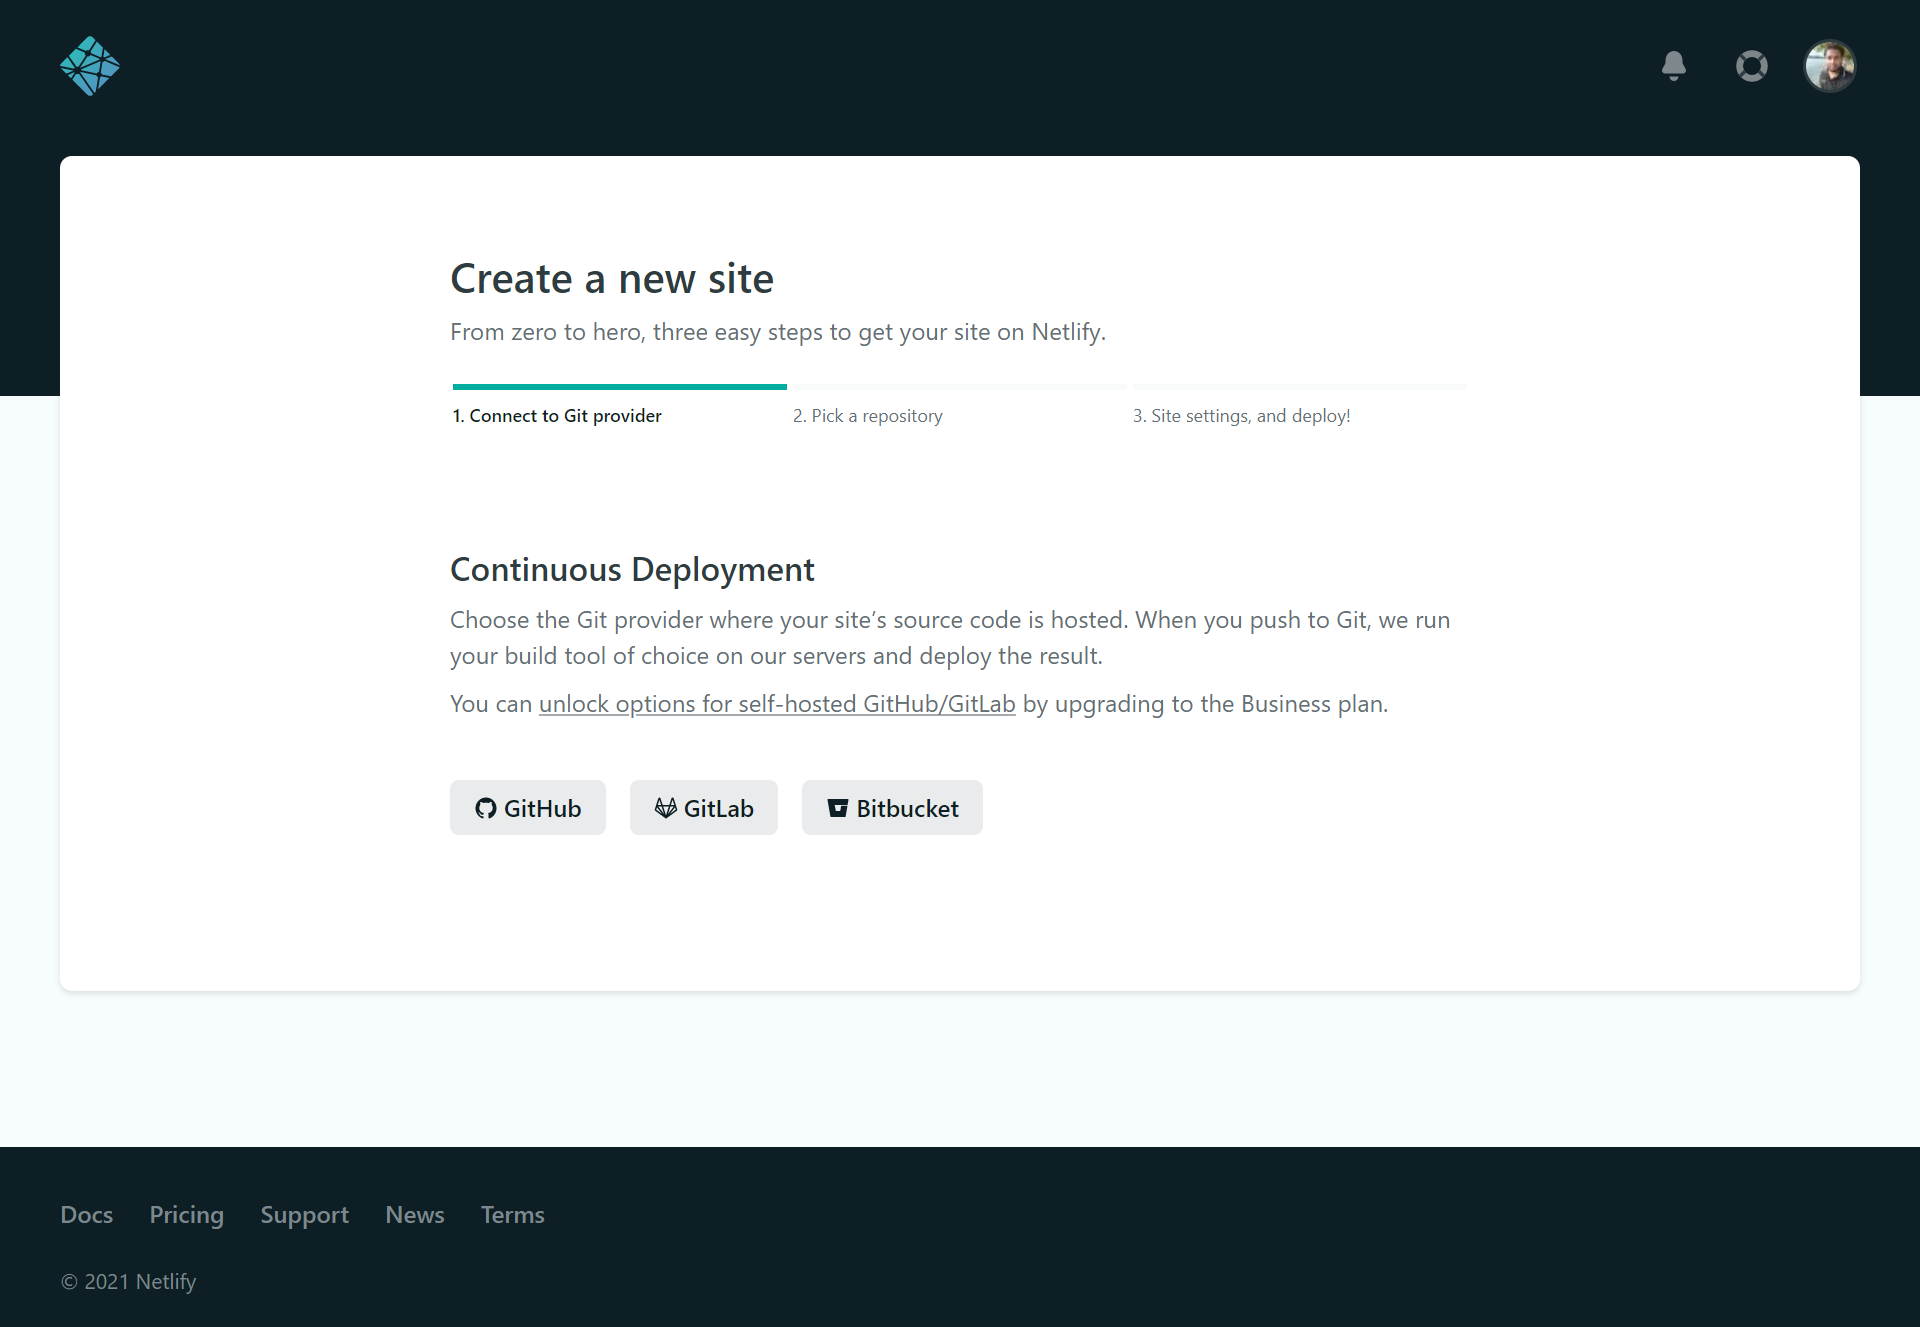
An application can be deployed either by connecting it to GitHub or through the Netlify CLI, which prompts for the required details and selections. For the GitHub route, log in to the Netlify dashboard and click New Site from Git; the dashboard then prompts for the repository and for site configurations such as the build command and build folder.
Authenticating and authorizing functions with Netlify Identity
Netlify Identity supplies a full suite of authentication functionality, managing authenticated users throughout the application without any third-party service or library. Enable it from the Identity tab of the deployed site in the Netlify dashboard.

Enablement yields a URL for the site's identity; copy it into the .env file as REACT_APP_NETLIFY. Add Identity to the React app through the netlify-identity-widget, starting with the REACT_APP_NETLIFY property for the Identity Context Provider component in index.js:
import React from 'react';
import ReactDOM from 'react-dom';
import './index.css';
import "react-netlify-identity-widget/styles.css"
import 'bootstrap/dist/css/bootstrap.css';
import App from './App';
import { IdentityContextProvider } from "react-netlify-identity-widget"
const url = process.env.REACT_APP_NETLIFY;

ReactDOM.render(
  <IdentityContextProvider url={url}>
    <App />
  </IdentityContextProvider>,
  document.getElementById('root')
);
The navigation bar, rendered above every other component, is the natural place to handle authentication; react-netlify-identity-widget adds a component that handles user sign-in and sign-up.
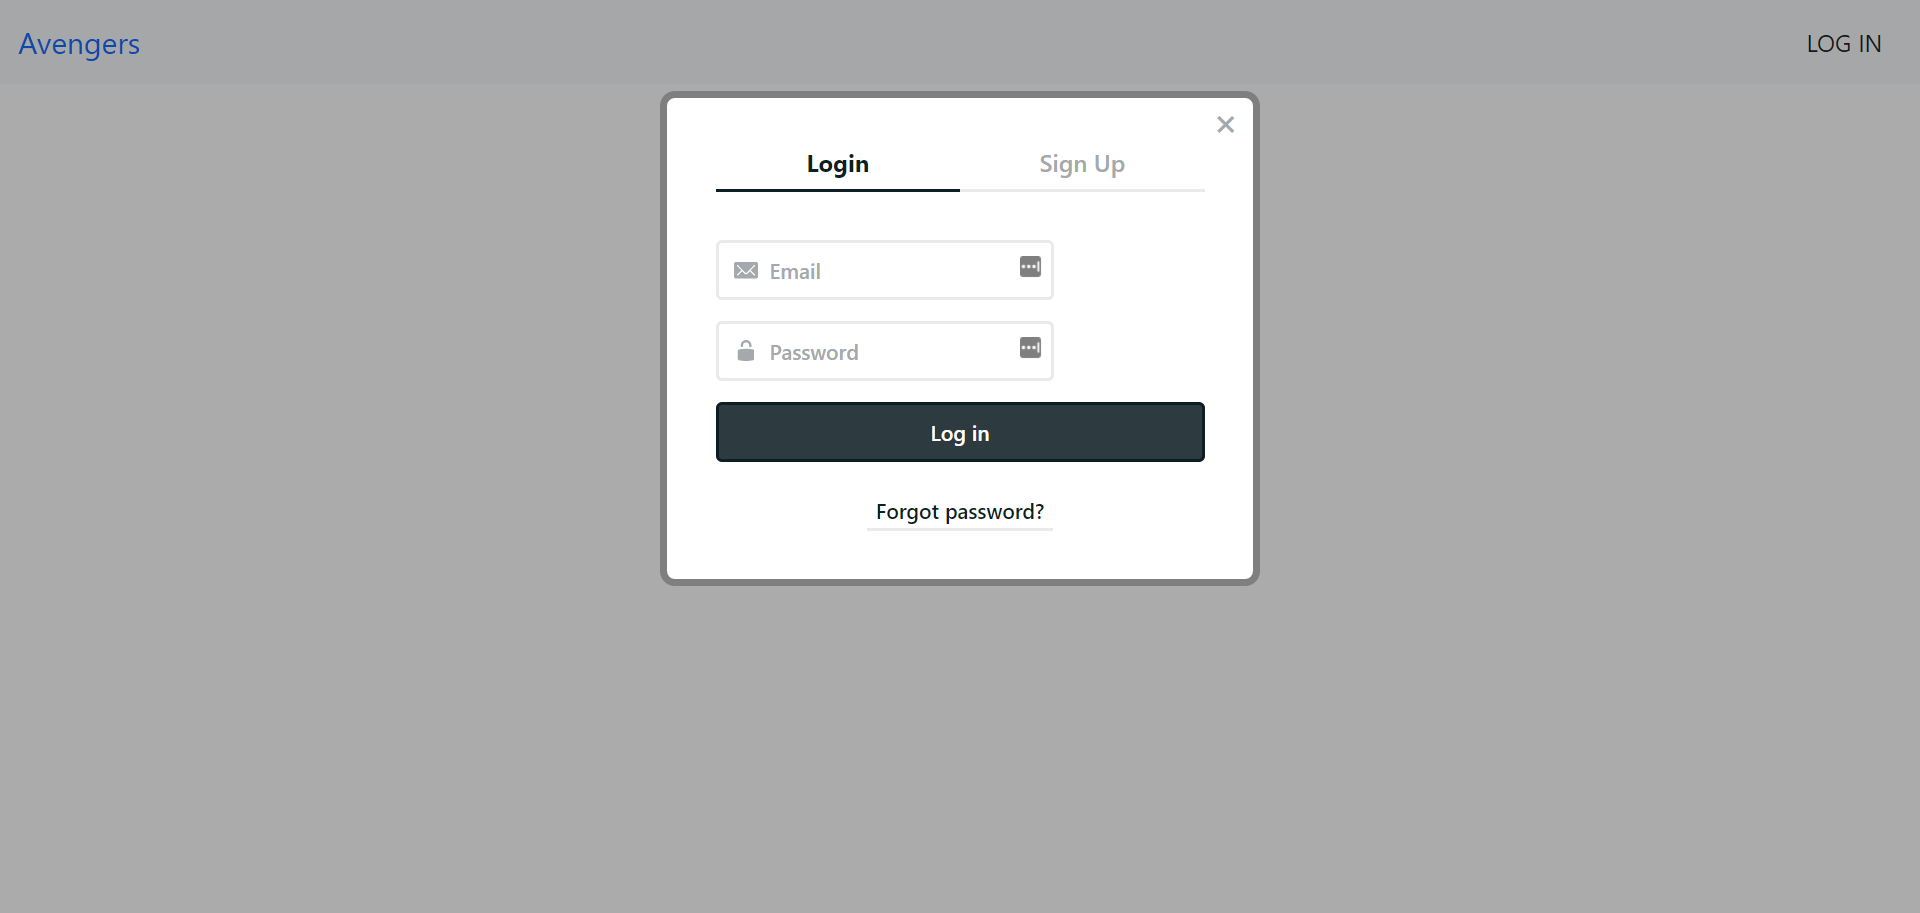
Functions also change slightly to use Identity, as GetAvenger shows:
const { responseObj } = require('./util/helper');
const { q, clientQuery } = require('./util/connection');

exports.handler = async (event, context) => {
    if (context.clientContext.user) {
        const {
            queryStringParameters: { id },
        } = event;
        try {
            const avenger = await clientQuery.query(
                q.Get(
                    q.Match(q.Index('avenger_by_id'), id)
                )
            );
            return responseObj(200, avenger)
        } catch (error) {
            console.log(error)
            return responseObj(500, error);
        }
    } else {
        return responseObj(401, 'Unauthorized');
    }
};
Each request's context carries a clientContext property holding the authenticated user details; a simple if check against the user context gates the work. To populate clientContext, the user token must be sent in the Authorization headers:
const { user } = useIdentityContext();

const GetAvenger = async (id) => {
  let { data } = await axios.get('/api/GetAvenger/?id=' + id, user && {
    headers: {
      Authorization: `Bearer ${user.token.access_token}`
    }
  });
  getAvenger(data)
}
That token is available in the user context once the user has logged in through the Netlify Identity widget.
- Fauna delivers serverless documents via API, eliminating capacity planning, replication, and scheduled maintenance, and its pay-as-you-go pricing makes it easy for developers to start.
- Its drivers cover Android, C#, Go, Java, JavaScript, Python, Ruby, Scala, and Swift, and it handles complex operations of the kind found in relational, document, graph, and temporal databases.
- Netlify's plugin system extends platform functionality beyond functions.