
Why the Terminal Matters for Front-End Work
Modern front-end development with frameworks like React, Angular, and Vue is inseparable from the command line. Running a local dev server, installing packages, and building for production all happen through terminal commands. It's a curious situation: we spend our days crafting graphical interfaces, yet the toolchain that powers that work is almost entirely text-based.
For developers without a computer science background or early exposure to pre-GUI operating systems, the terminal can feel foreign. Most tutorials assume proficiency, leaving beginners to fumble through setup steps. The good news is that you don't need to master everything the terminal offers. A focused grasp of the essential commands and workflows is enough to work effectively with modern JS tools — and you can build that foundation surprisingly quickly.
Setting Up Your Environment
Before diving into commands, you need two pieces: a terminal application and a shell language. The terminal is the software window where you type; the shell is the interpreter that processes what you type.
Every OS ships with a basic terminal (Terminal.app on macOS, Command Prompt on Windows), but most developers prefer something more capable. Two solid choices:
- Hyper — a modern, cross-platform terminal with features like split panes.
- VS Code's built-in terminal — if you use VS Code, this lets you keep code and command line side by side. Open it via
View→Terminal.
The shell language is the second half. Bash is the most common, and most Linux distributions default to it. Modern macOS ships with Zsh, which is closely related and shares most commands — for practical purposes, they're interchangeable. Linux and macOS users are ready immediately.
Windows Setup
Windows is a different story because Bash is Linux-based and won't run natively. The recommended solution is Windows Subsystem for Linux (WSL), which lets you install and run Linux inside Windows. It requires some setup — following a tutorial like How to install and use Zsh in Windows 10 gets you there, and then you can configure Hyper or another terminal to use Bash or Zsh.
An alternative is Git Bash, which emulates Bash within Windows. The specific route doesn't matter; what matters is ending up with Bash or Zsh available.
Your First Command
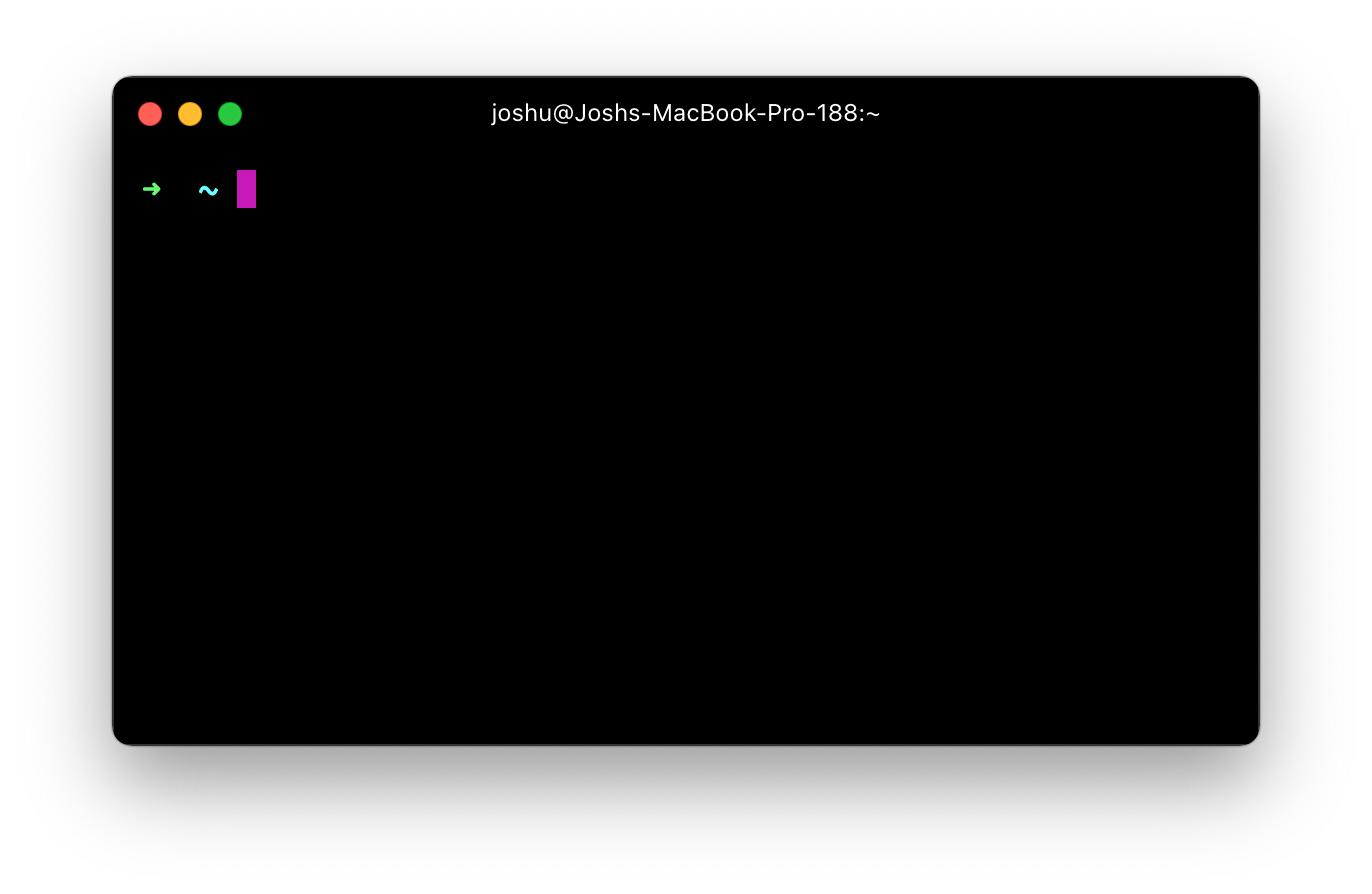
Open your terminal and you'll see a prompt — a single line of text waiting for input.
Type echo "hello world" and hit enter:
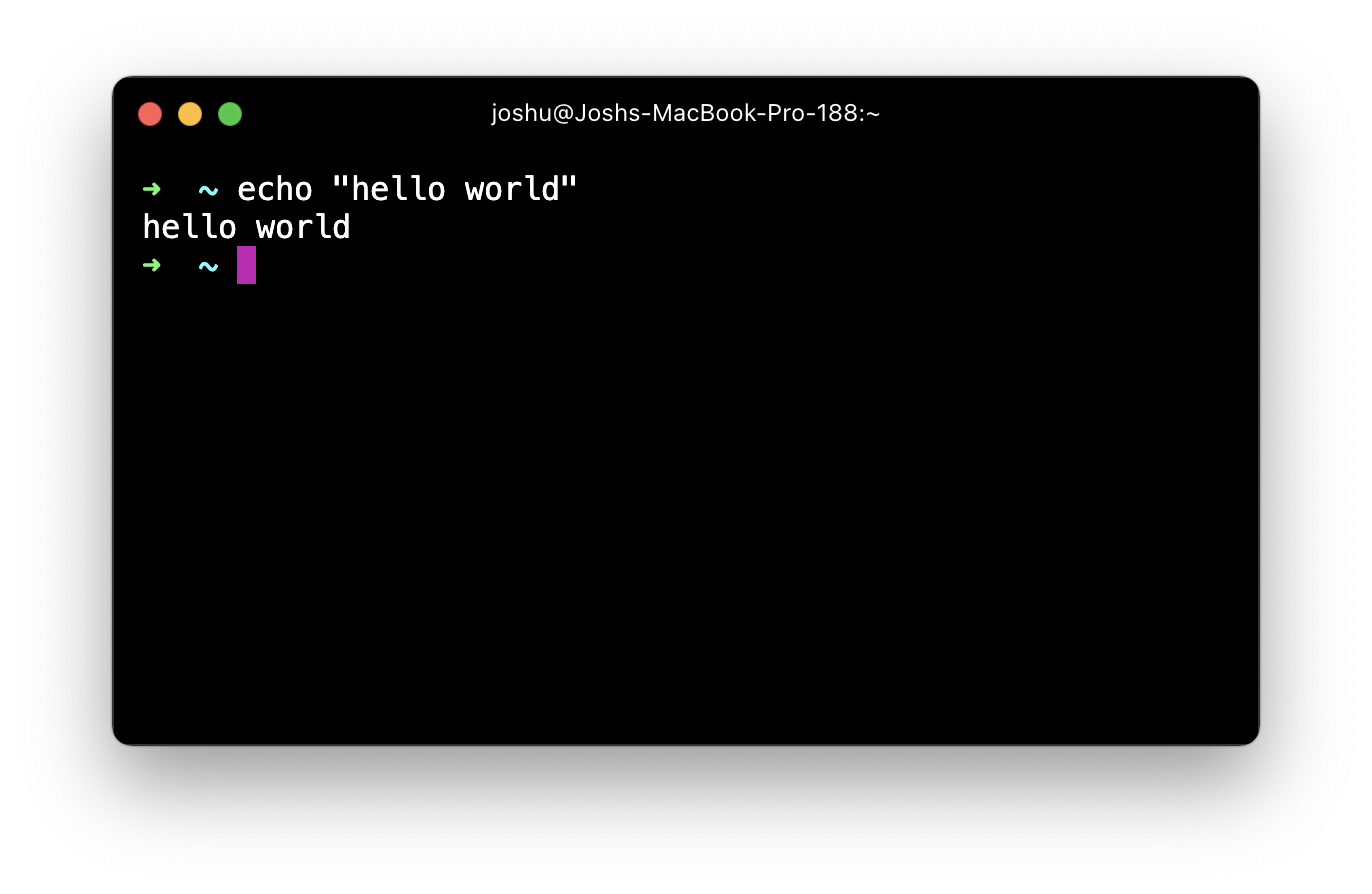
Think of commands as built-in functions. echo works like console.log in JavaScript — it accepts an argument (the string to output) and prints it. The command executes immediately, and a fresh prompt appears below, ready for the next instruction.
Navigating the File System
The terminal is essentially a text-based file explorer. You move through directories and interact with files using commands.
pwd (Print Working Directory) tells you where you are — your current location in the file system:
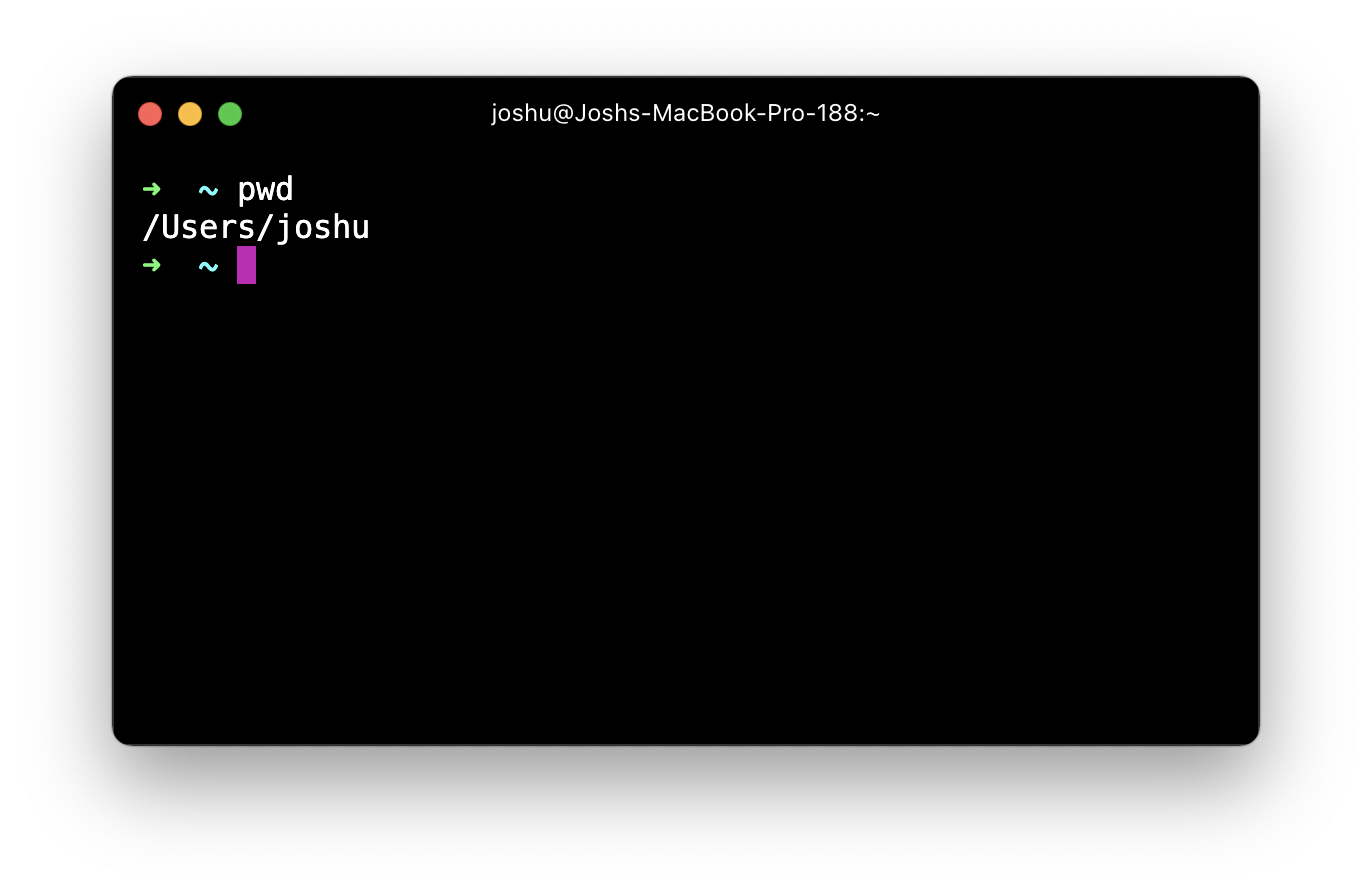
When you open a terminal, you start in your home directory (on the author's machine, that's /Users/joshu). To see what's there, use ls (short for "List"):
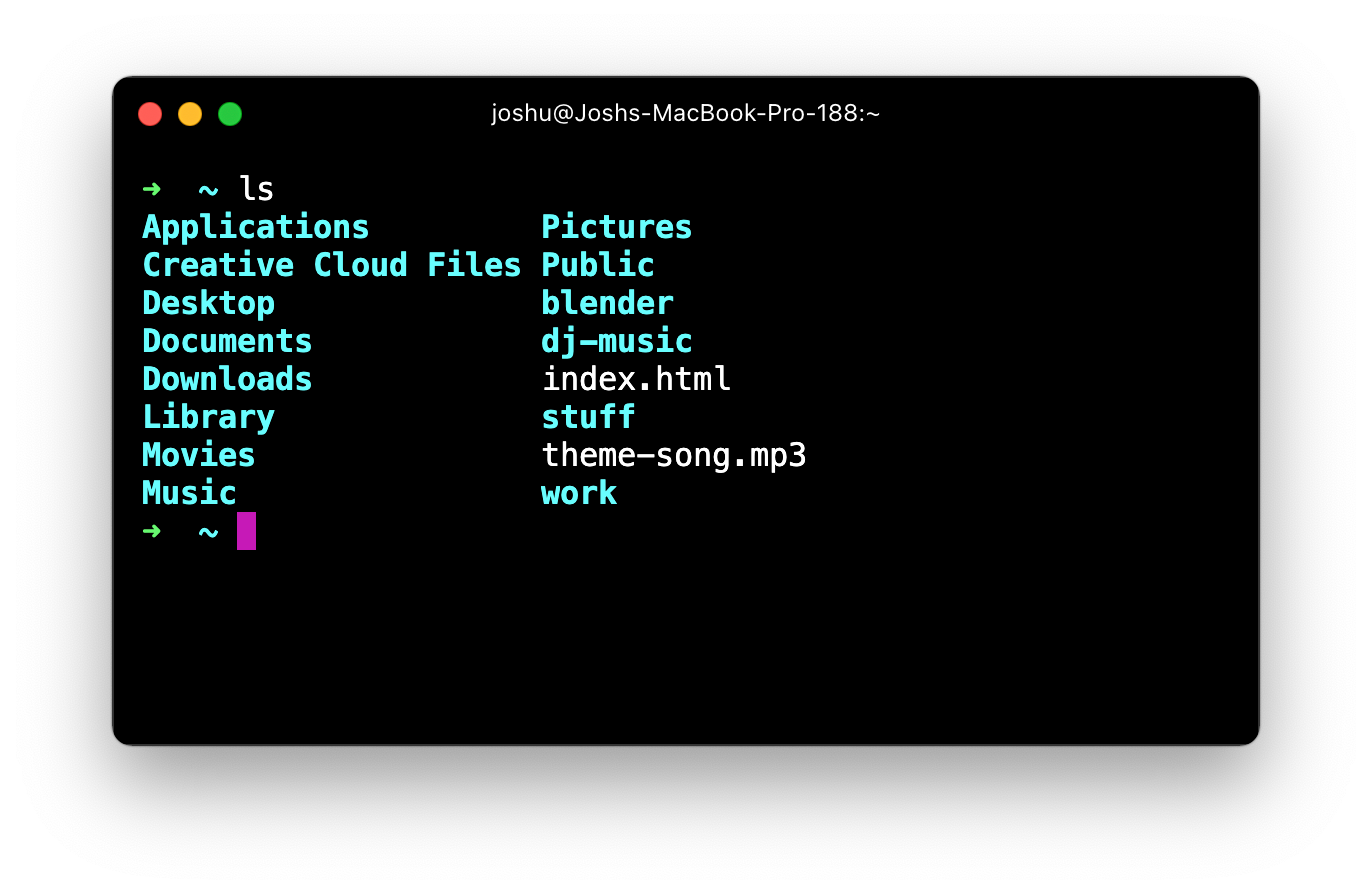
Directories appear bold and in a light aqua color; files are regular weight in white (colors vary by configuration).
The cd (Change Directory) command moves you around:
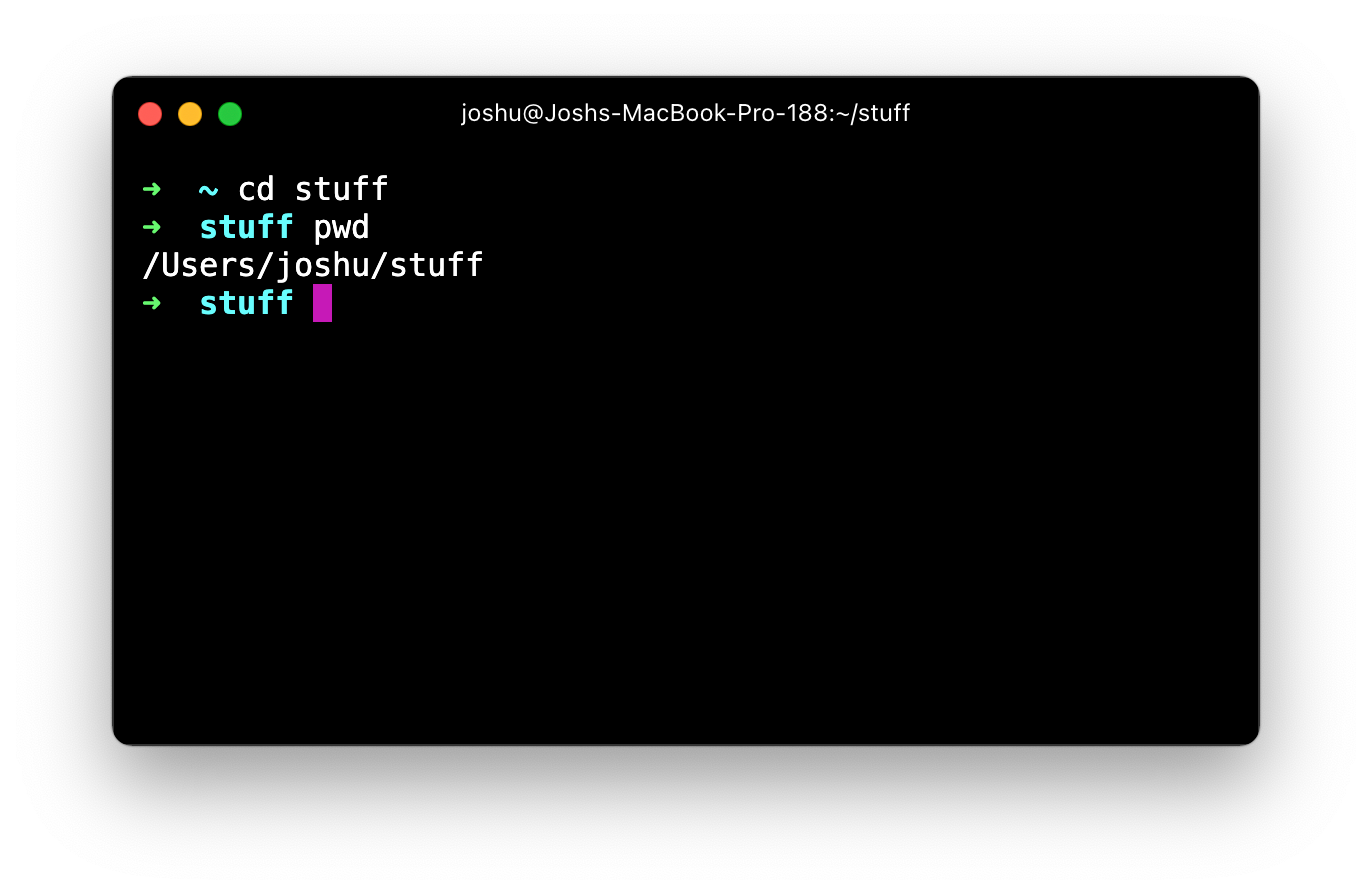
That's the equivalent of double-clicking the stuff folder in a GUI explorer. To go back up one level, use cd ..:
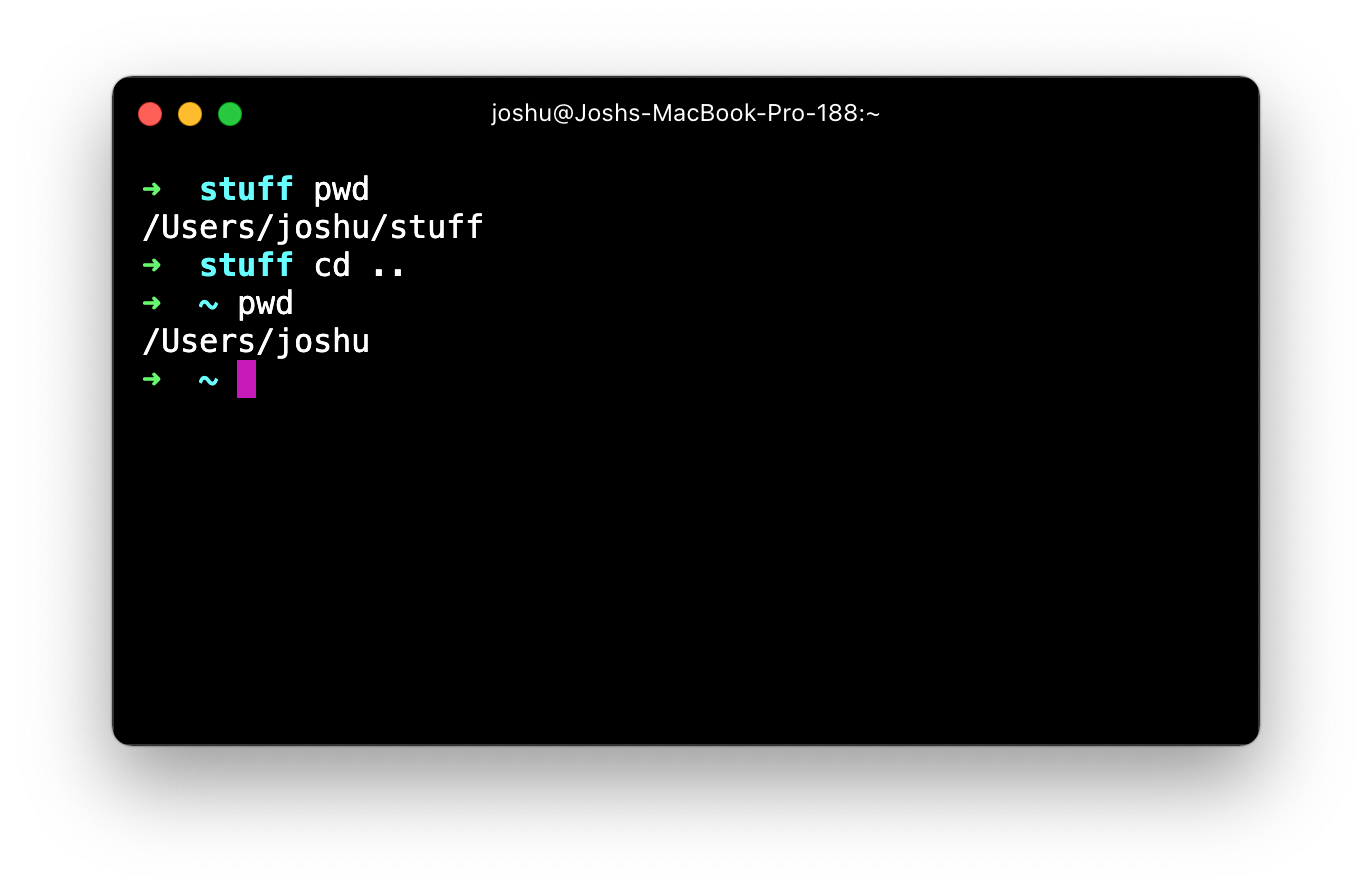
The dot has special meaning: a single dot (.) is the current directory, and two dots (..) is the parent directory. This mirrors JavaScript module imports, which use the same notation:
import { COLORS } from '../../constants';
import Button from '../Button';
Many beginners hop directory by directory, as they would clicking through folders. But cd accepts full paths, so you can jump several levels at once:
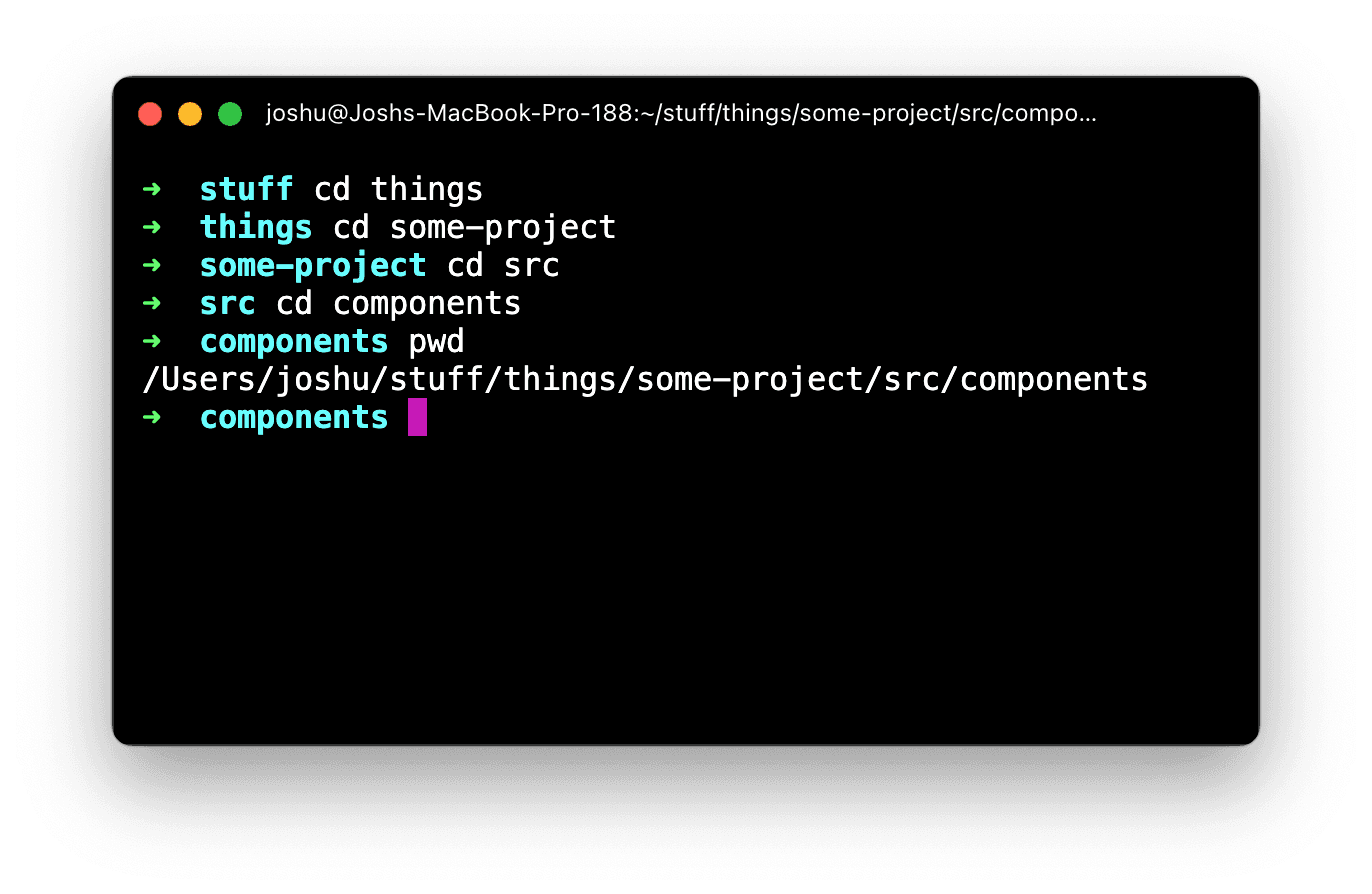
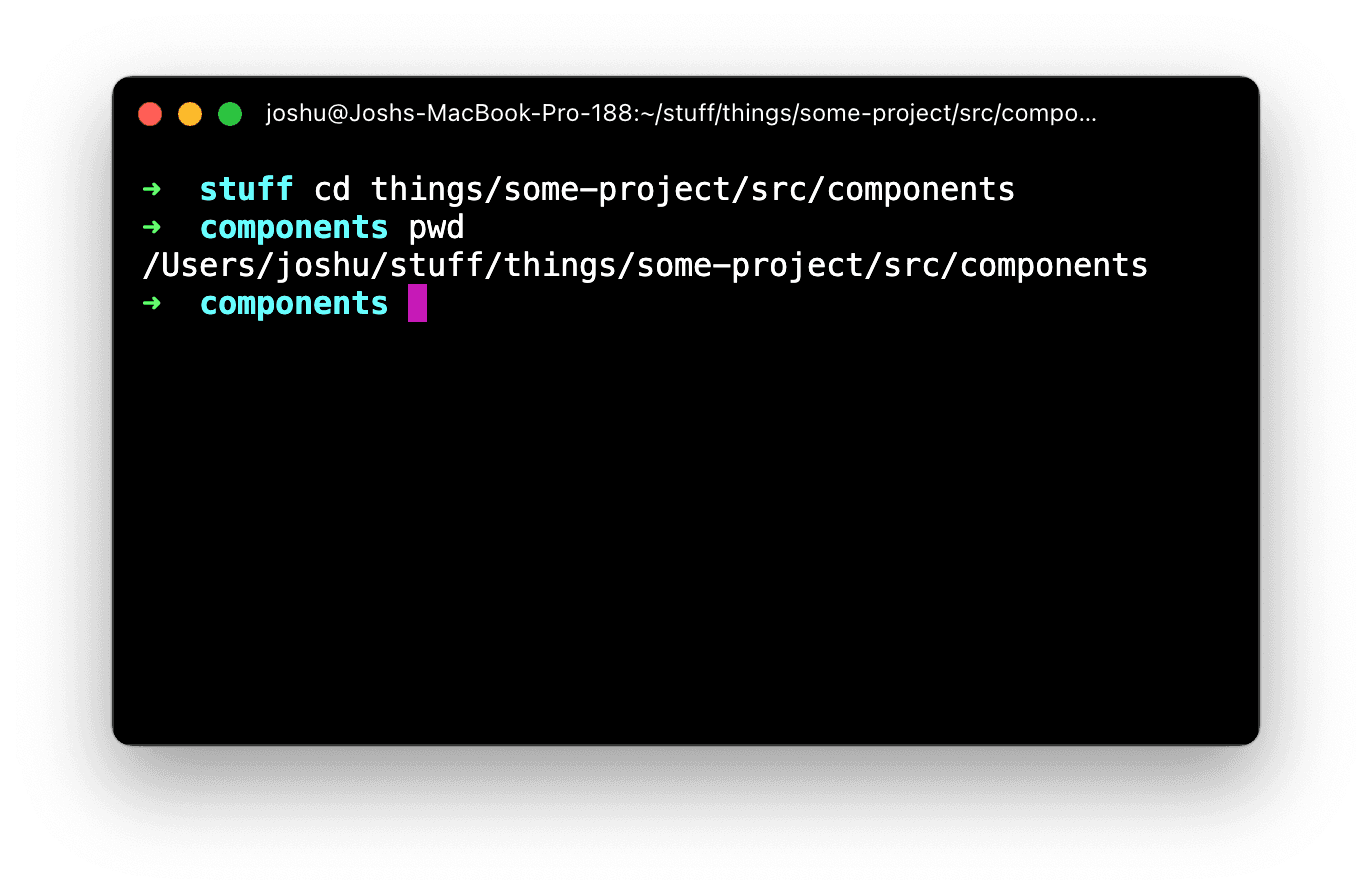
That's the verbose way — the same destination in one command:
Tab Autocompletion
A major fear with the terminal is that you must remember every directory name perfectly. Tab autocompletion eliminates that problem. Press the Tab key while typing a path, and the terminal fills in the rest of the name. It works for the current directory's contents at any depth, and it also autocompletes Git branches and parts of commands. Press Tab in various contexts to see what it suggests.
Flags: Modifying Command Behavior
The command-as-function analogy breaks when you meet flags — modifiers that tweak how a command operates. For instance, rm deletes files:
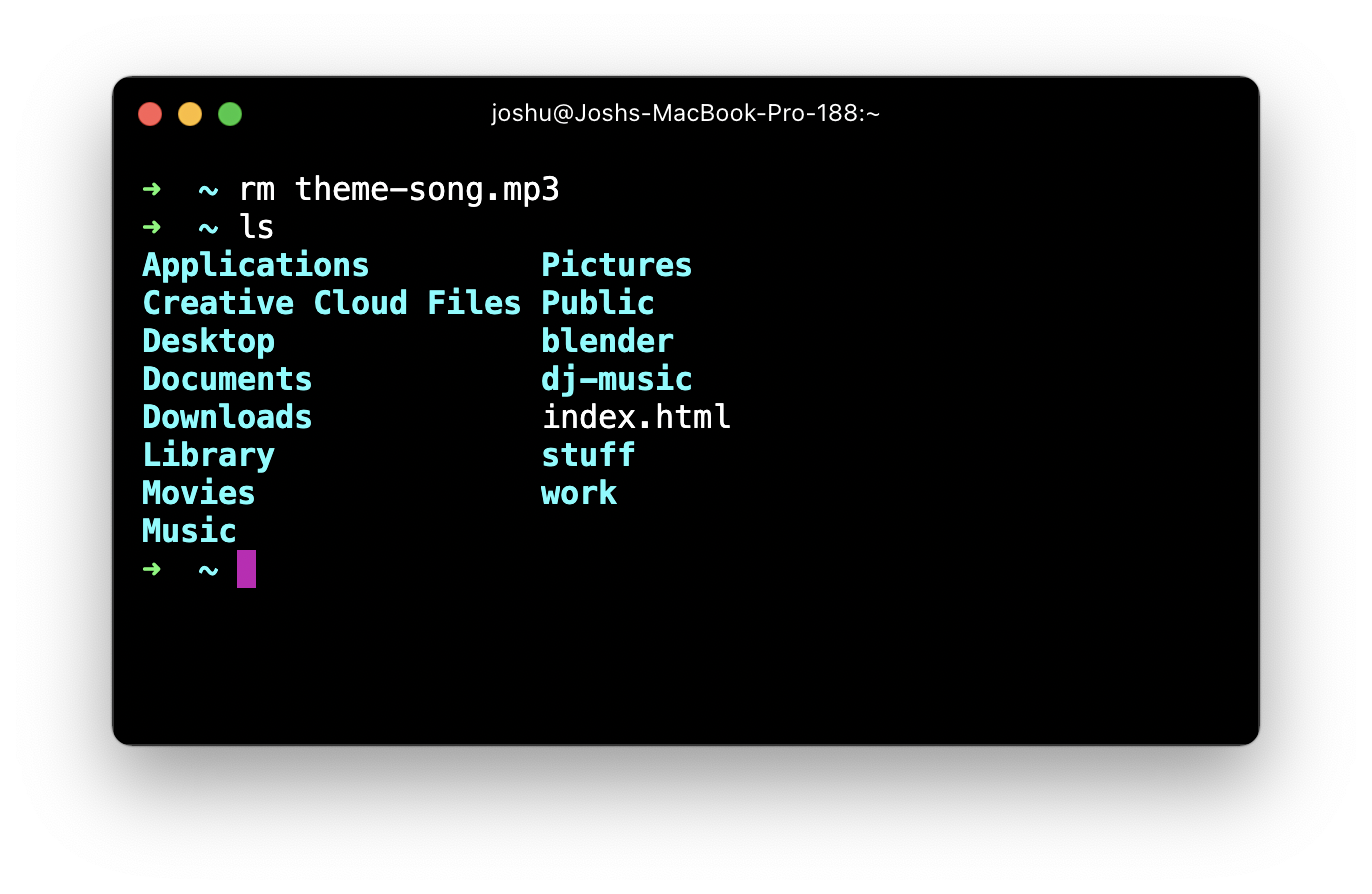
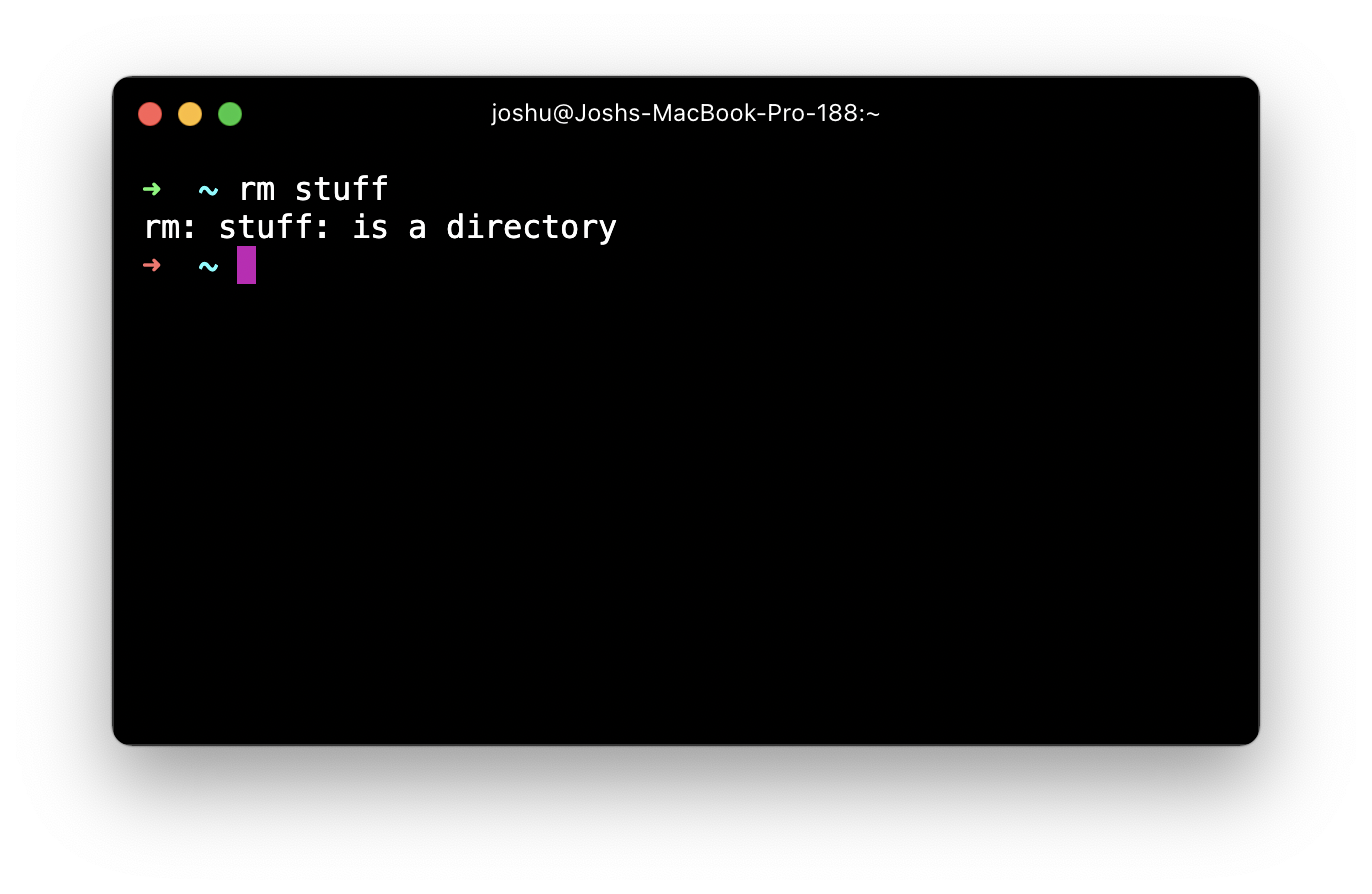
rm works on individual files without asking for confirmation. But point it at a directory, and it refuses:
The r flag (recursive) changes that rule — it deletes the entire directory tree, including all nested folders and files:
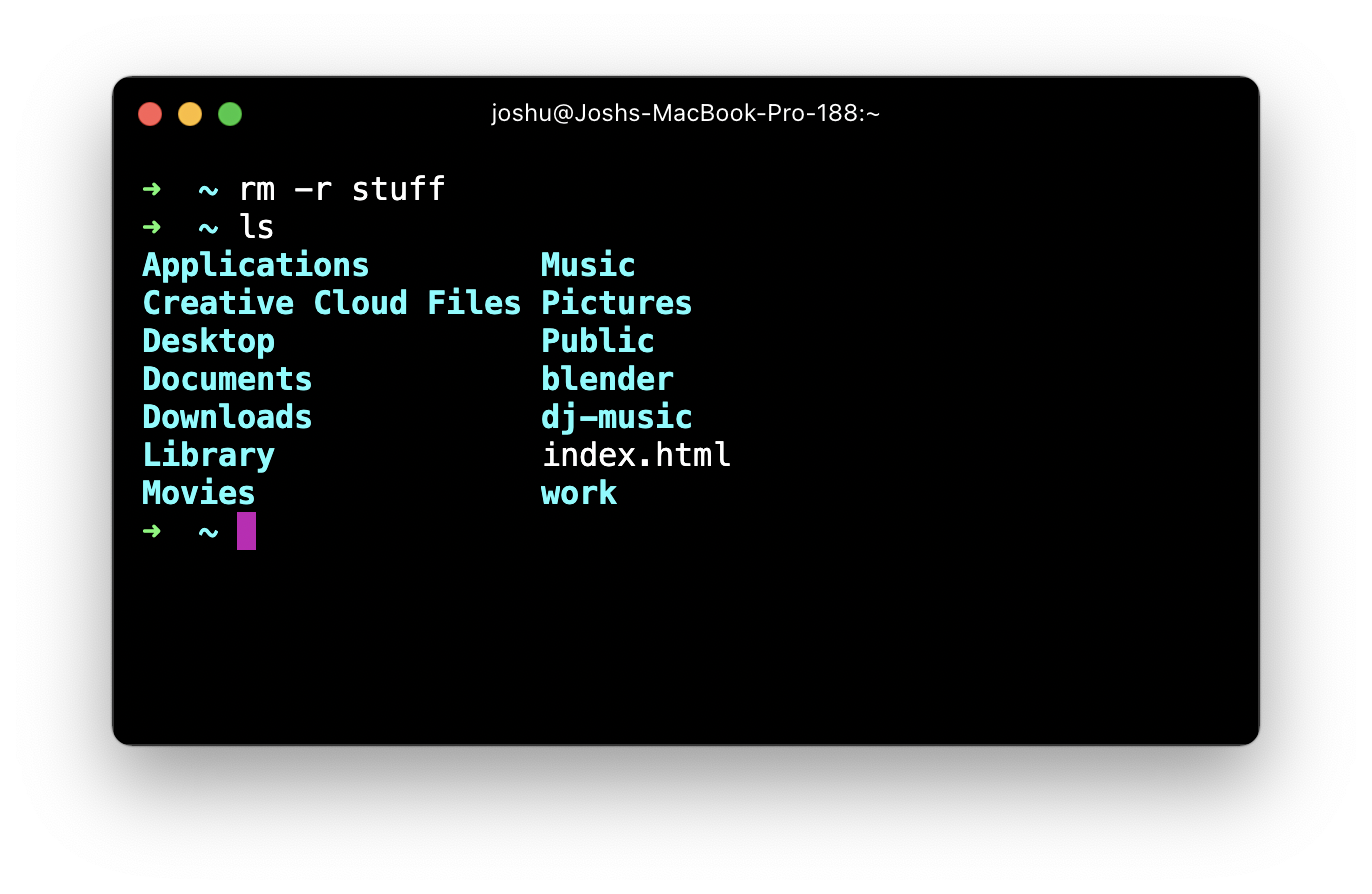
Deleting recursively is non-trivial work for the computer, which must figure out every file to remove from the disk. You may also hit permission errors, so the f (Force) flag is commonly added too. Flags can be batched under a single dash:
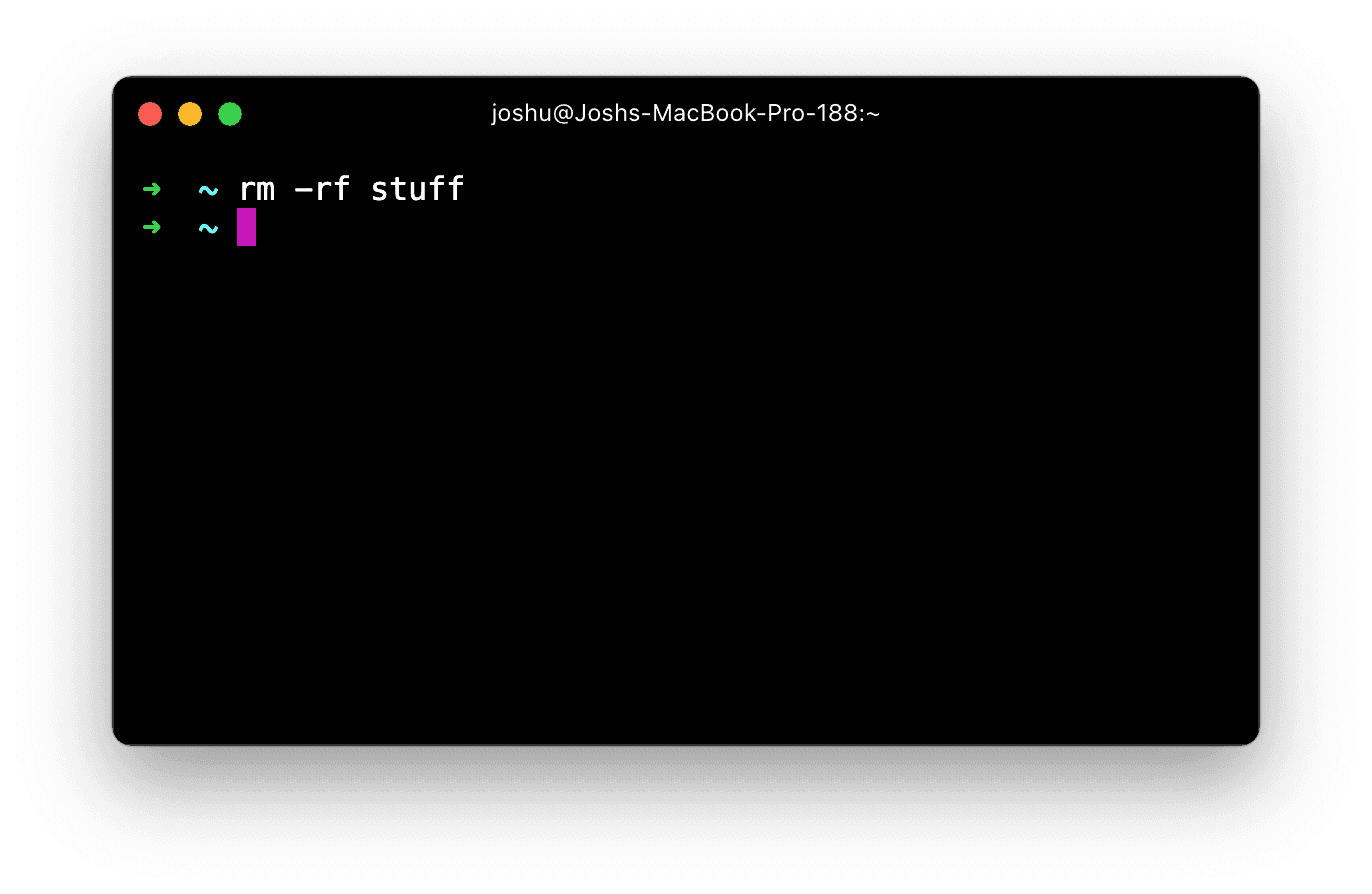
Most commands follow a convention: short flags like -f and long forms like --force (using two dashes). Another example is ls, often used with two flags:
l— long format, printing detailed metadata in a lista— all, including hidden files
Together they produce verbose output:
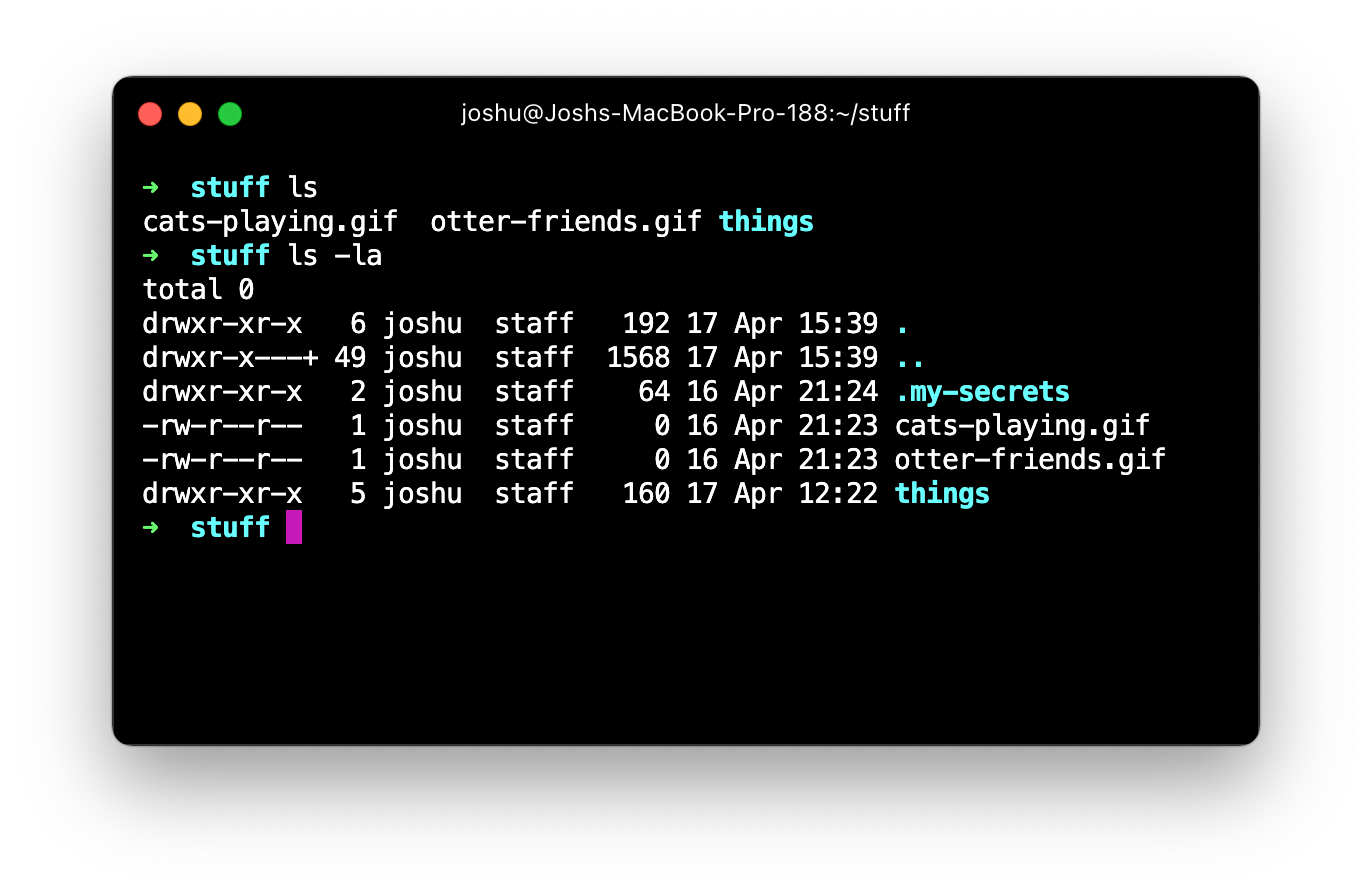
There's substantial noise in the permission glyphs, but other metadata — like modification dates — can be valuable.
Interrupting Long-Running Processes
Some commands keep running indefinitely. Try ping 8.8.8.8 — it checks latency against an IP address (here, Google's DNS server) and, by default, runs forever:
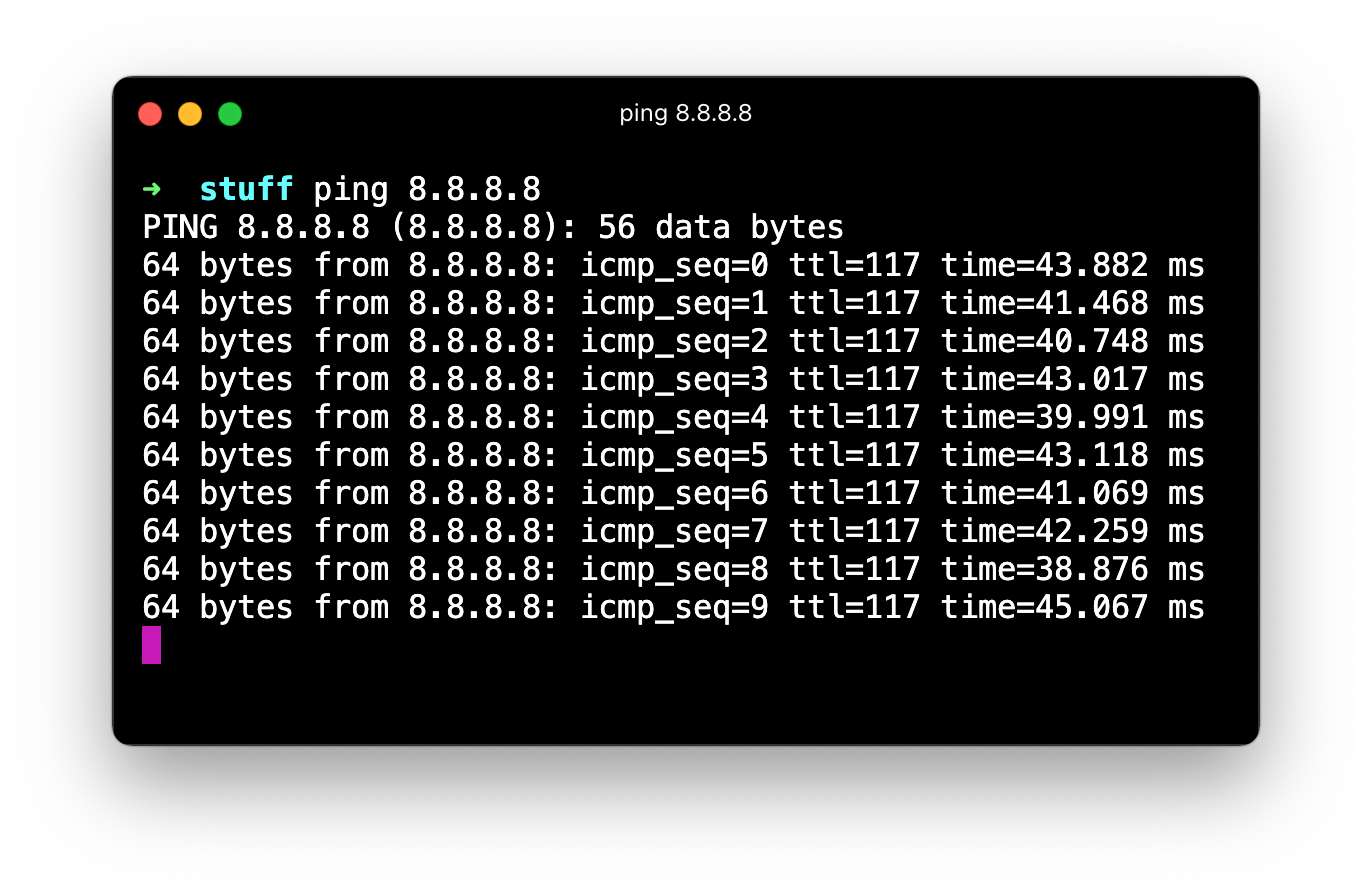
To stop it, hold the ctrl key and press c. This works even on macOS, where most shortcuts use the ⌘ modifier. If that fails, ctrl + d ends the current session entirely. As a last resort, close the terminal tab or window (on Hyper for macOS, that's ⌘ + w).
Day-to-Day Development Workflows
Once the basics of navigating and manipulating files are in place, the terminal becomes a hub for the recurring tasks of front-end work. Most of these examples assume Node.js is installed.
Installing Project Dependencies
When you first pull down a project, the immediate next step is fetching its third-party code. The command for this is simple:
$ cd path/to/project
$ npm install
npm — Node Package Manager — is bundled with Node.js. This command reads package.json and downloads every dependency into a local node_modules folder. No global install is required; everything stays scoped to the project.
Running Standard Tasks
Most projects define their common tasks in the scripts section of package.json:
{
  "scripts": {
    "start": "react-scripts start",
    "build": "react-scripts build",
    "test": "react-scripts test",
    "eject": "react-scripts eject"
  }
}
These scripts are invoked with npm run [name]. Starting the local dev environment, for example, generally looks like:
$ cd path/to/project
$ npm run start
That command launches a long-running Node server that watches files and re-bundles as you edit. To stop it, press ctrl + c.
The convention of naming these tasks start, build, and test is a useful standard. Across different projects and tools, the scripts stay familiar, so you don't need to memorize project-specific flags. Still, check package.json to see the full list, because not every tool follows the default naming scheme.
Opening an Editor and Resetting Dependencies
From the project root, launching your editor from the terminal keeps the context switch minimal. For VS Code, that's:
$ cd path/to/project
$ code .
The . means "the current directory", and code is a shell command added by your editor. Some editors require a one-time setup to expose this command, especially on macOS.
When the front-end equivalent of the "turn it off and on again" fix is needed, dependencies often need a hard reset. Tweaking files in node_modules to debug behavior is a legitimate technique, but it frequently leaves the folder in a suspicious state. Reinstalling from scratch is often the cleanest answer:
$ cd path/to/project
$ rm -rf node_modules
$ npm install
These commands erase the entire third-party directory with rm, then fetch a fresh copy of everything via npm install.
Git on the Command Line
While GUIs exist for Git, the shell is an efficient place for version-control work. The commands that recur most often in daily work are:
# Download a Git repository onto your local machine
$ git clone [URL]
# Check which files have been modified
$ git status -s
# View changes
$ git diff
# Stage all files
$ git add .
# Commit staged files
$ git commit -m "Short descriptive message"
# Create a new local branch
$ git switch -c [new branch name]
# Switch branches
$ git switch [branch name]
# Push your code to Github (or wherever the project lives)
$ git push origin [branch name]
# Start an interactive rebase
$ git rebase -i [branch name or commit hash]Terminal Quality-of-Life Tricks
Small habits can make the terminal less frustrating and more pleasant to drive. These are shortcuts and patterns that many developers collect over time.
Reusing Commands and Bouncing Directories
Terminal sessions log history, and the "up" arrow cycles through previous commands. When a lengthy command was just run, hitting "up" once or twice is faster than retyping.
A less-known character with similar utility is a lone hyphen. It substitutes the previous working directory, making a two-directory loop a trivial toggle instead of a chain of full path names:
cd ~/projects/siteThe sequence of bouncing back and forth doesn't require retyping the full paths; just cd - flips to the last location.
Clearing the View
A cluttered terminal is distracting. The shell has a built-in way to reset the view: either the clear command or the universal shortcut ctrl + L. Both operate at the shell level, which means they only respond when the prompt is idle and waiting for input.
For clearing output while a long process is running — like a dev server spewing logs — a different mechanism is better. Most terminal applications have app-level shortcuts that work regardless of shell state:
- macOS:
⌘+kacross Terminal.app, iTerm2, and Hyper. - Hyper on other platforms:
ctrl+shift+k.
Because these shortcuts are handled by the application itself, they clean up stale messages without interrupting the active task.
Aliases and GUI File Access
Long or frequently used commands are candidates for aliases. Bash and Zsh support creating shortcuts; a simple configuration can map a short word to a larger command:
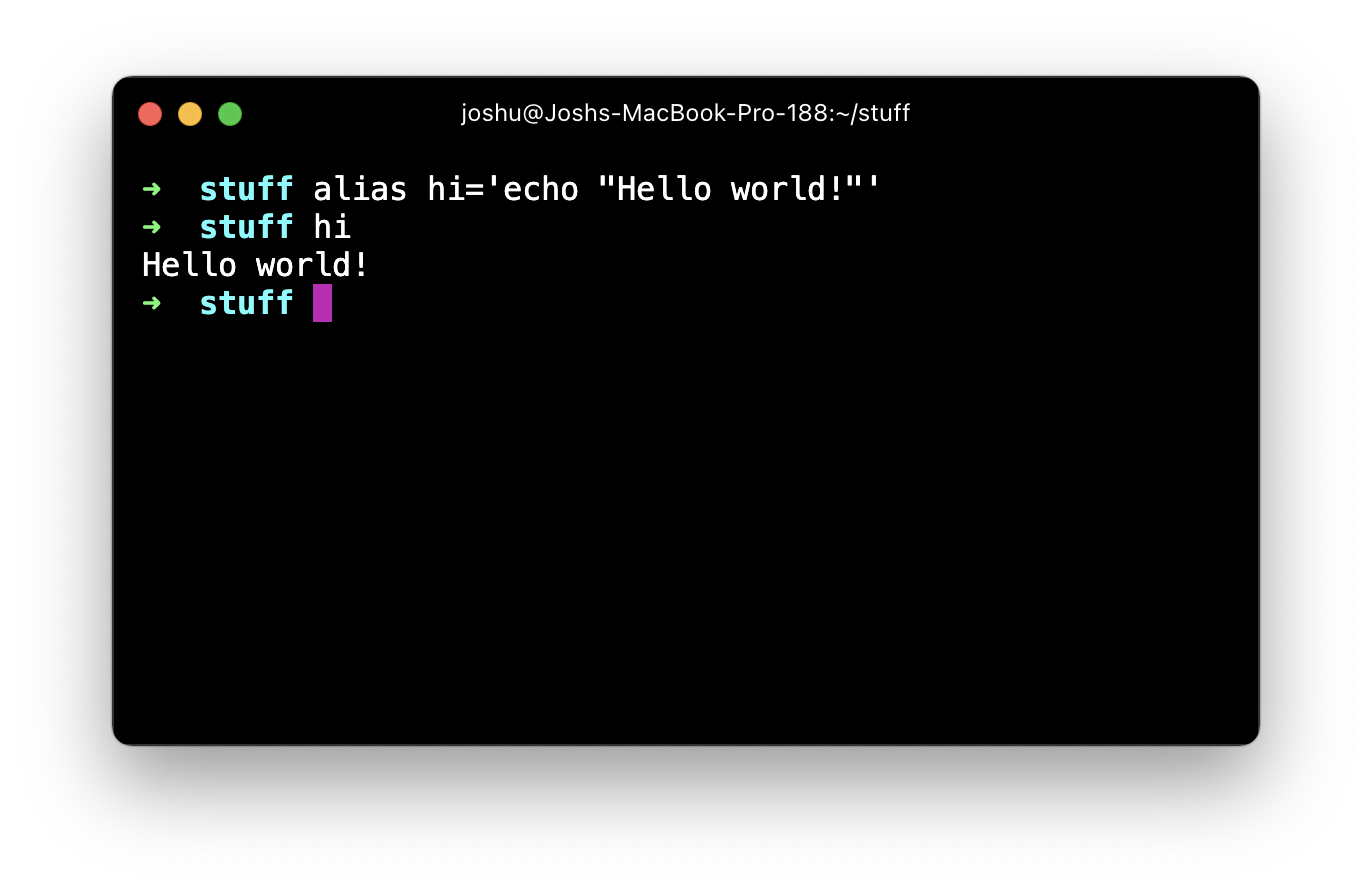
Setup varies between shells, so it's worth checking specific guides for Bash and Zsh alias configuration.
There will still be times when exploring files with a mouse is easier. Moving from the terminal to the OS's file explorer is done with:
- macOS:
open .— opens a Finder window showing the current directory. - Windows:
explorer . - Linux:
xdg-open .where the FreeDesktop standard is supported.
The open and related commands act like double-clicking a file in the GUI; passing a directory opens that folder in the file manager.
Chaining Sequential Commands
Long-running commands that finish silently are easy to forget. The way to avoid waiting around or losing track is chaining. The && operator runs the next command only after the preceding one succeeds:
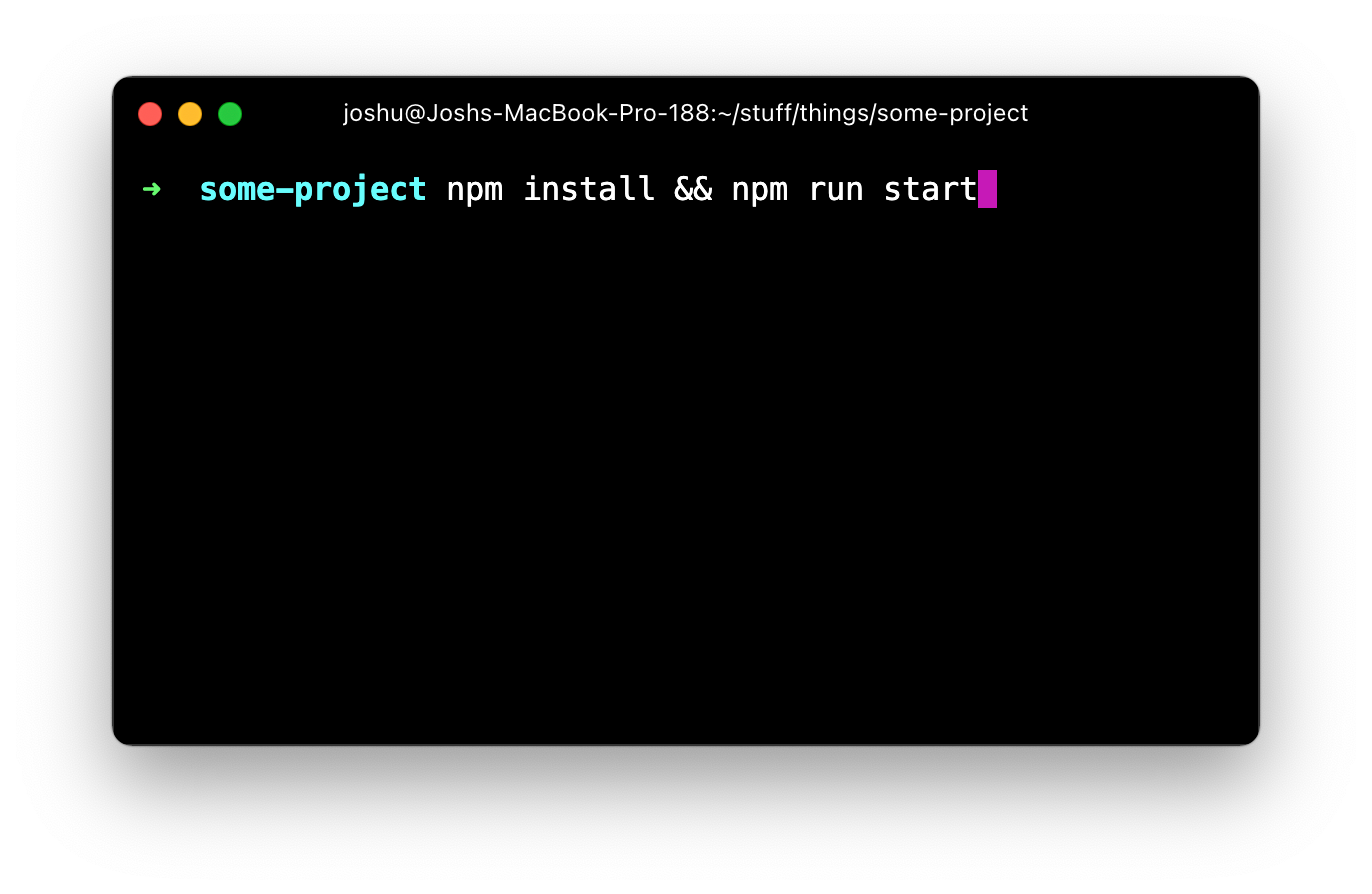
Because npm run start usually pops a browser, that final automated step acts as a visible alert that the setup is complete. This pattern extends beyond setup, to queuing up routine Git steps or any sequence of dependent operations:
git add . && git commit -m "Stuff" && git push origin mainManaging Multiple Shells: Splits and Tabs
A busy terminal can't accept new commands until the task finishes. Running a dev server occupies one session completely, which means a second prompt is needed for ad-hoc commands. Modern terminal apps provide that isolation without opening a new window.
Hyper and similar tools offer pane.splitting; on macOS, the shortuts command is Shift + ⌘ + d under the Shell menu:
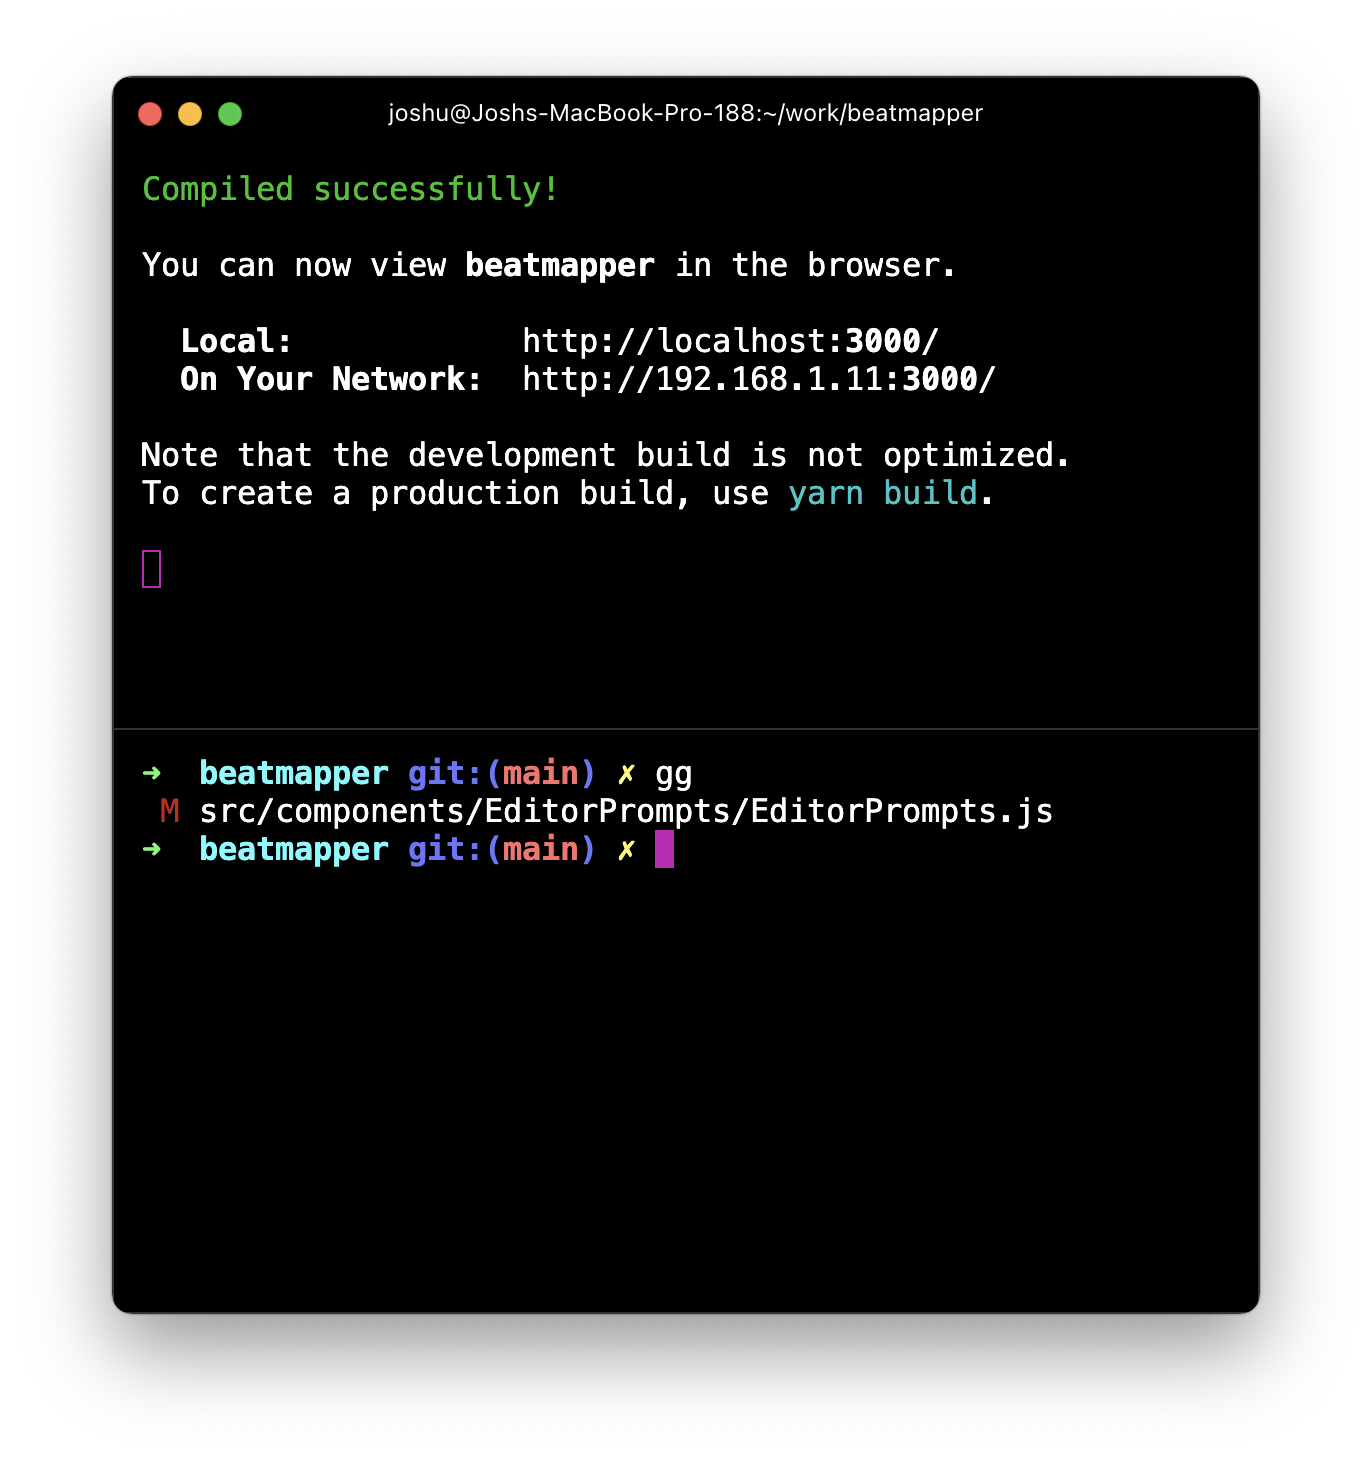
Splitting gives the dev server its own dedicated pane for logging output and error traffic, while a second pane takes shorter tasks. Projects that need multiple simultaneous long-running processes — like a dev server plus a test watcher — can use three or more panes.
Tabs are the other organizational tool, and they map well to projects: one project per tab, with each tab split internally as needed. Creating a new tab in Hyper uses the familiar ⌘ + t on macOS.
Building Comfort with the Terminal
The terminal's reputation for being intimidating is earned, but the practical scope of commands in front-end work is smaller than it seems. The common tasks boil down to installing dependencies, running package.json scripts, a handful of Git commands, and a few navigation and cleanliness tricks. Getting fluent with that narrow slice is the difference between fighting the shell and using it effectively.


