

Generative shapes and the Paint API
Generative design is, at its core, rule-making plus chance. Give yourself a few stamps and some dice: a roll of one stamps a square, two a line, three a circle, and anything higher means no stamp at all. Repeat until the page fills up. That's generative work — rules plus a randomness source, which in the browser is often Math.random() or something similar. This article walks through creating a generative blob with the CSS Paint API, part of the Houdini family.
What a worklet is
The CSS Paint API gives low-level access to CSS through a <canvas>-like drawing API. It is driven by worklets, which are JavaScript classes. Every worklet class must define a paint() function, and that function can programmatically produce an image for any CSS property expecting one. So where you normally pass a url(...) to background-image, you instead call paint(worklet_name), which executes the worklet's paint() and renders the output onto the element.
.my-element {
  background-image: paint(texture);
}
Why the Paint API and not something else
Plenty of routes lead to blob shapes: a tool like Blobmaker, tricks with border-radius, or a plain <canvas> element. None behave quite like this API, for three reasons.
It keeps CSS expressive
Rather than dragging sliders or hammering a regenerate button, a small set of human-readable values produces the result. The blob worklet takes these inputs: --blob-seed (a seed for a pseudorandom generator), --blob-num-points (detail along the shape), --blob-variance (how varied the control points are), --blob-smoothness (edge smoothness or sharpness) and --blob-fill. Drop --blob-variance for subtle, minimal blobs; raise it for overstated ones. Set --blob-smoothness to zero and the shapes turn brutalist without re-exporting any assets. The examples animate these input properties with GSAP.
.worklet-target {
  --blob-seed: 123456;
  --blob-num-points: 8;
  --blob-variance: 0.375;
  --blob-smoothness: 1;
  --blob-fill: #000;
}
It runs off the main thread
Generative work can get computationally heavy, especially with many elements and multiple visuals per page. Worklet code executes outside the main browser thread, so it never blocks or slows the interface. The browser can also spin up many separate worklet instances and call on them as needed — a containerization-like arrangement that yields fast rendering.
It doesn't add DOM nodes
Because the output lands in a CSS property, no extra elements appear in the markup. Your HTML stays semantic and uncluttered while CSS handles appearance.
Support and fallbacks
The CSS Paint API is relatively new and still unavailable in some major browsers. Details live on Caniuse.
Desktop
| Chrome | Firefox | IE | Edge | Safari |
|---|---|---|---|---|
| 65 | No | No | 79 | No |
Mobile / Tablet
| Android Chrome | Android Firefox | Android | iOS Safari |
|---|---|---|---|
| 157 | No | 157 | No |
One option is css-paint-polyfill, maintained by GoogleChromeLabs. The other is to "fail gracefully" with a CSS-only fallback via @supports for anyone who can't justify the extra JavaScript weight.
Getting set up
Clone the worklet-starter-kit repository, then run:
npm installfollowed by:
npm run startA dev server starts in the current directory and opens your browser. Worklets must load over HTTPS or from localhost, and this setup avoids CORS trouble and reloads on changes. The kit also has a build step powered by esbuild: it bundles any imports inside the worklet and writes worklet.bundle.js, which updates whenever worklet.js changes. Within the repo you'll find an index.html with a single worklet-canvas div, plus CSS that centers it and scales it to the viewport.
Registering and running the worklet
In worklet.js, define the Blob class and hand it to registerPaint along with the name blob:
class Blob {}

registerPaint("blob", Blob);
Then add a minimal paint() to confirm it works:
paint(ctx, geometry, properties) {
  console.log(`Element size is ${geometry.width}x${geometry.height}`);

  ctx.fillStyle = "tomato";
  ctx.fillRect(0, 0, geometry.width, geometry.height);
}
Treat paint() as a callback. It fires when the target element first renders, and again whenever the element's dimensions change or its input properties update. It receives several arguments automatically; this tutorial uses the first three: context (a 2D drawing context like a canvas's), geometry (the target element's width and height) and properties (the custom properties).
Next, load the worklet from index.html with a <script> just before the closing </body>:
<script>
  if (CSS["paintWorklet"] !== undefined) {
    CSS.paintWorklet.addModule("./worklet.bundle.js");
  }
</script>
Register the bundled file, not the source. Finally, consume the worklet from CSS:
.worklet-canvas {
  background-image: paint(blob);
}
A red square appears, and resizing the window logs the element's changing dimensions.
Wiring up the input properties
Declare the expected properties with an inputProperties getter on the Blob class:
static get inputProperties() {
  return [
    "--blob-seed",
    "--blob-num-points",
    "--blob-variance",
    "--blob-smoothness",
    "--blob-fill",
  ];
}
Then define them in CSS:
.worklet-canvas {
  --blob-seed: 123456;
  --blob-num-points: 8;
  --blob-variance: 0.375;
  --blob-smoothness: 1;
  --blob-fill: #000;
}
The CSS Properties and Values API (also Houdini) would let us assign defaults and simplify parsing, but its browser support is currently too thin, so we leave the custom properties as-is and parse them in the worklet with a few utility functions:
propToString(prop) {
  return prop.toString().trim();
}

propToNumber(prop) {
  return parseFloat(prop);
}
With those helpers, parse properties inside paint() after removing the old debug code:
paint(ctx, geometry, properties) {
  const seed = this.propToNumber(properties.get("--blob-seed"));
  const numPoints = this.propToNumber(properties.get("--blob-num-points"));
  const variance = this.propToNumber(properties.get("--blob-variance"));
  const smoothness = this.propToNumber(properties.get("--blob-smoothness"));
  const fill = this.propToString(properties.get("--blob-fill"));
}
Log any of the resulting variables and you'll see they map exactly to the CSS custom properties. Edit a value in dev tools and the logs re-run: the worklet reacts to input changes by re-invoking paint().
Predictable randomness
Random numbers are what make the blob generative — but Math.random() is the wrong tool here. Since paint() runs frequently, values drawn with it differ on every execution, so the visual result differs on every re-render. A worklet that picks a random background color this way flashes a new color each resize. Beyond looking jarring, that behavior risks accessibility problems for users sensitive to motion.
The fix is a pseudorandom number generator. A PRNG derives its sequence from a seed, and the same seed always produces the same sequence. Re-initialize it on each paint() call and the output stays stable.
Add this PRNG above the Blob class:
// source: https://github.com/bryc/code/blob/master/jshash/PRNGs.md
function mulberry32(a) {
  return function () {
    a |= 0;
    a = (a + 0x6d2b79f5) | 0;
    var t = Math.imul(a ^ (a >>> 15), 1 | a);
    t = (t + Math.imul(t ^ (t >>> 7), 61 | t)) ^ t;
    return ((t ^ (t >>> 14)) >>> 0) / 4294967296;
  };
}
The snippet comes from Jake Archibald's article on being predictably random with the CSS Paint API; the original repository holds many more PRNGs. Not understanding its internals is fine — knowing how to use it is enough.
Initiate it in paint() with --blob-seed as the seed:
const random = mulberry32(seed);mulberry32() returns a new function, random, which yields a number between zero and one.
How the blob takes shape
The construction is three steps: plot equally spaced points around a circle's radius, pull each one a random distance toward the center, then draw a smooth curve through all of them. Drawing itself happens in a 2D context whose width and height match the target element. Adding a point to the center of a 1920x1080px context looks like this:
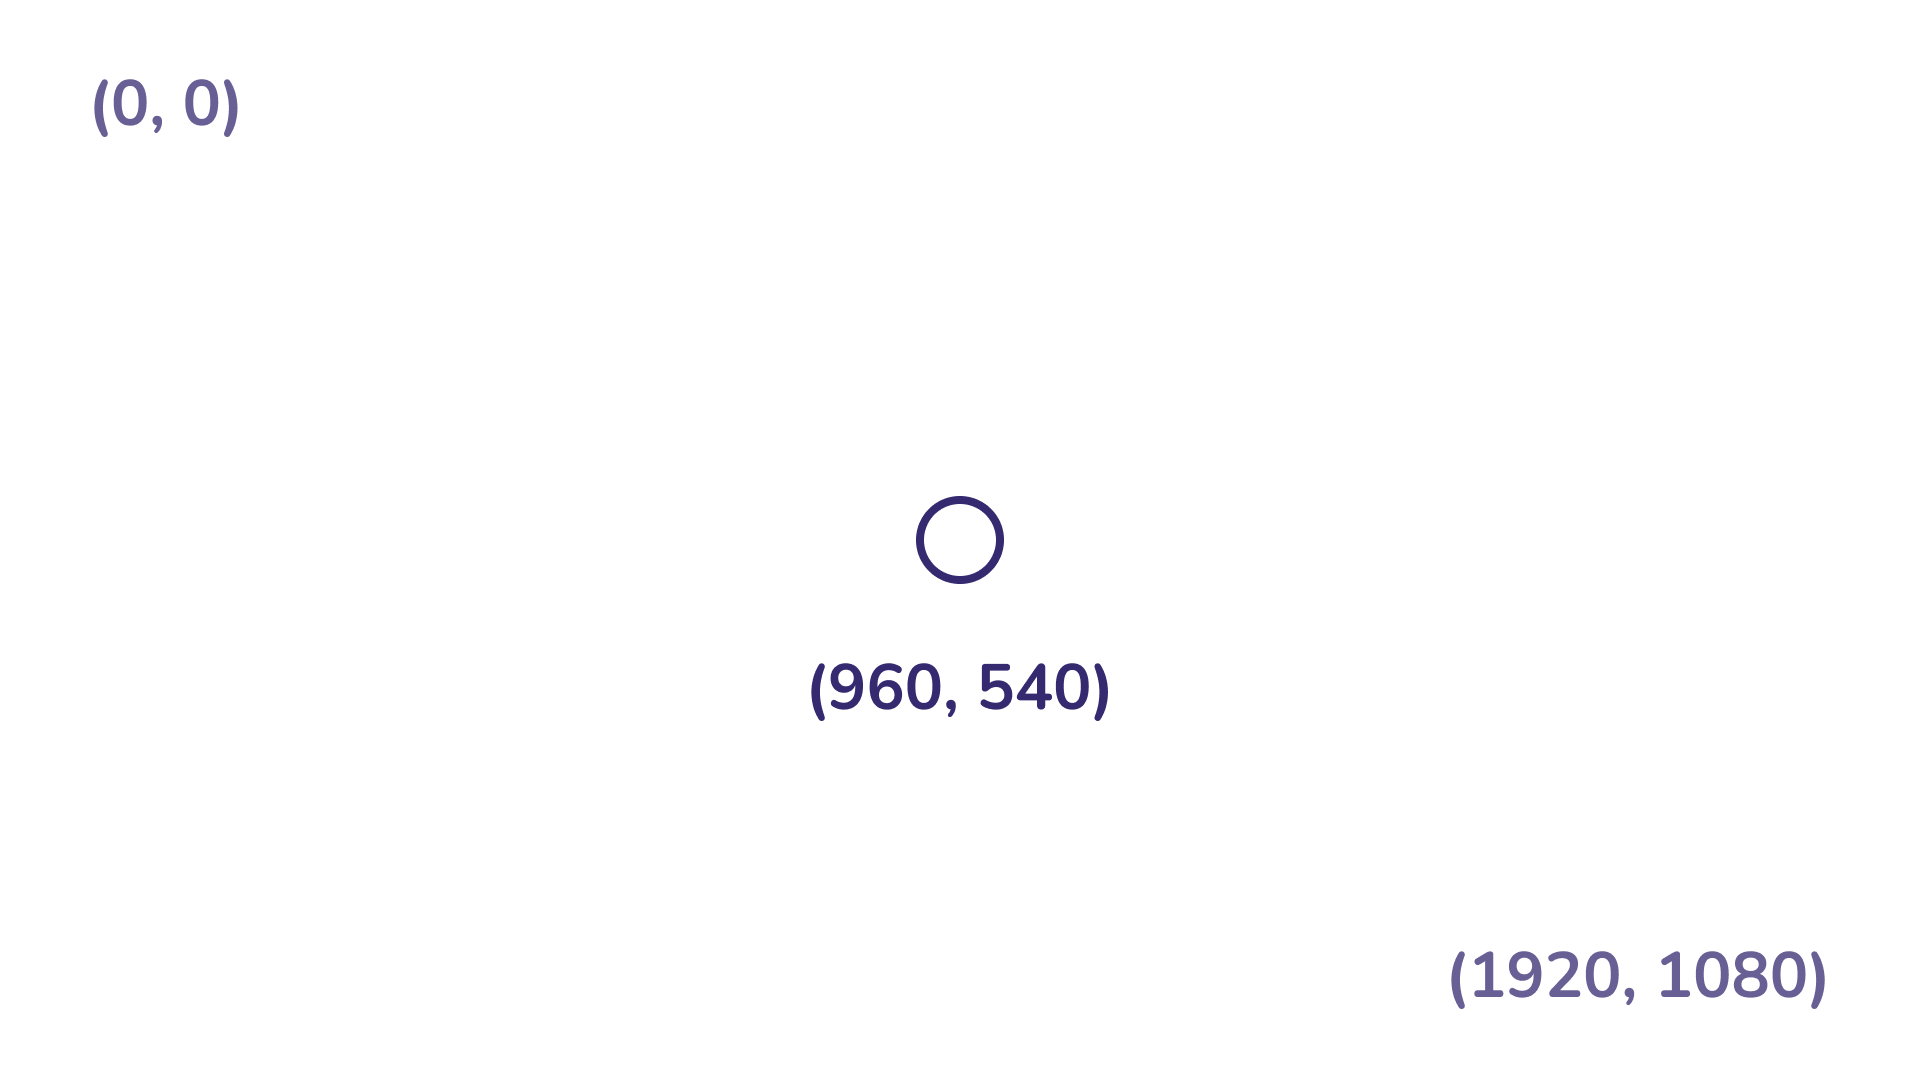
First the radius, scaled so the blob always fits inside the element. A circle's total width and height equal its radius times two, so divide by two:
const radius = Math.min(geometry.width, geometry.height) / 2;
Now place the points:
const points = [];

const center = {
  x: geometry.width / 2,
  y: geometry.height / 2,
};

const angleStep = (Math.PI * 2) / numPoints;

for (let i = 1; i <= numPoints; i++) {
  const angle = i * angleStep;
  const point = {
    x: center.x + Math.cos(angle) * radius,
    y: center.y + Math.sin(angle) * radius,
  };
}
The loop walks the circumference placing equally spaced points. angleStep is Pi × 2 — the maximum angle between two points on a circle — divided by the requested point count. Each point's angle is the step times its index, and with a radius, an angle and a center, Math.cos() and Math.sin() plot it.
Then ruin the symmetry. Add a lerp (linear interpolation) helper below mulberry32:
function lerp(position, target, amt) {
  return {
    x: (position.x += (target.x - position.x) * amt),
    y: (position.y += (target.y - position.y) * amt),
  };
}
It takes a start, an end and an amount between zero and one, returning a point between them. Below the point declaration in the loop, pull the point toward the center:
points.push(lerp(point, center, variance * random()));The interpolation amount is --blob-variance multiplied by a random() value, so it lands between zero and --blob-variance. Higher variance pushes points nearer the center and makes wilder blobs.
Curving through the points
A Catmull-Rom spline draws a smooth Bézier curve through any number of { x, y } points without manual control-point math. Import it at the top of worklet.js:
import { spline } from "@georgedoescode/generative-utils";and install the package:
npm i @georgedoescode/generative-utilsIt is packaged in the generative-utils repository of generative helpers. Use it after the for-loop:
ctx.fillStyle = fill;

ctx.beginPath();
spline(points, smoothness, true, (CMD, data) => {
  if (CMD === "MOVE") {
    ctx.moveTo(...data);
  } else {
    ctx.bezierCurveTo(...data);
  }
});

ctx.fill();
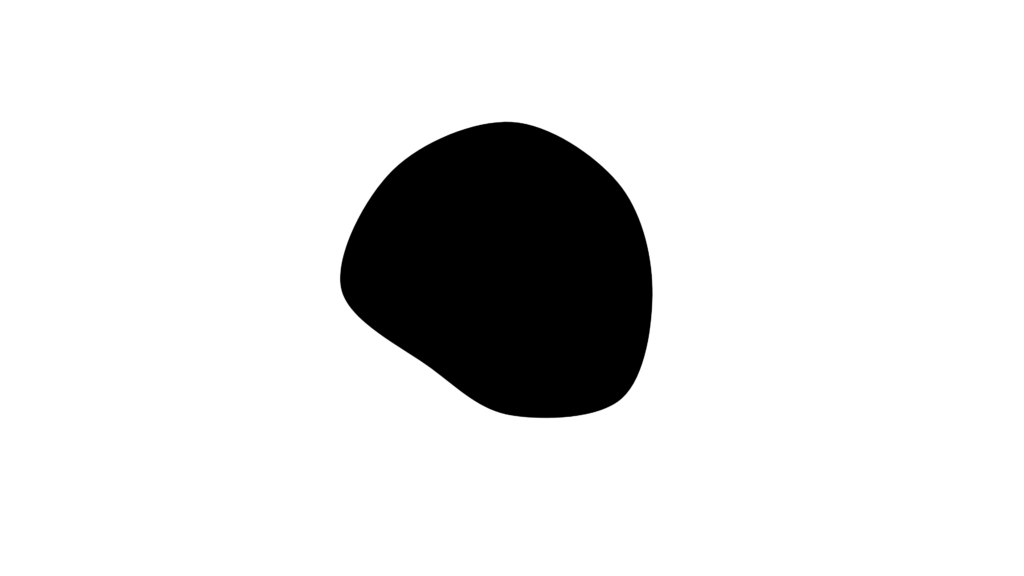
The call receives the points, the --blob-smoothness value and a flag marking the shape as closed; --blob-fill sets the fill color. Reducing smoothness makes the result less rounded.
Randomizing the seed
So far the seed is the fixed 123456 defined in CSS, so the shape never changes. That's desirable if you're choosing ideal seeds for a semi-generative design system, but other cases — like a mask that differs on every page load — need variety. Randomize the seed itself.
Setting it in the Blob class's constructor does not work. The browser may spin up several worklet instances to service paint() calls, and any of them might render, so a seed chosen inside the class differs between instances and reintroduces glitching. To observe this, give the class a constructor containing:
constructor() {
  console.log(`My seed value is ${Math.random()}`);
}
Resize the window and, in most cases, the console shows multiple logs with different values.
Instead, set the seed on the main thread, inside the earlier <script>:
document
  .querySelector(".worklet-canvas")
  .style.setProperty("--blob-seed", Math.random() * 10000);
Each refresh now yields a new blob. In a real application you could create a .blob class, target every instance on load, and update each element's seed — or experiment with random variance, point count and smoothness values.
Covering other browsers
To support every major browser via CSS.paintWorklet.addModule, load a polyfill but only when the feature is missing, so unsupported browsers alone pay the JavaScript cost:
(async function () {
  if (CSS["paintWorklet"] === undefined) {
    await import("https://unpkg.com/css-paint-polyfill");
  }
  CSS.paintWorklet.addModule("./worklet.bundle.js");
})();
If that extra weight is unacceptable, a CSS-only fallback defined with @supports does the job:
.worklet-canvas {
  background-color: var(--blob-fill);
  border-radius: 49% 51% 70% 30% / 30% 30% 70% 70%;
}

@supports (background: paint(blob)) {
  .worklet-canvas {
    background-color: transparent;
    border-radius: 0;
    background-image: paint(blob);
  }
}
The fallback applies a background-color and a blob-like border-radius (generated by fancy border radius). Where the CSS Paint API is available, these values are removed and the worklet paints the generative shape instead.
Apply this kind of change-at-random behavior sparingly and only to presentational elements — blog post headers, hero images, subtle background patterns — never across an entire interface, which would be terrible for usability.




